First the landscaping: |
... |
|
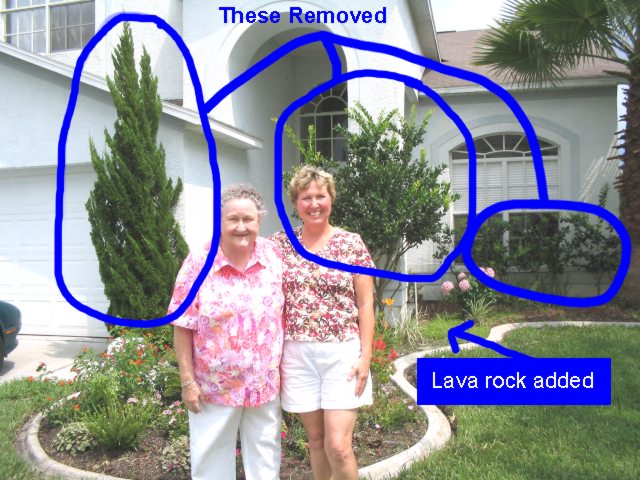
Here's the most recent before I could find. Mom and Nana are posing. The picture circles the large furs and shrubs that were removed first. The soil in the flower bed was weeded, built up, and new plants & lava rock was put in. |
 GO BACK TO TOP
|
The star of this new landscape is the bamboo. Ronan loves bamboo. It will grow to about 25 ft and about an inch thick around. It will stay clumping and can be cut to the desired shape/size. all the plants are flowering perennials. Unfortunately, they are not in bloom yet for this picture. I'll have to take another in summer. |
Prepping for the laminate floors: |
... |
|
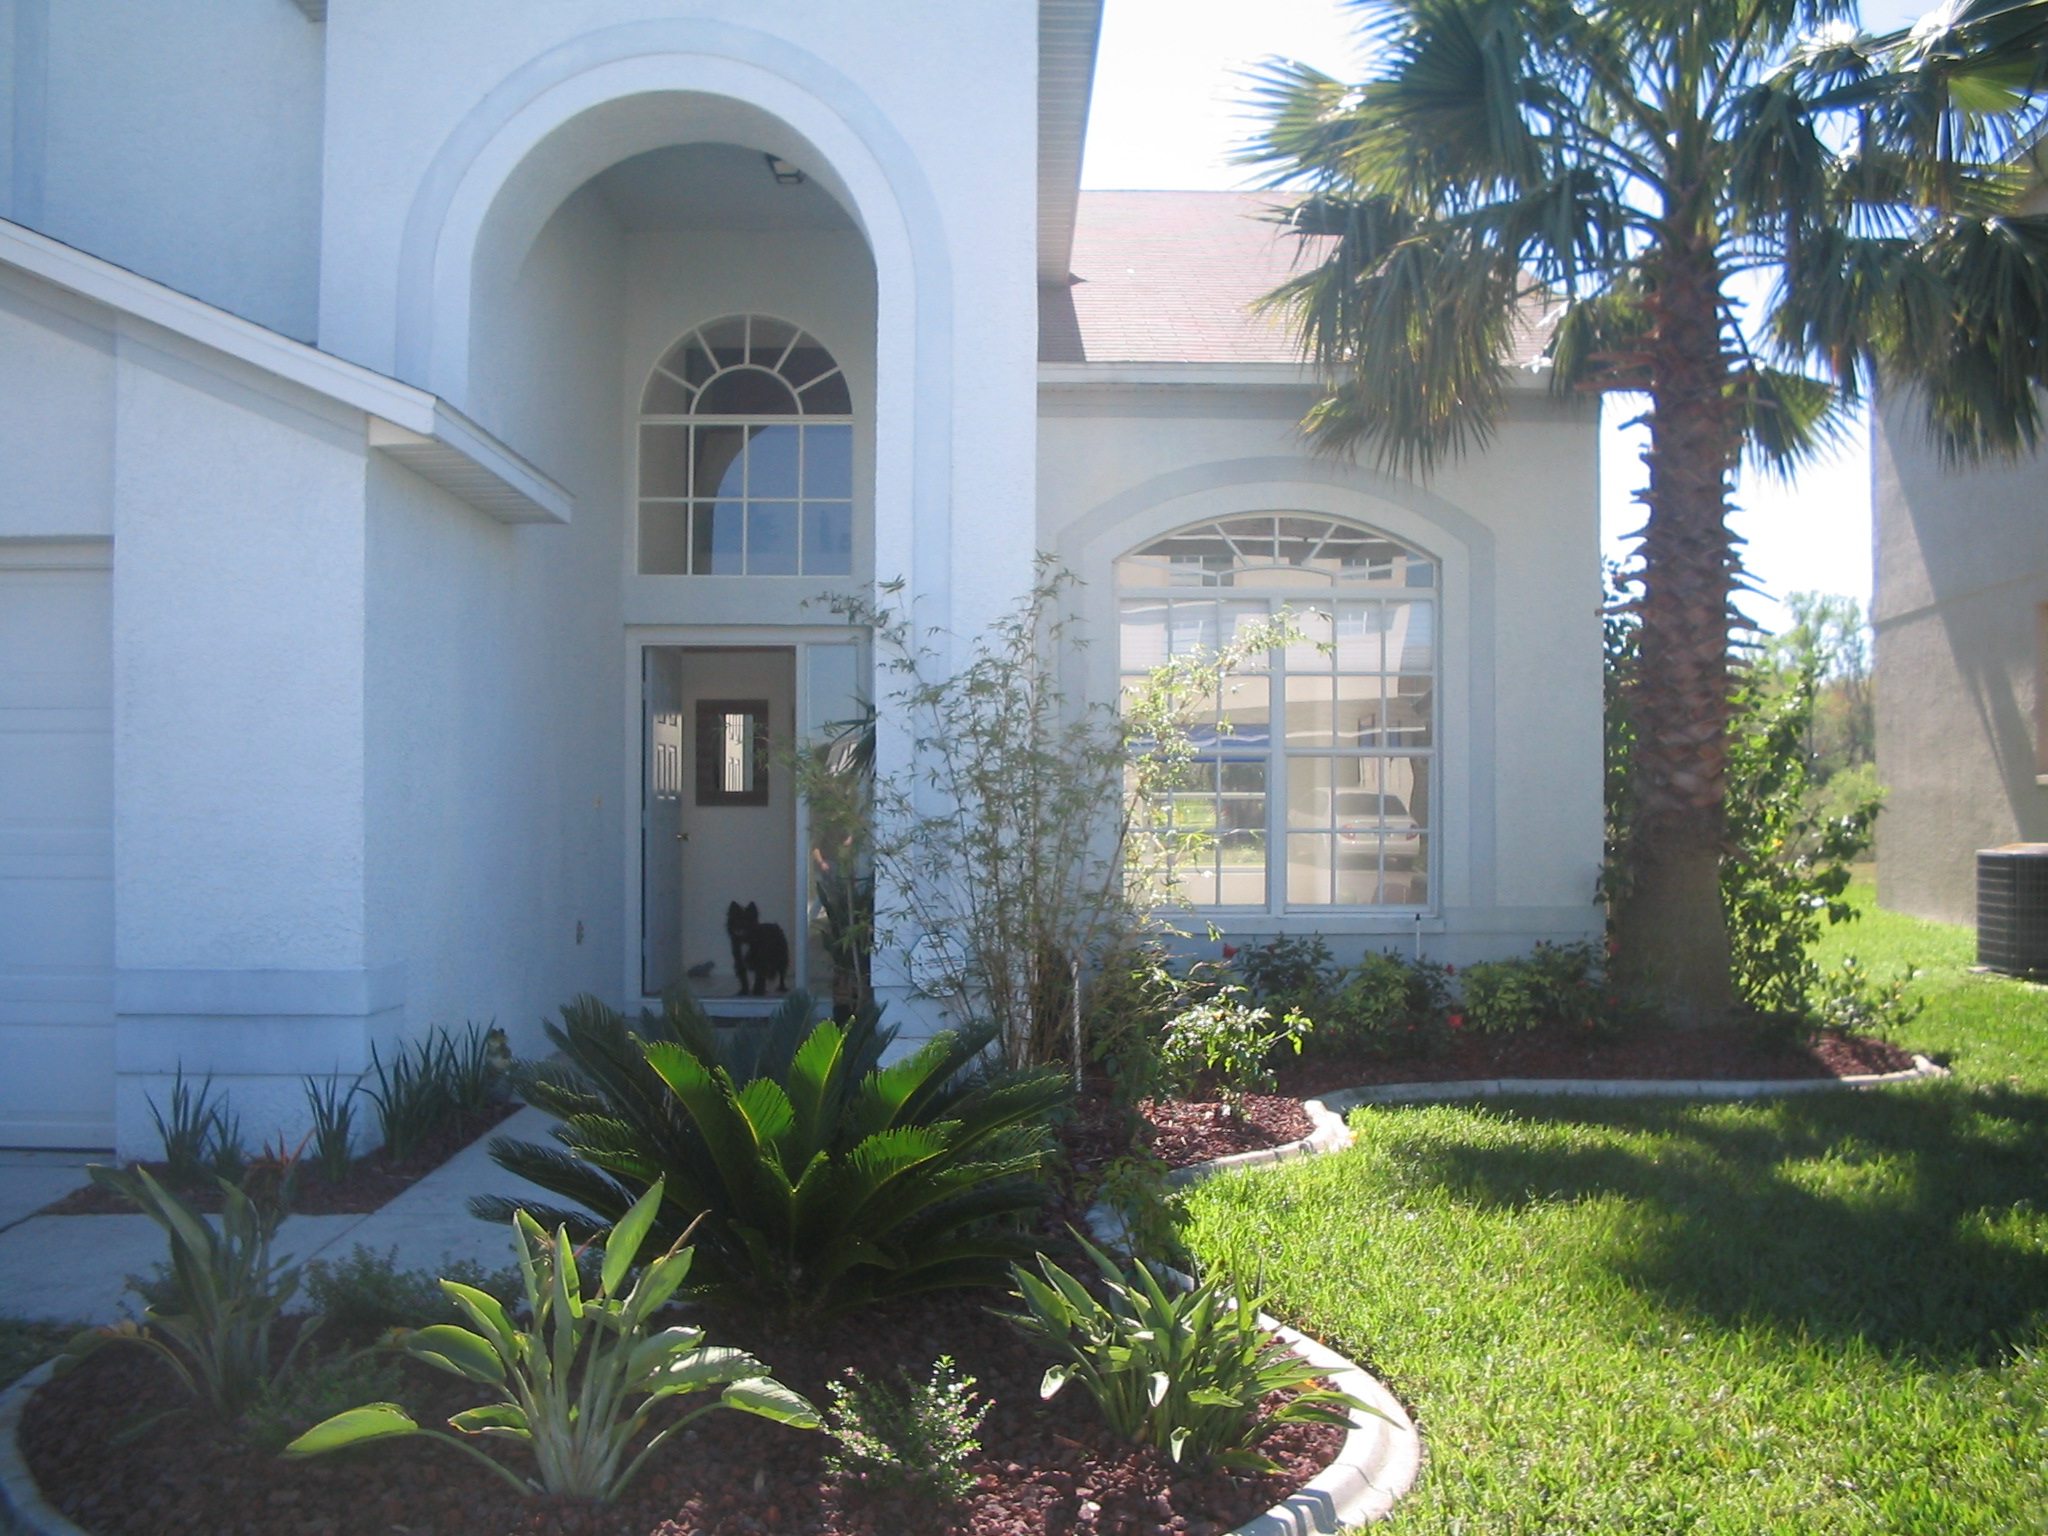
First we had to clear out the living room and dining room of all furniture. The week previous I finally cleaned out my garage so all the furniture was able to fit in there. This is a nice shot of the palm tree my mother planted a couple of years ago. It's growing up nicely. |
|
As you can see, we worked well into dark moving all the stuff out. Micro looks a little lost as usual. |
|
Next morning, we bought all the wood planks at Sam's Club. We chose the color in between the lightest and the darkest laminate they had. Each pack of laminate covers 22 sq.ft. We figured 30 packs should do the trick. This came to around $900. Pretty economical so far! |
|
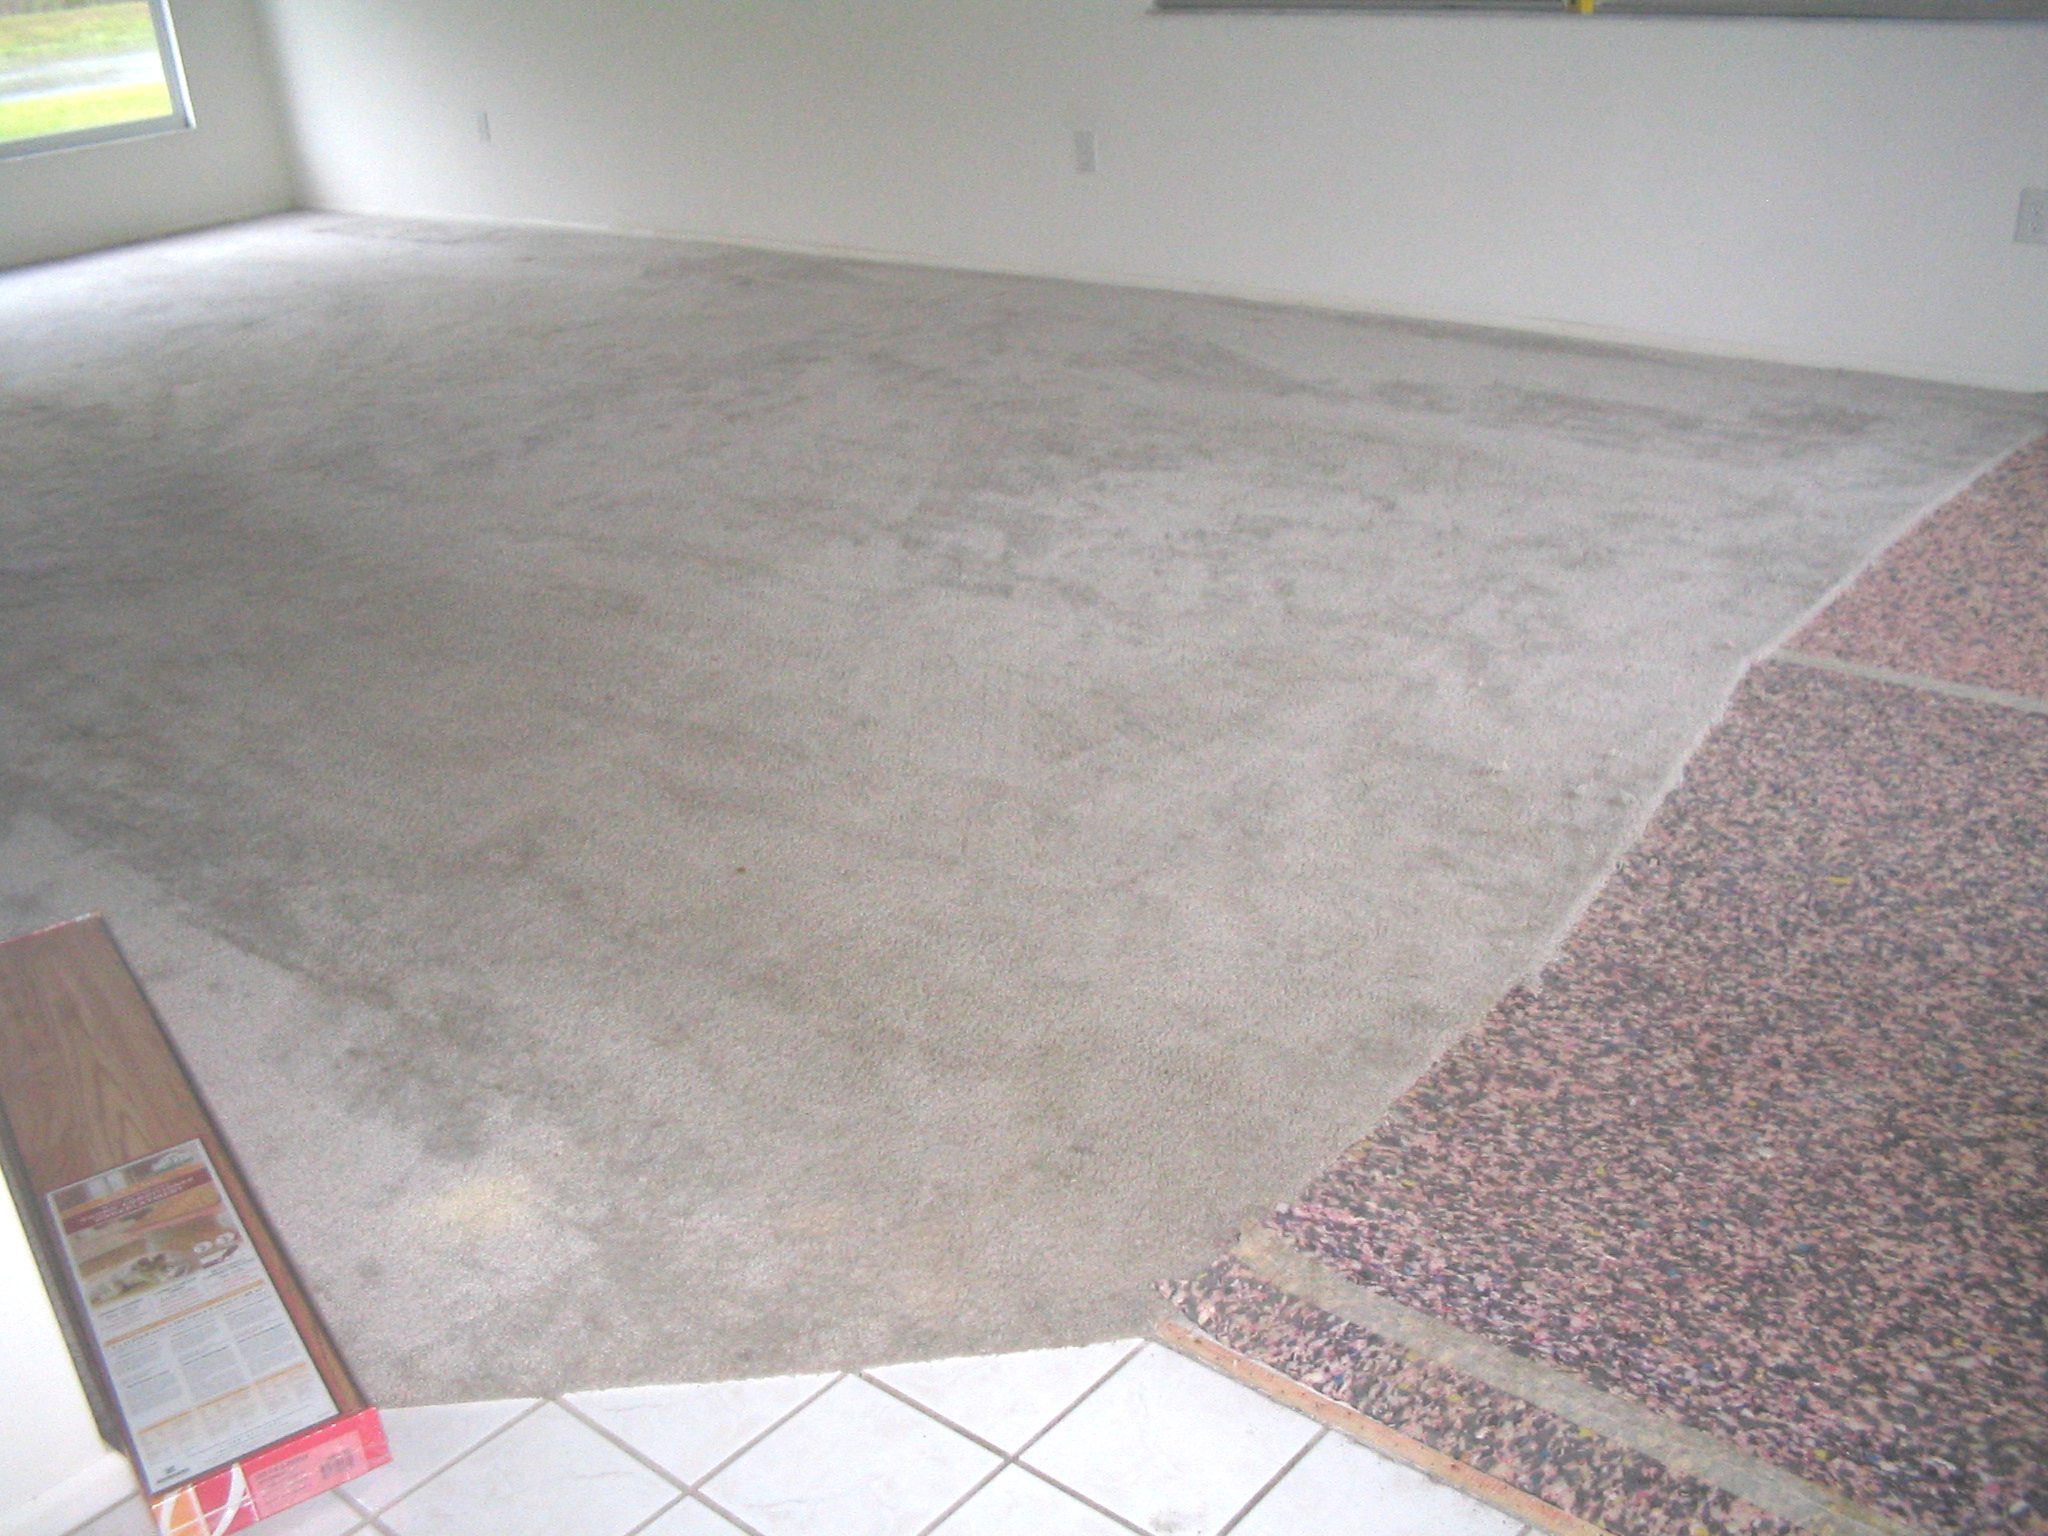
Ronan had to work through most of the demolishing. I had fun cutting and ripping up the old carpet myself. I used a utility knife and cut strips that were easy for me to roll up and carry myself. |
|
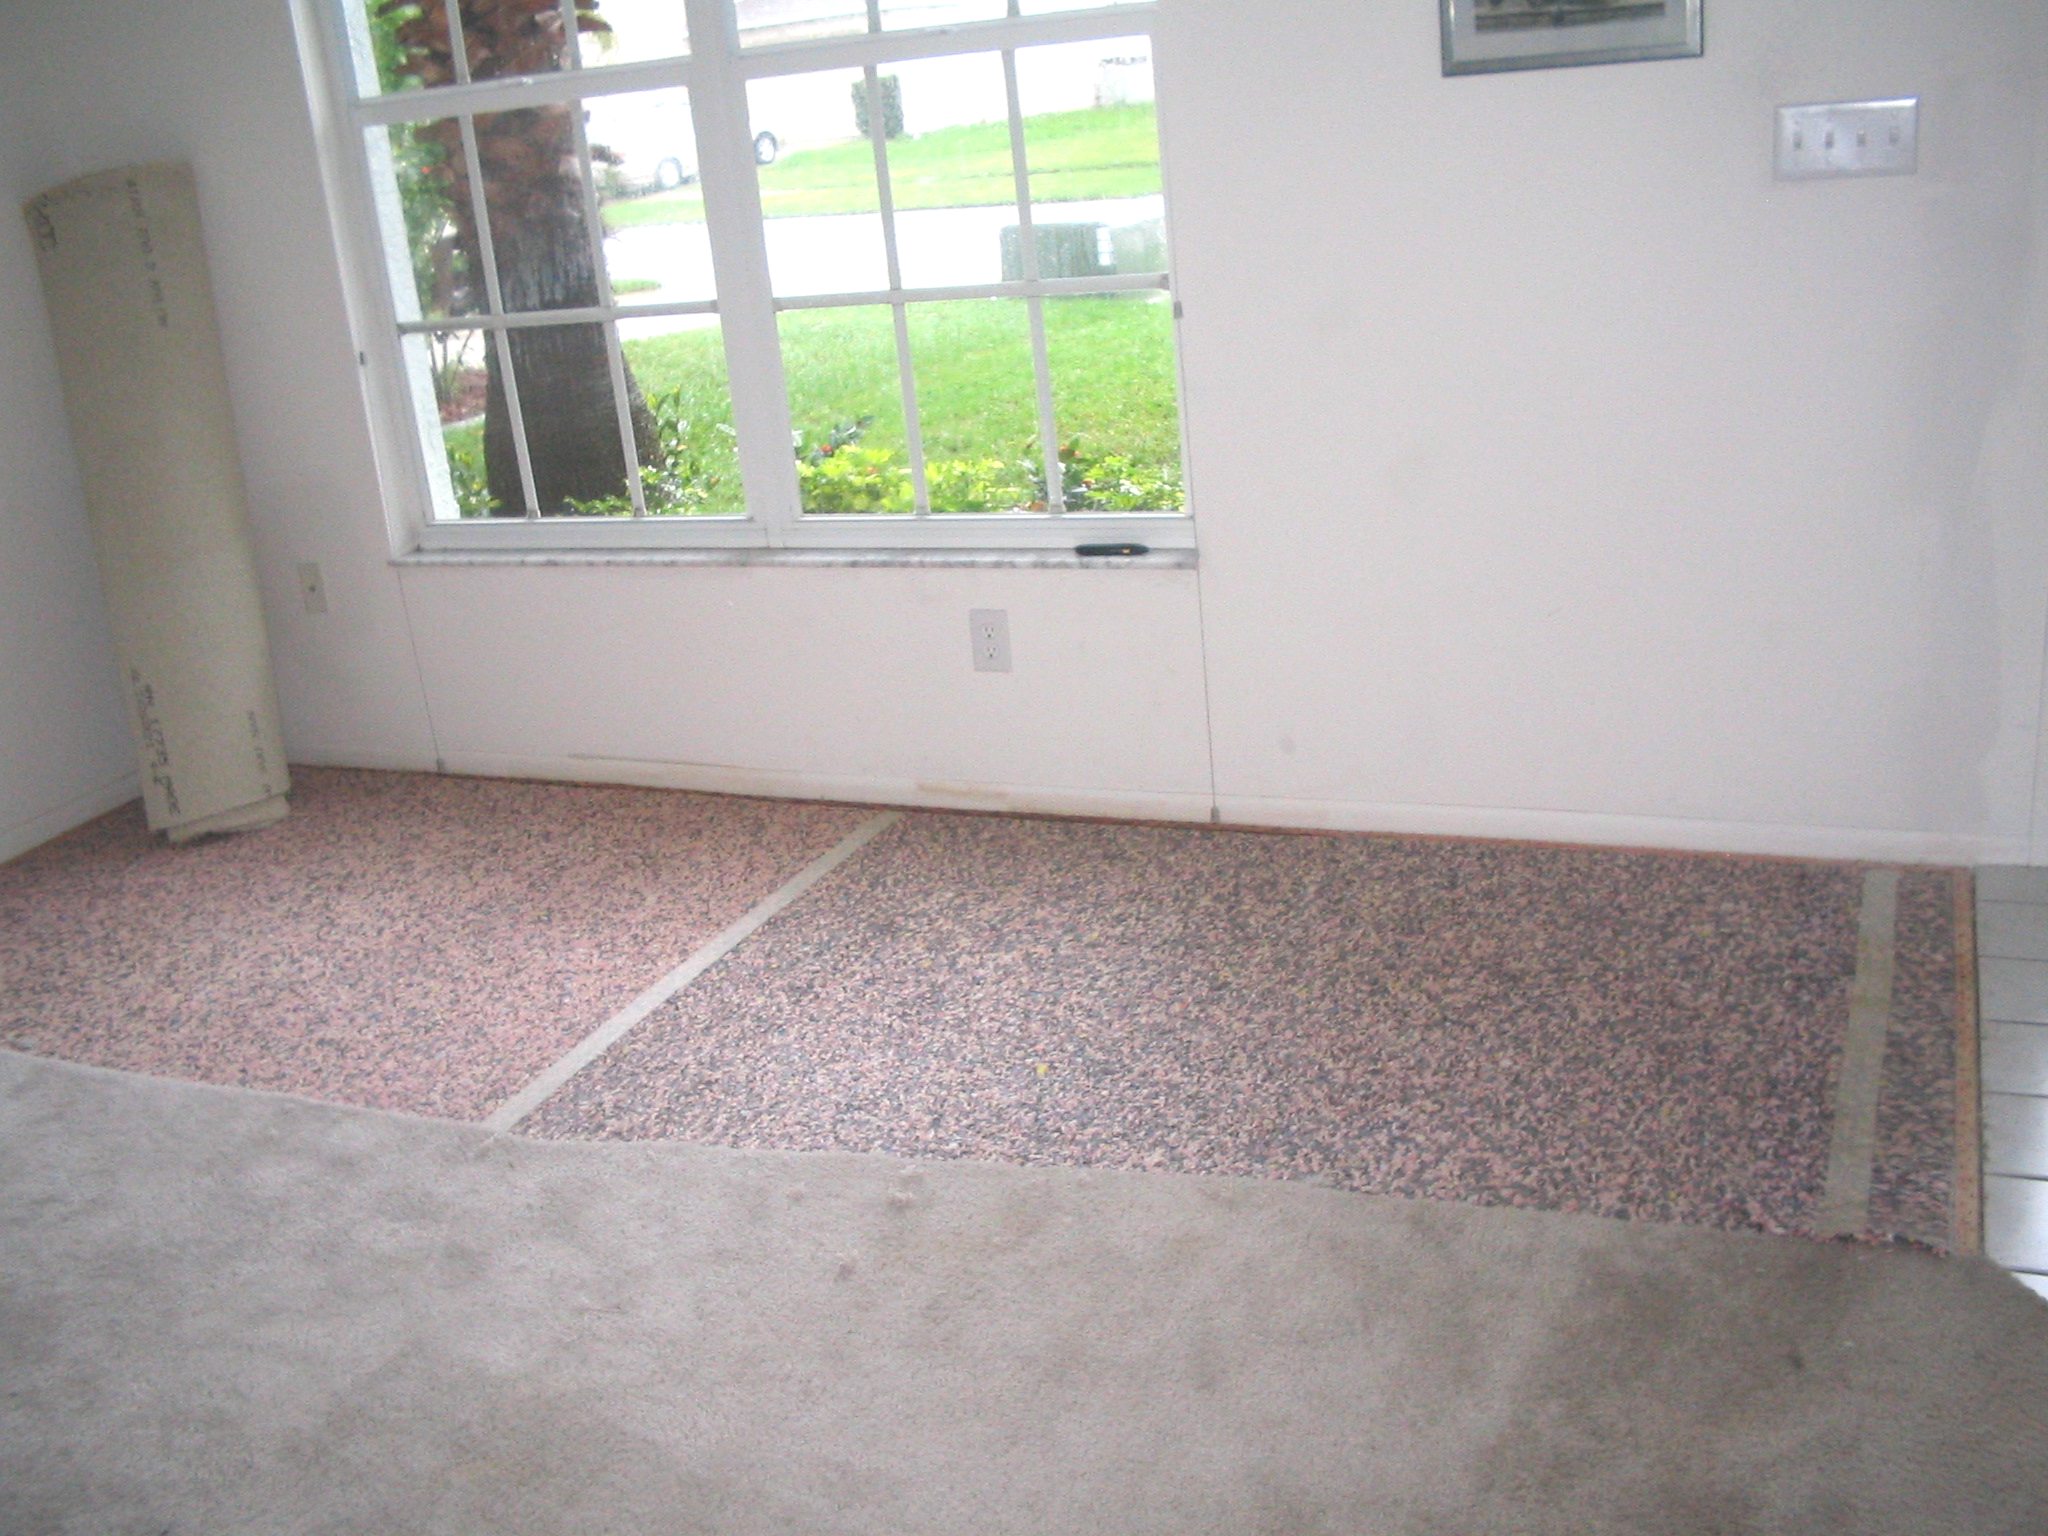
The carpet pulled away from the carpet strips and padding easily. The padding was dirty and dusty coming up so I had to use a mask. |
|
After pulling all the padding up, I managed to make it fit into 5 large lawn bags. BTW: Thank you mom & Ray for the use of "Big Red" to haul everything to our local dump. |
|
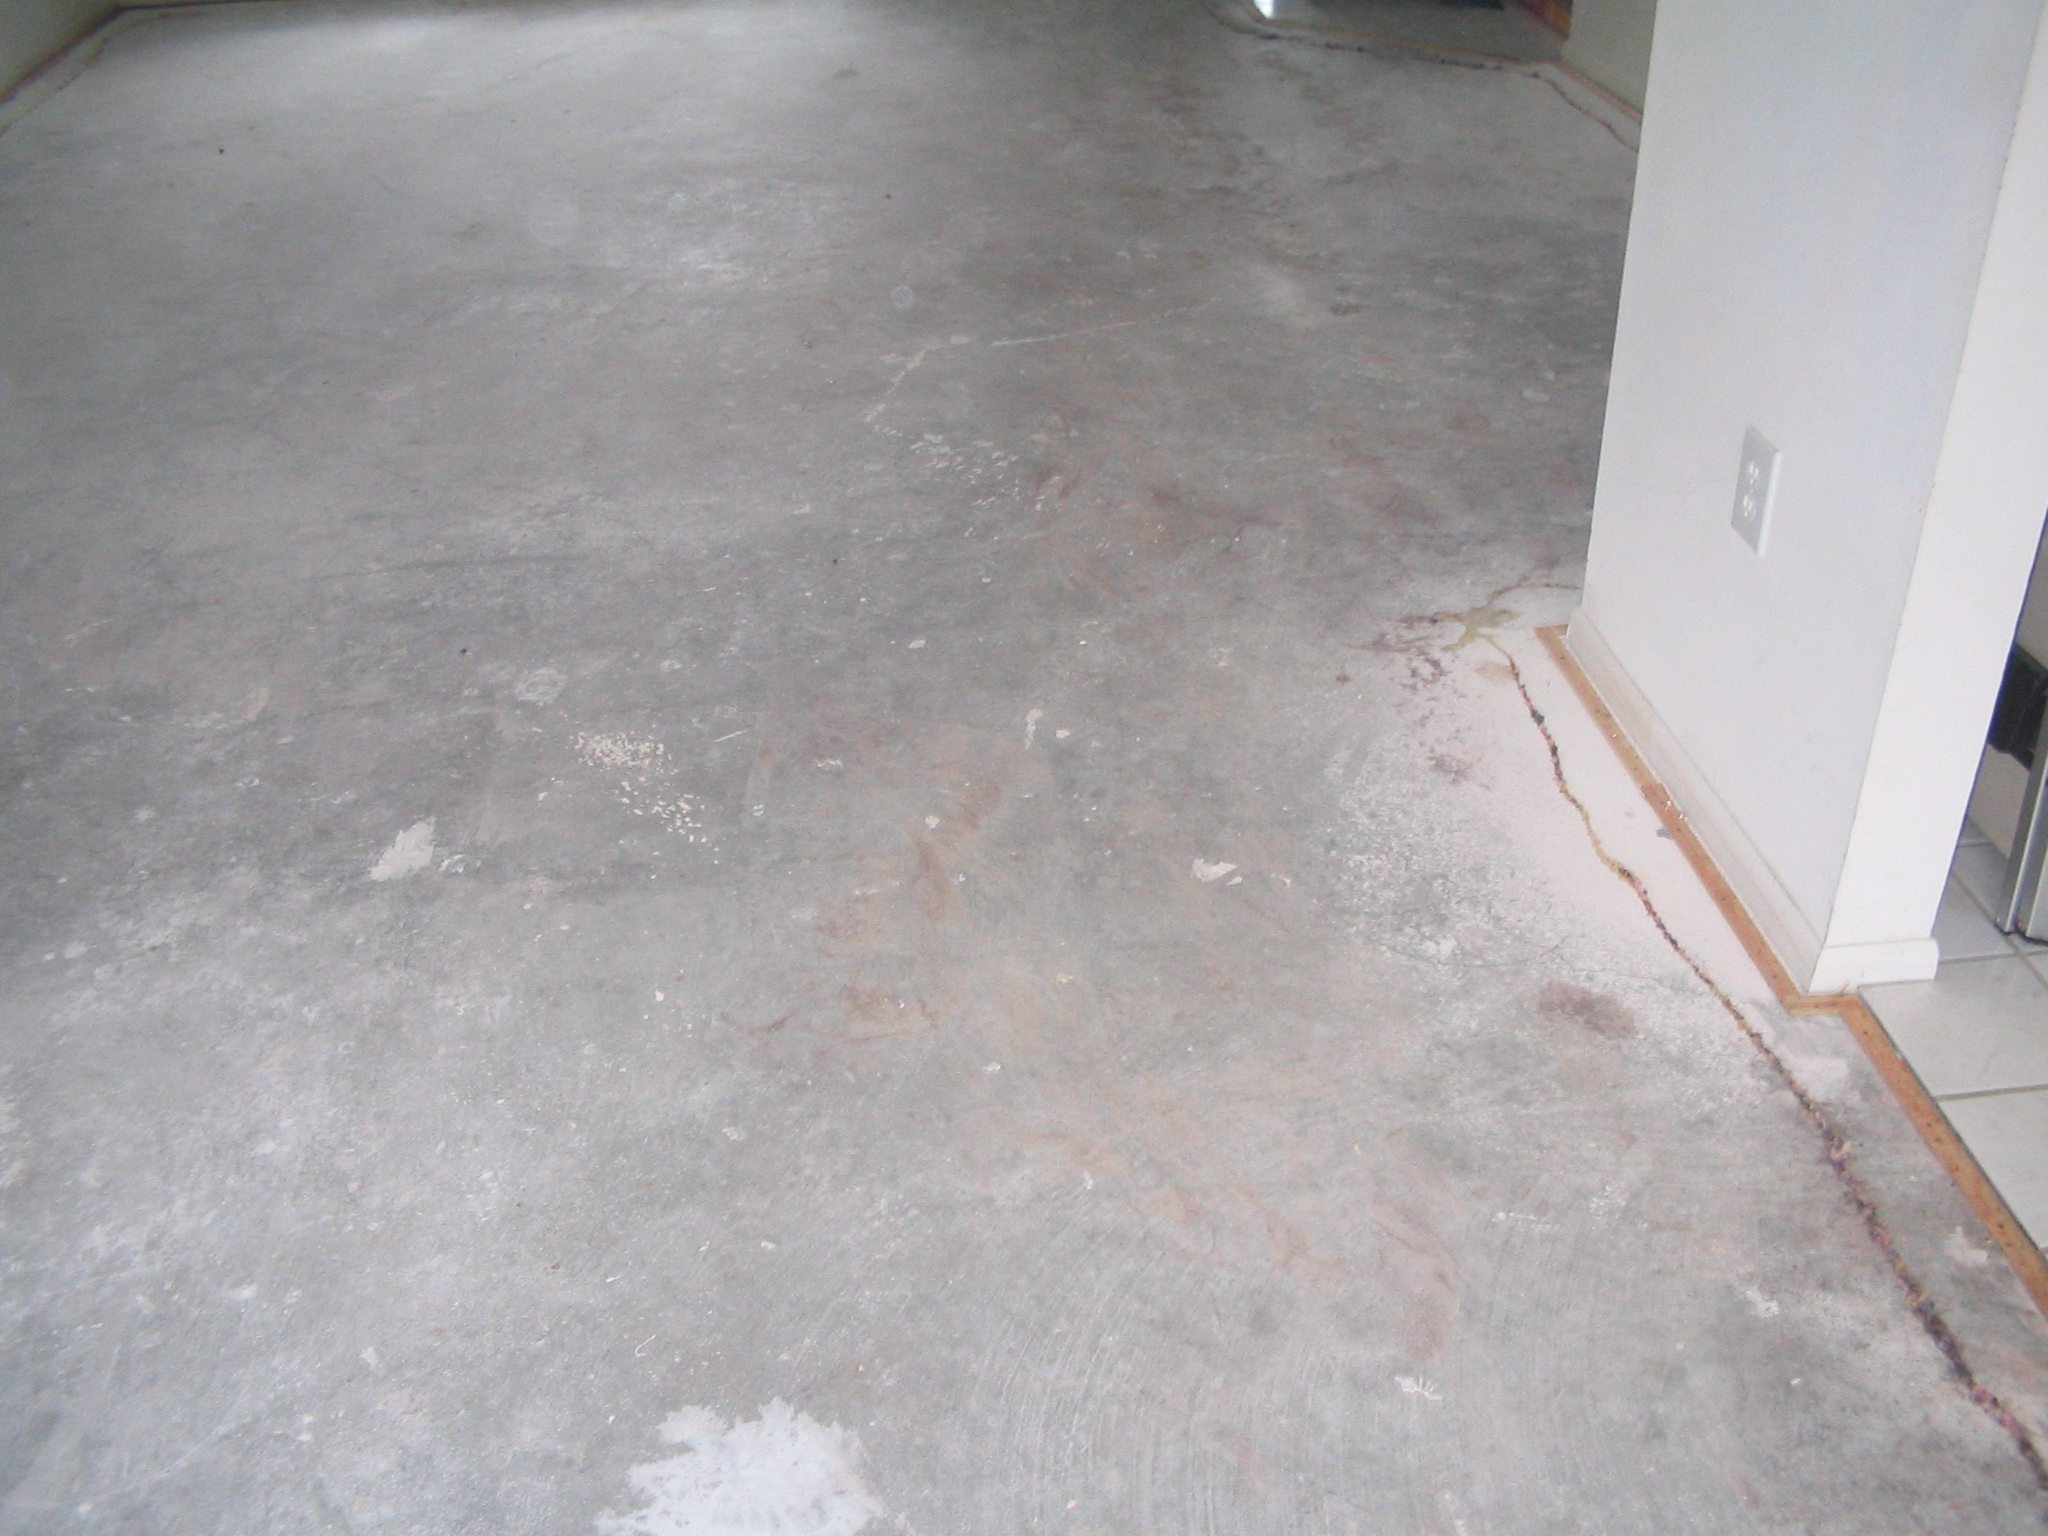
It was interesting to see how little carpet glue was used. There is just a thin line a few inches out from the perimeter. Now the project gets a little harder. |
|
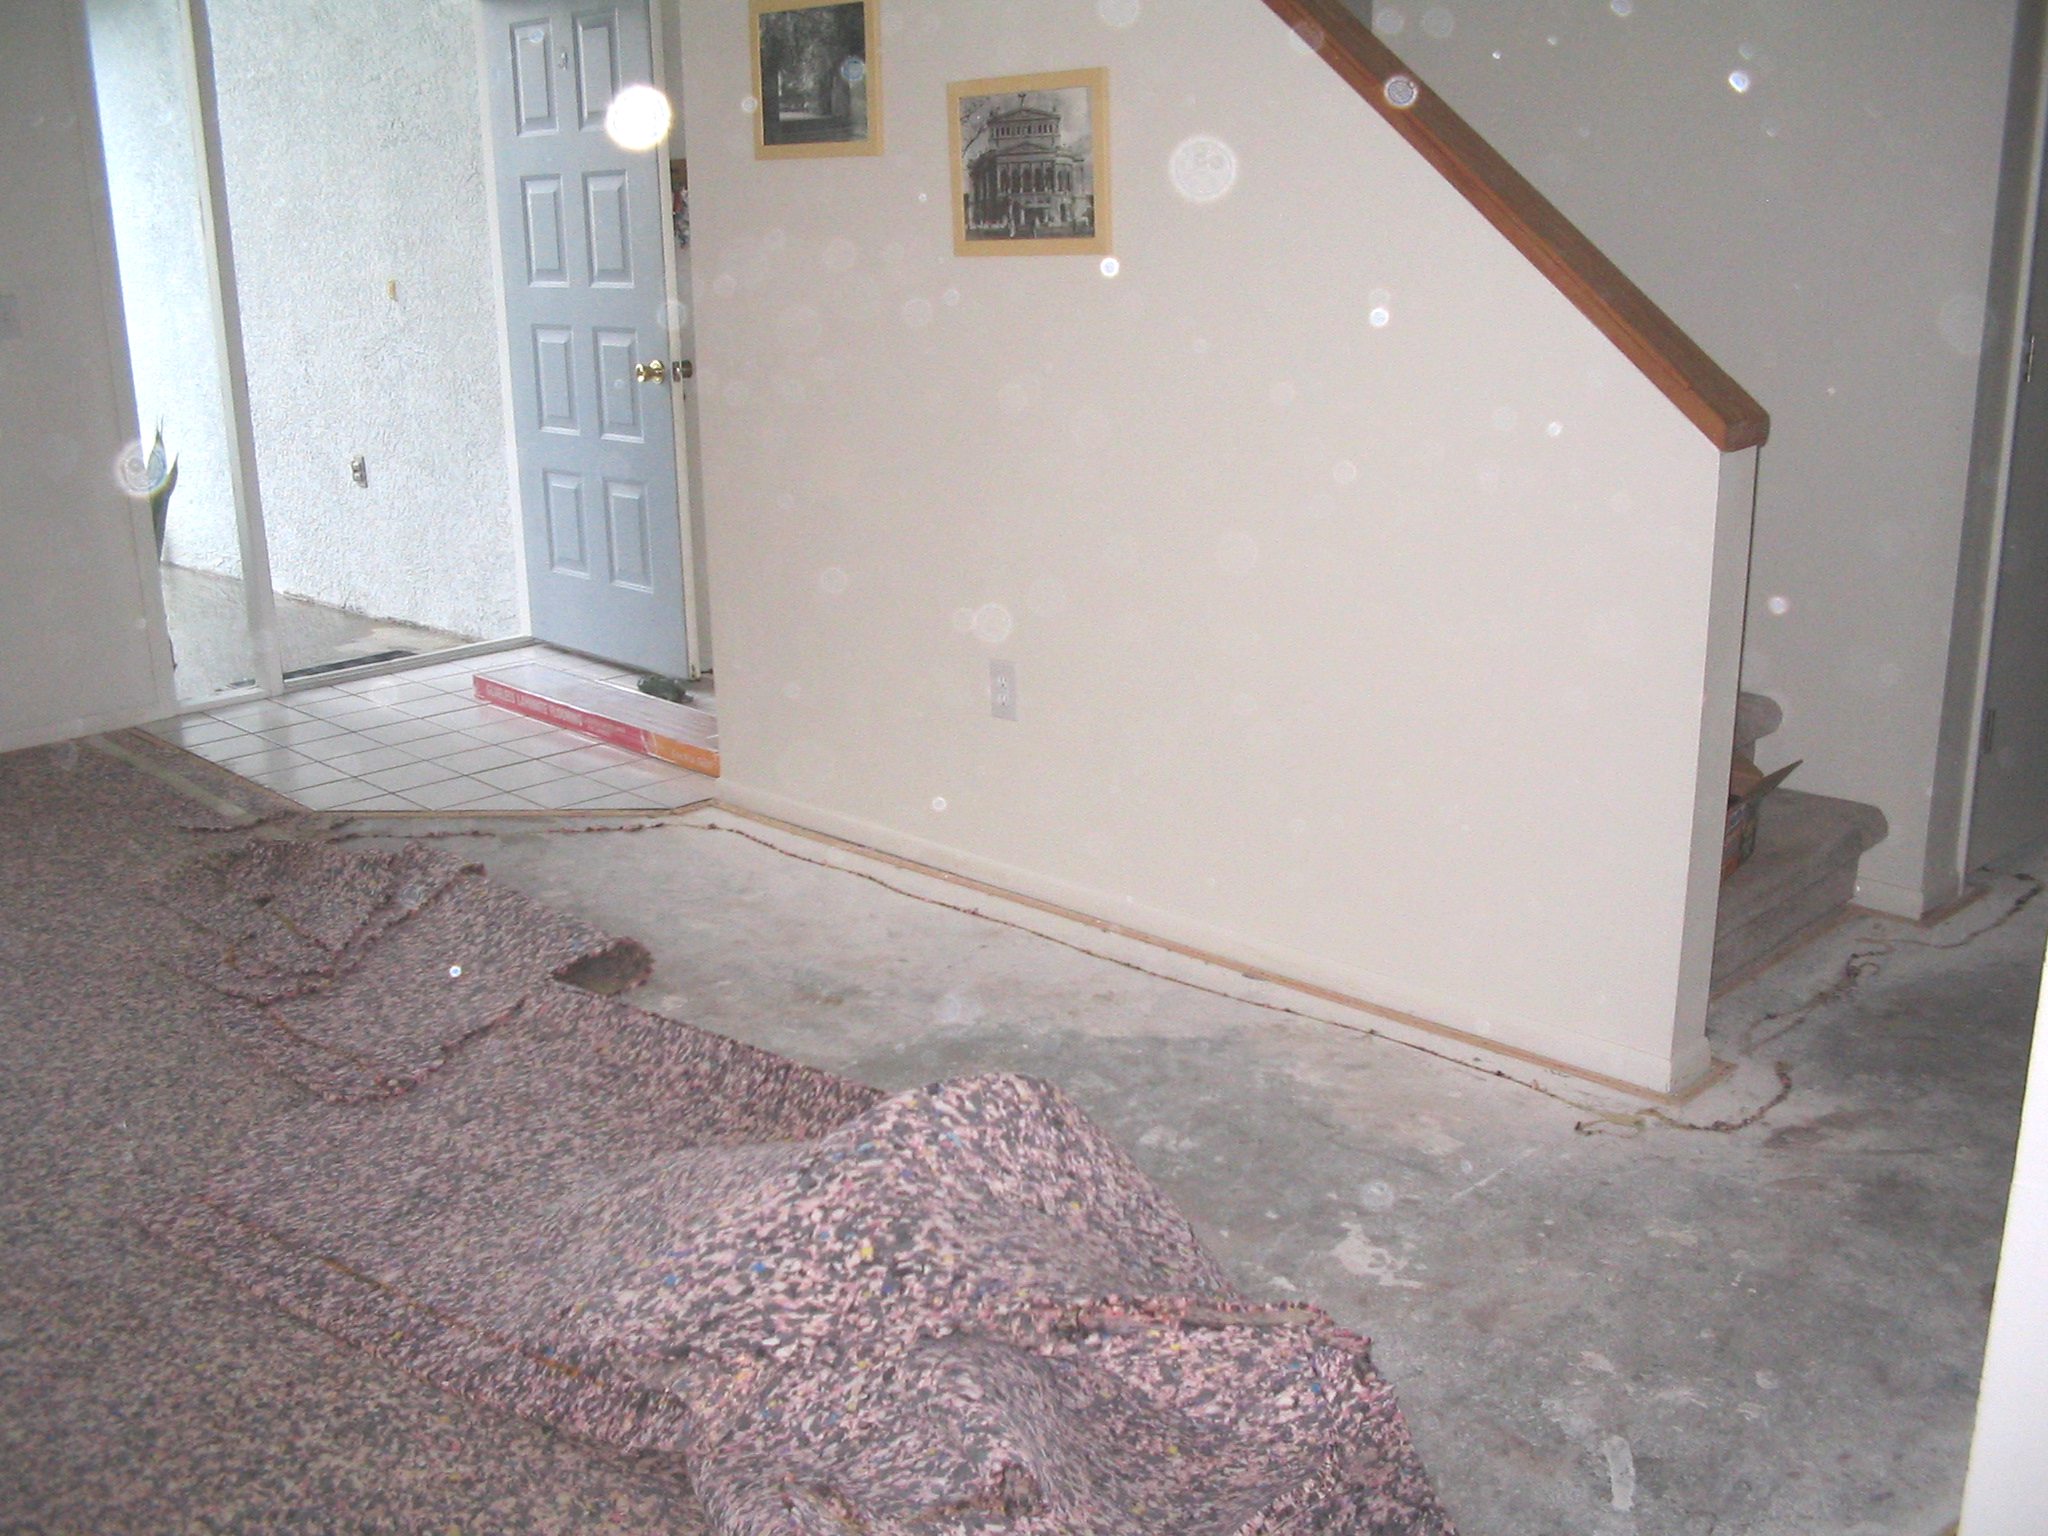
I used a small crow-bar thingy to rip all the carpet strips that were nailed to the concrete floor. This took up little pieces of concrete around the nails. It was all very loud and scared Micro the most. Everything echoes now! |
|
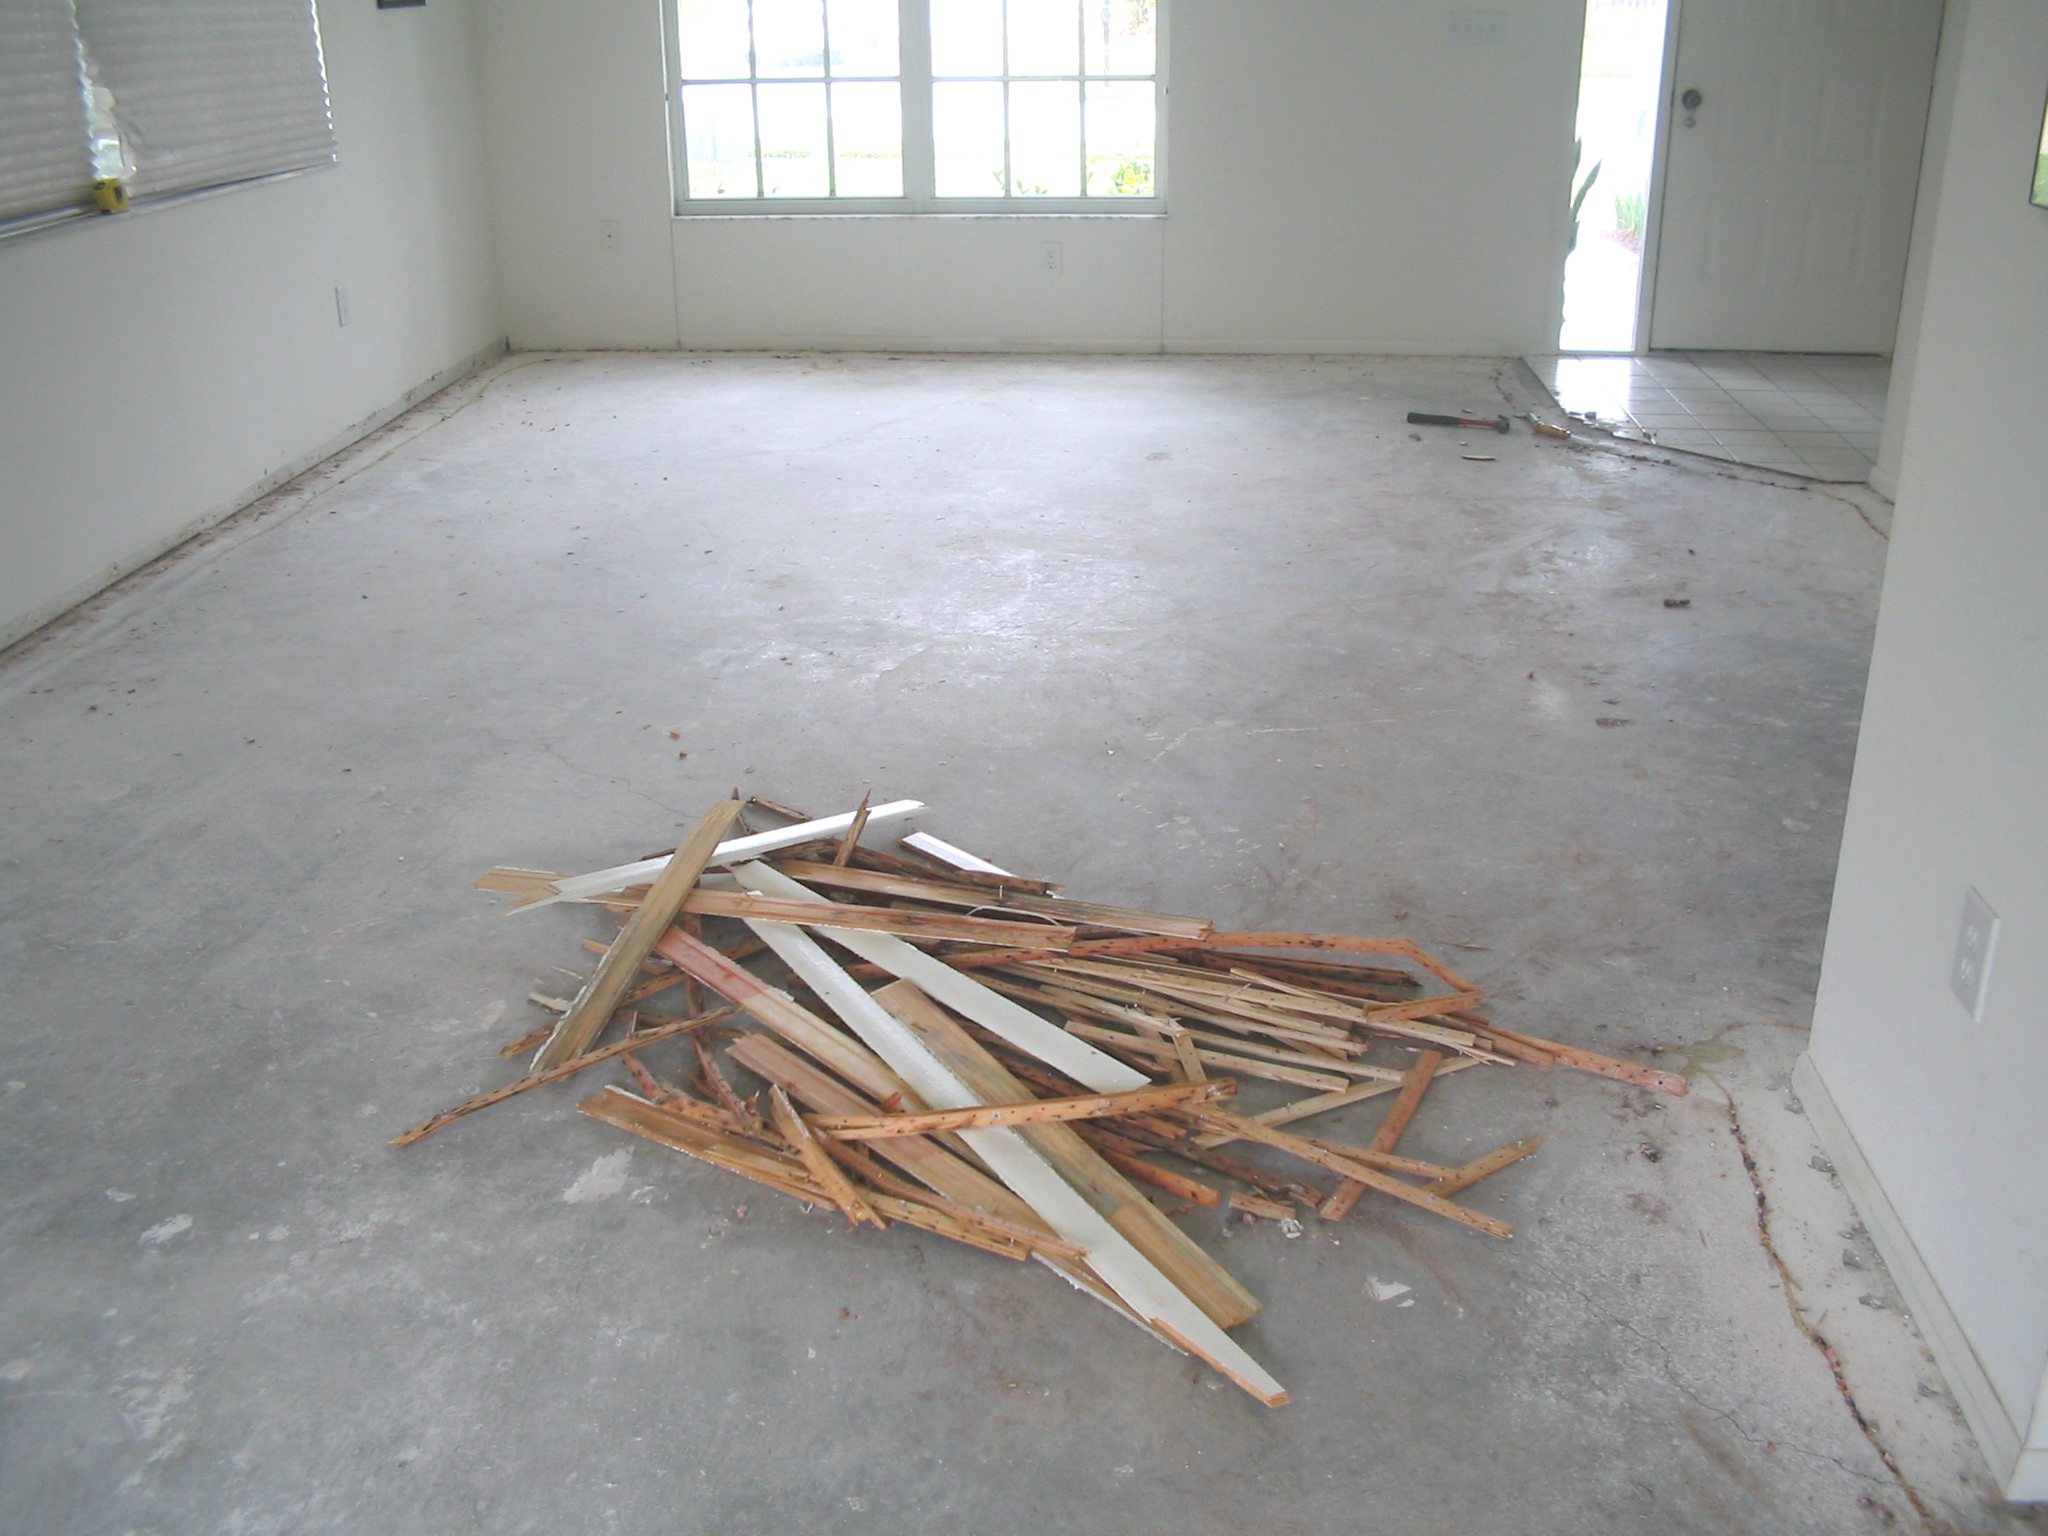
After the carpet strips came the baseboards. I chopped up all the strips and baseboards to fit into the lawn bags and it went out with the regular trash. |
|
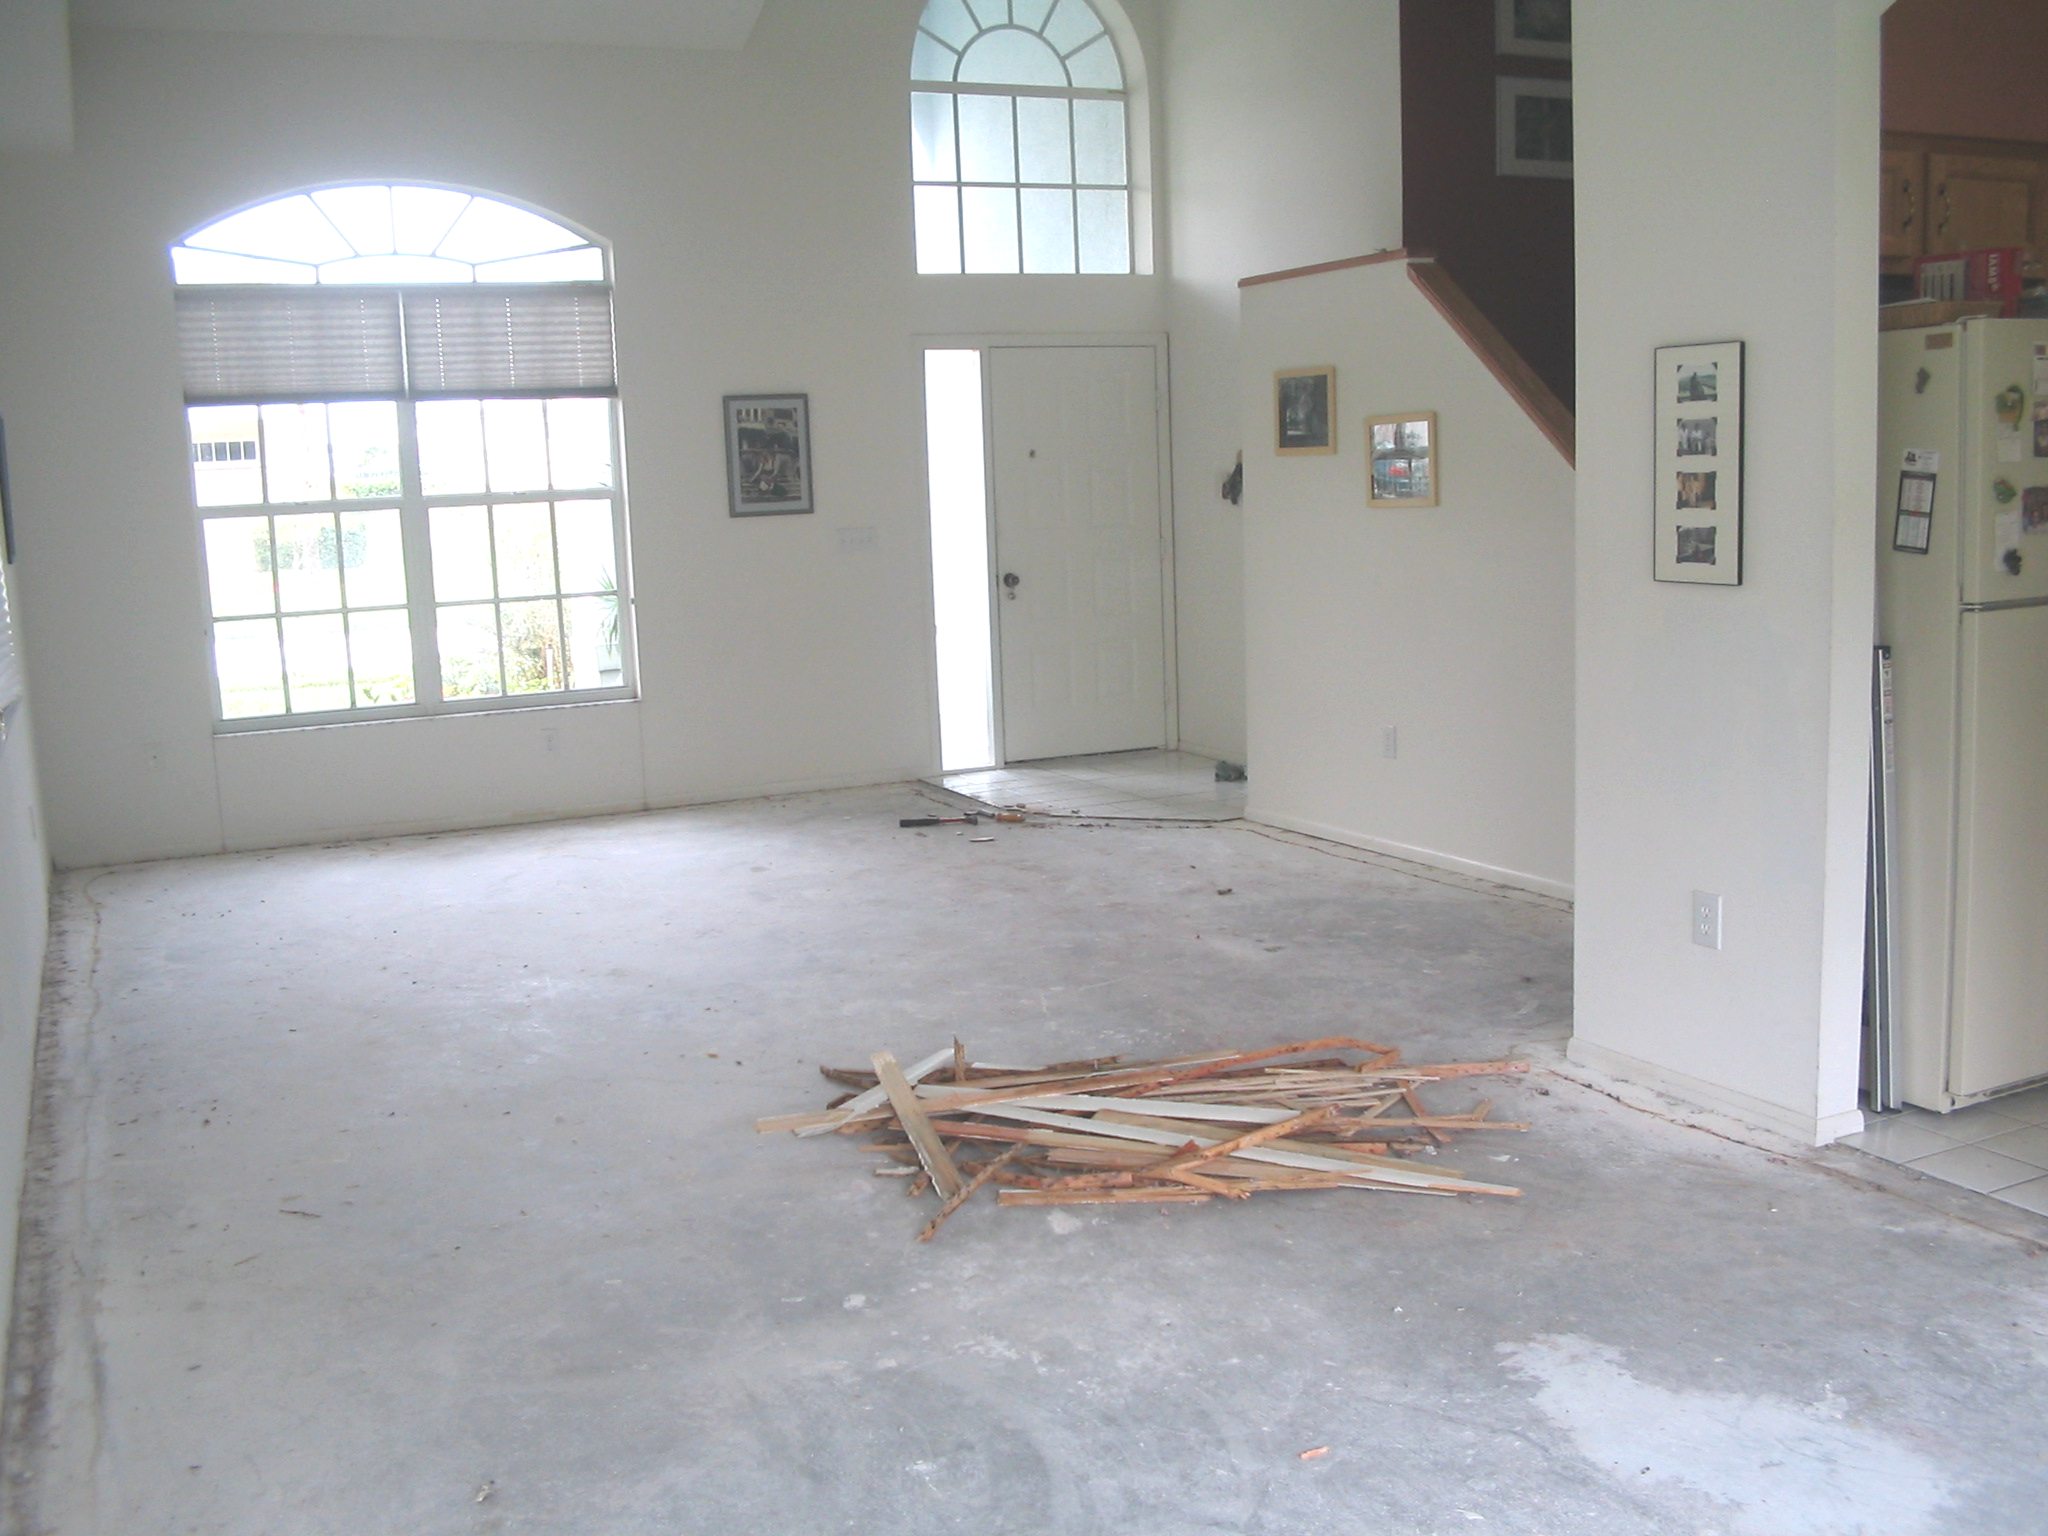
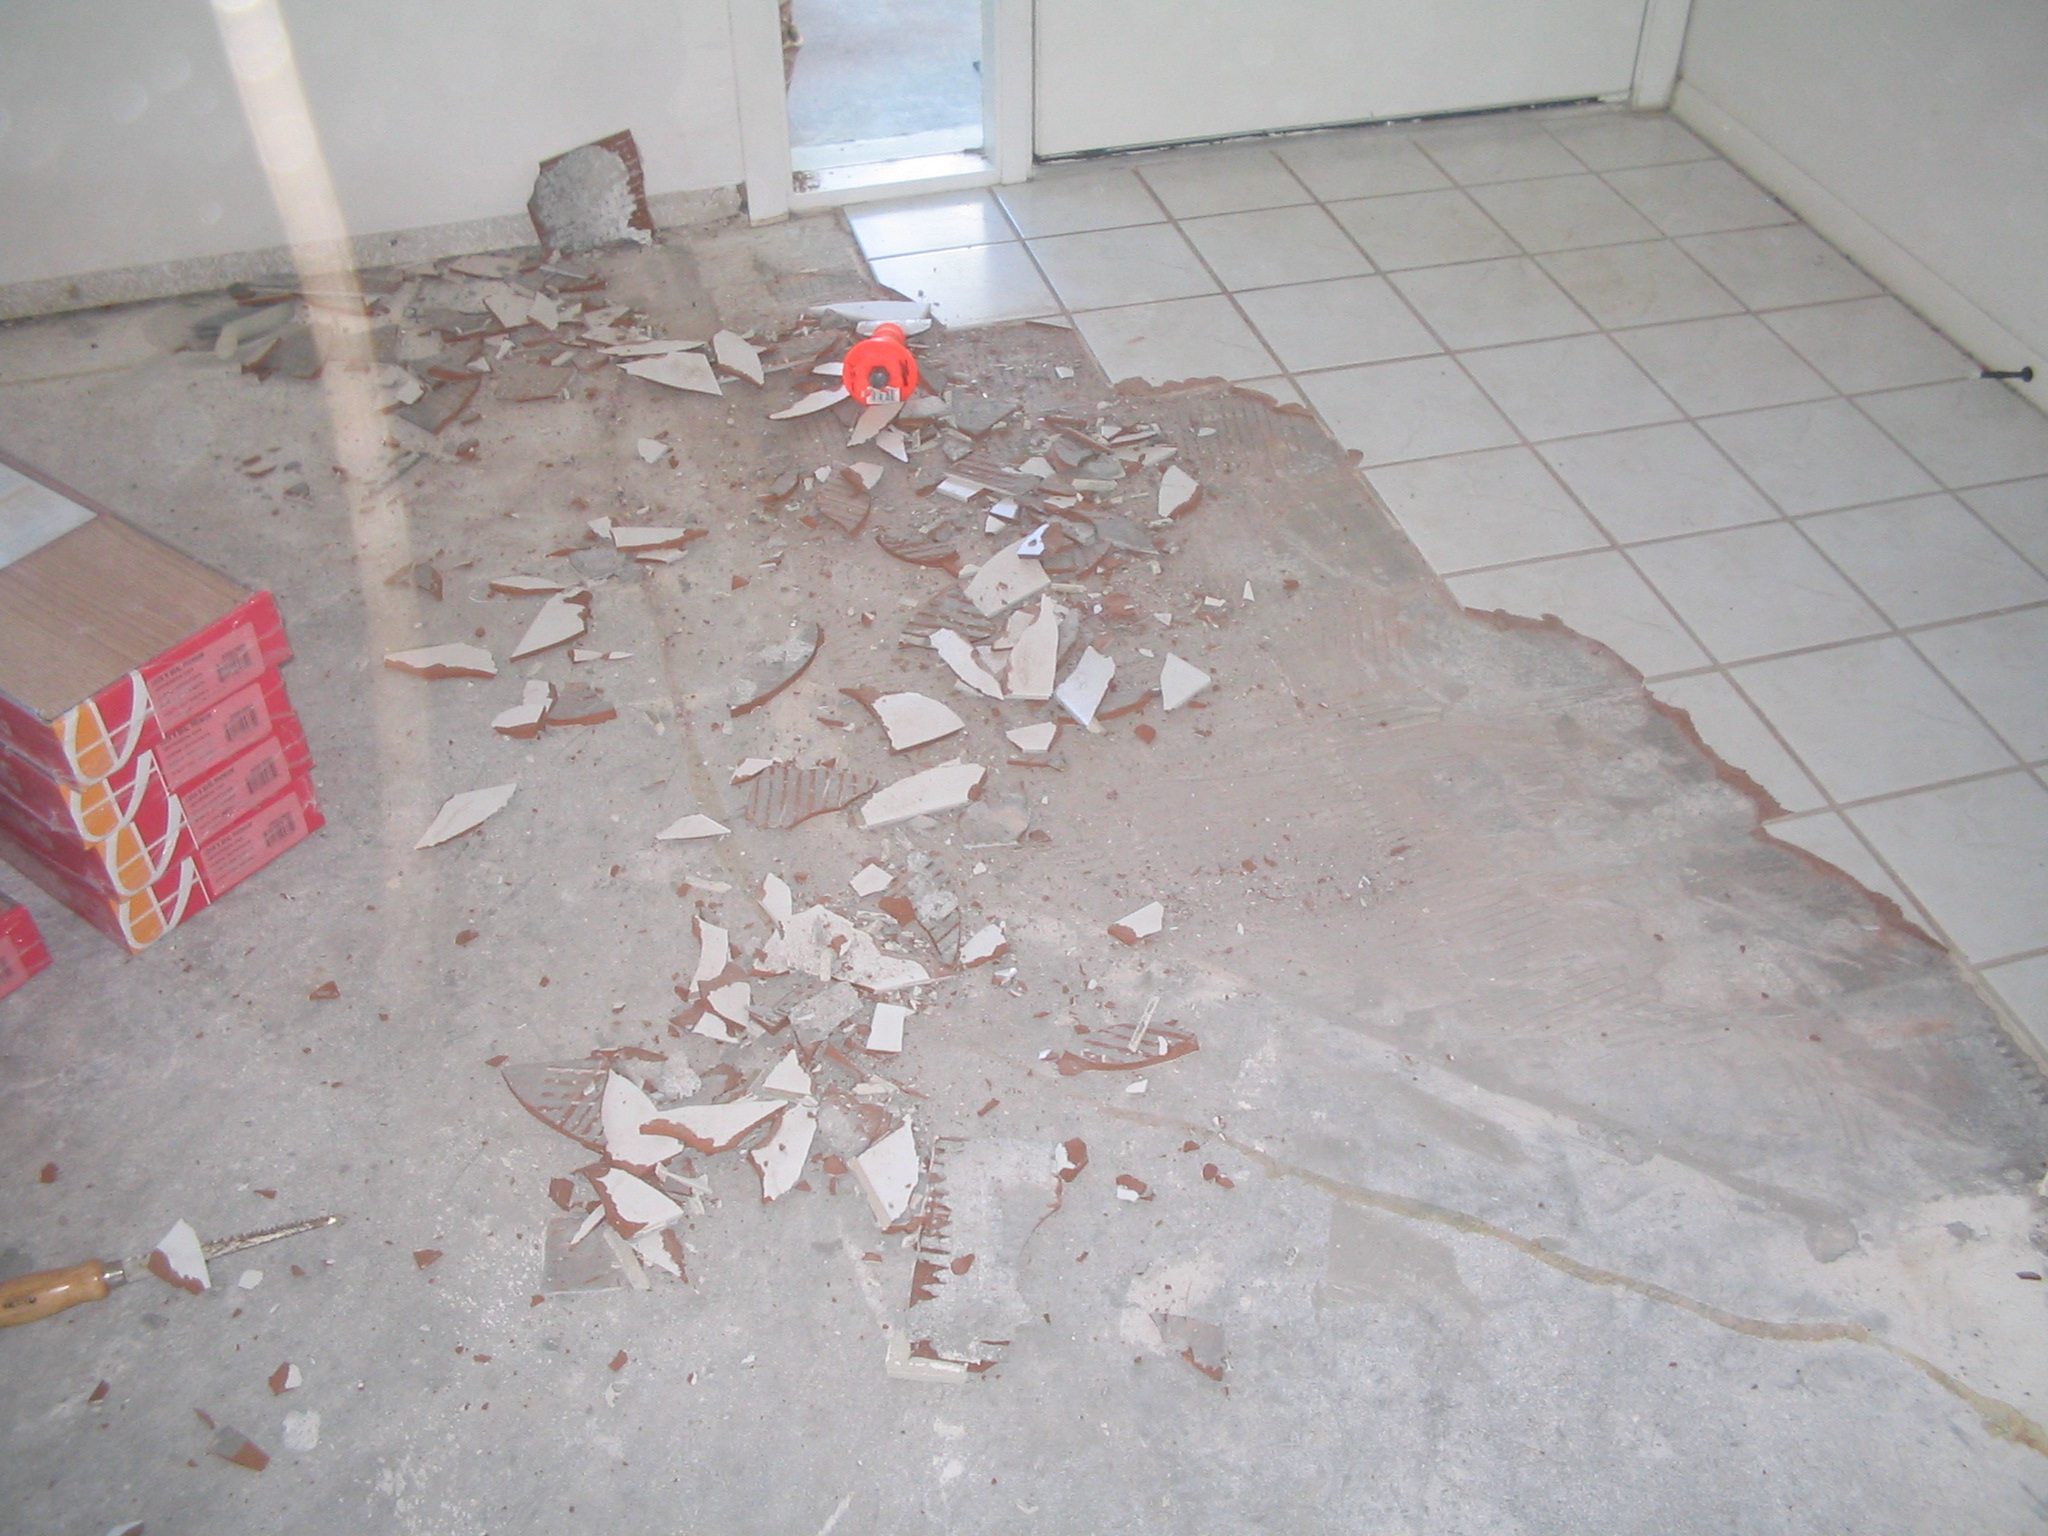
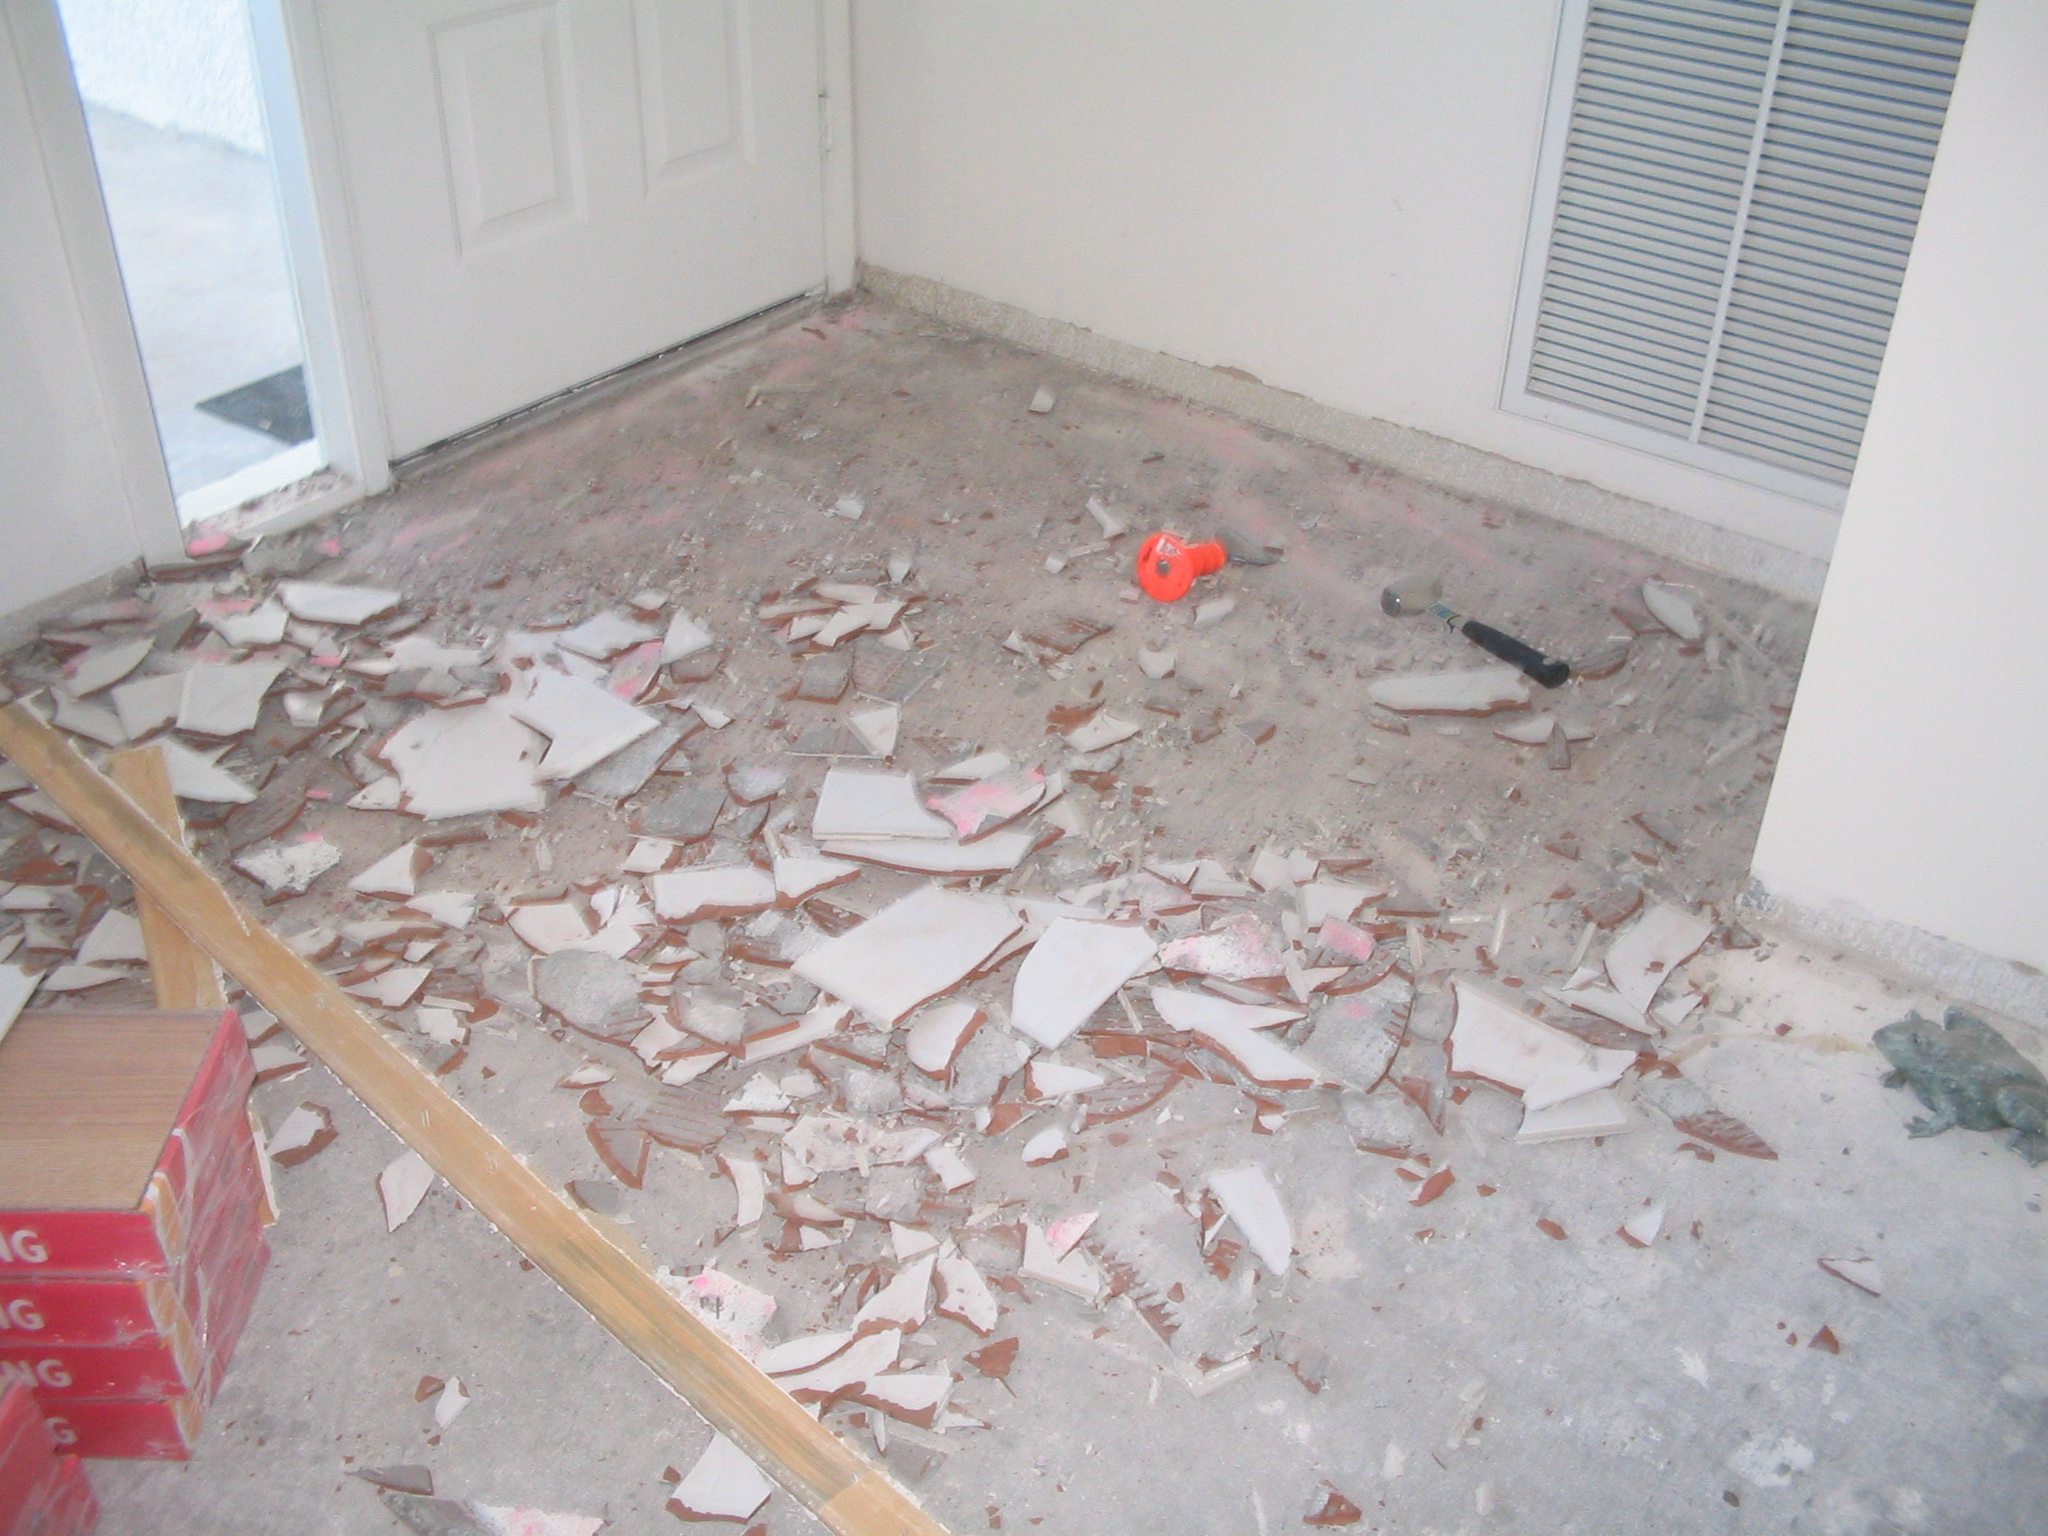
This is the beginning of what turned out to be the hardest part thus far. Micro Just had to get in the picture again. |
|
Taking up the tile was back breaking. Cement is used to fasten the tiles to our concrete foundation. So I had to chisel away at it for hours to make very little progress. Ronan bought me a chisel with a hand guard after whacking my knuckles a few too many times. |
|
I worked on this part of the demolition all day before going to the Prodigals concert with Ronan that evening. We had a great time at the concert and even partied with the band afterwards. See, we are not as old as we look! |
 GO BACK TO TOP
|
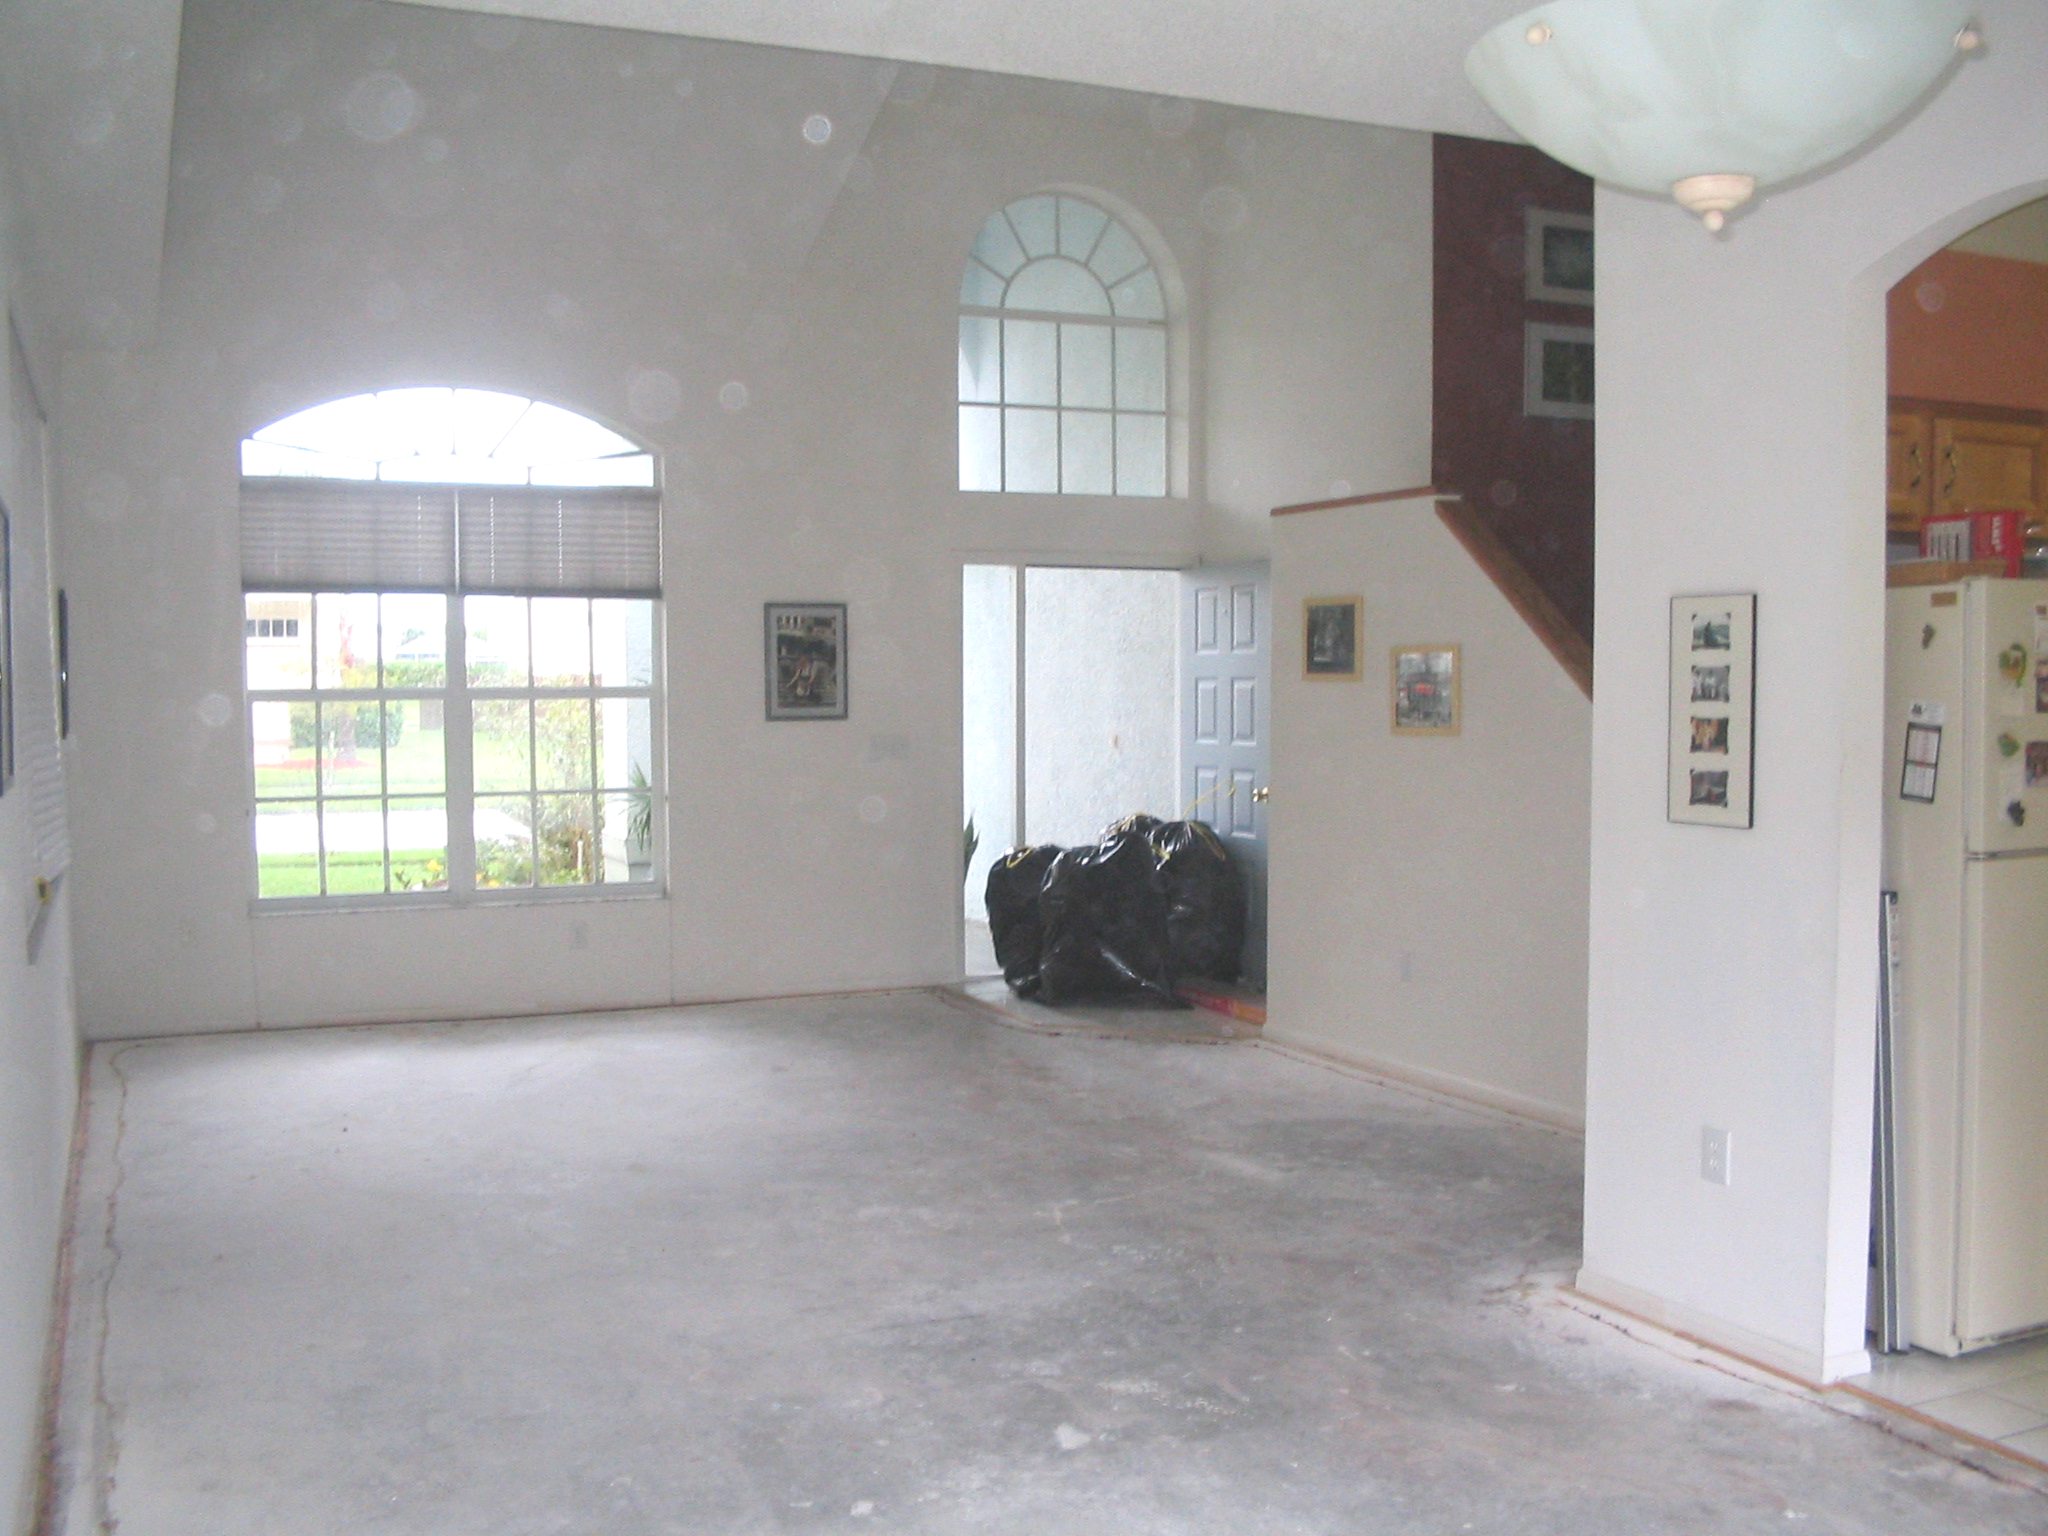
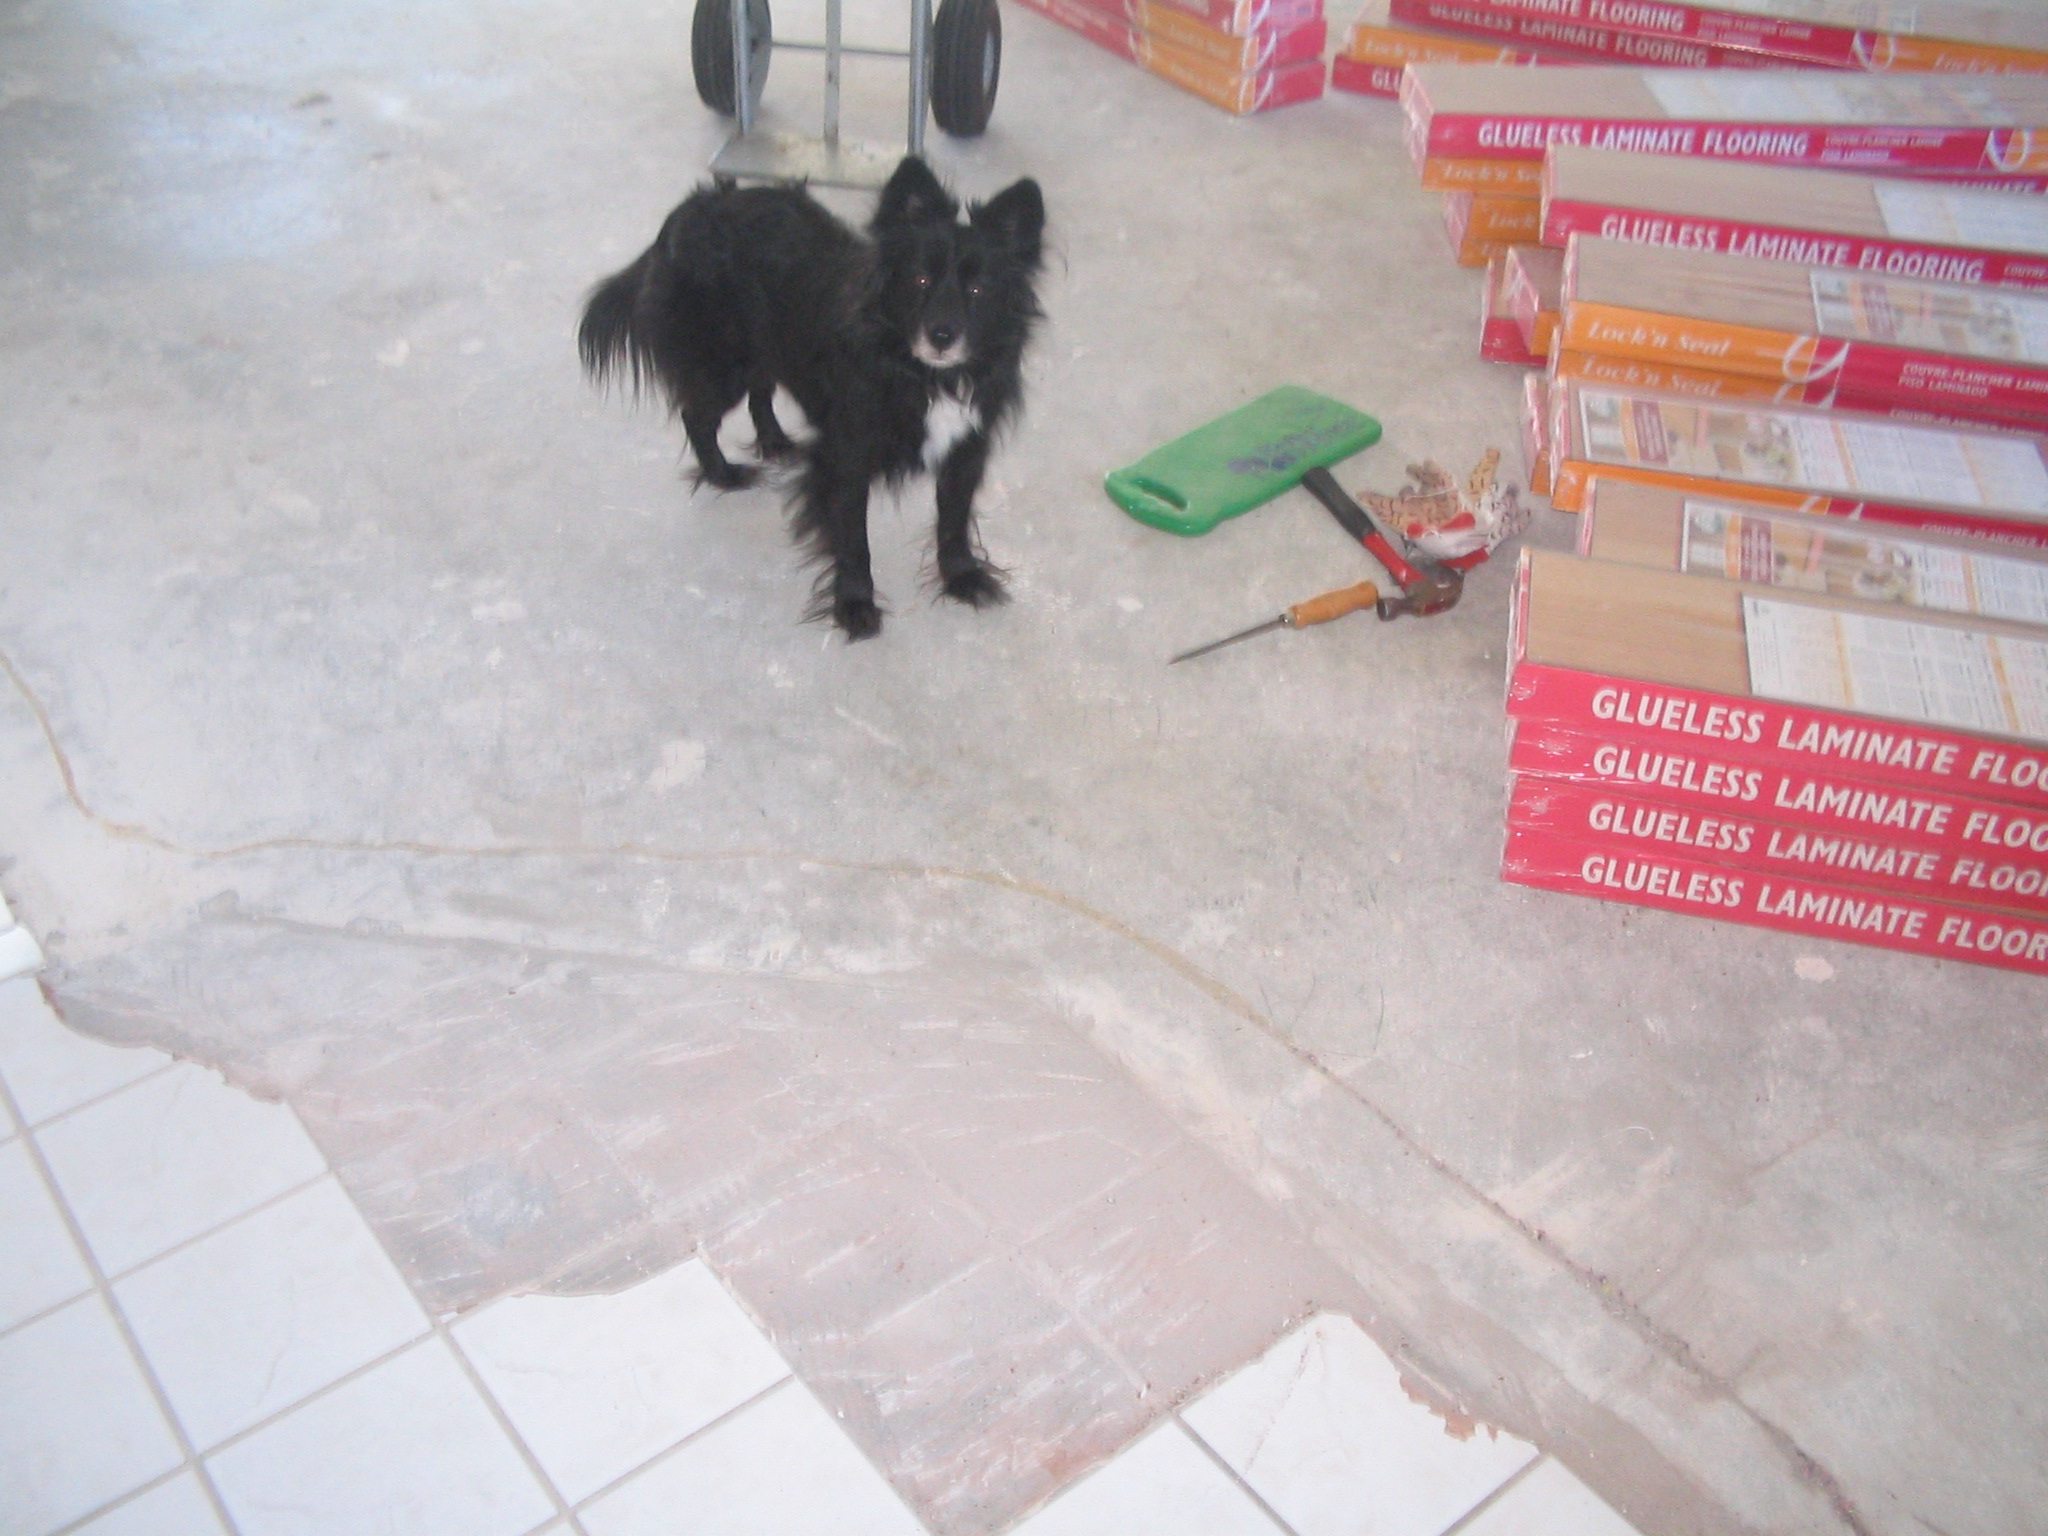
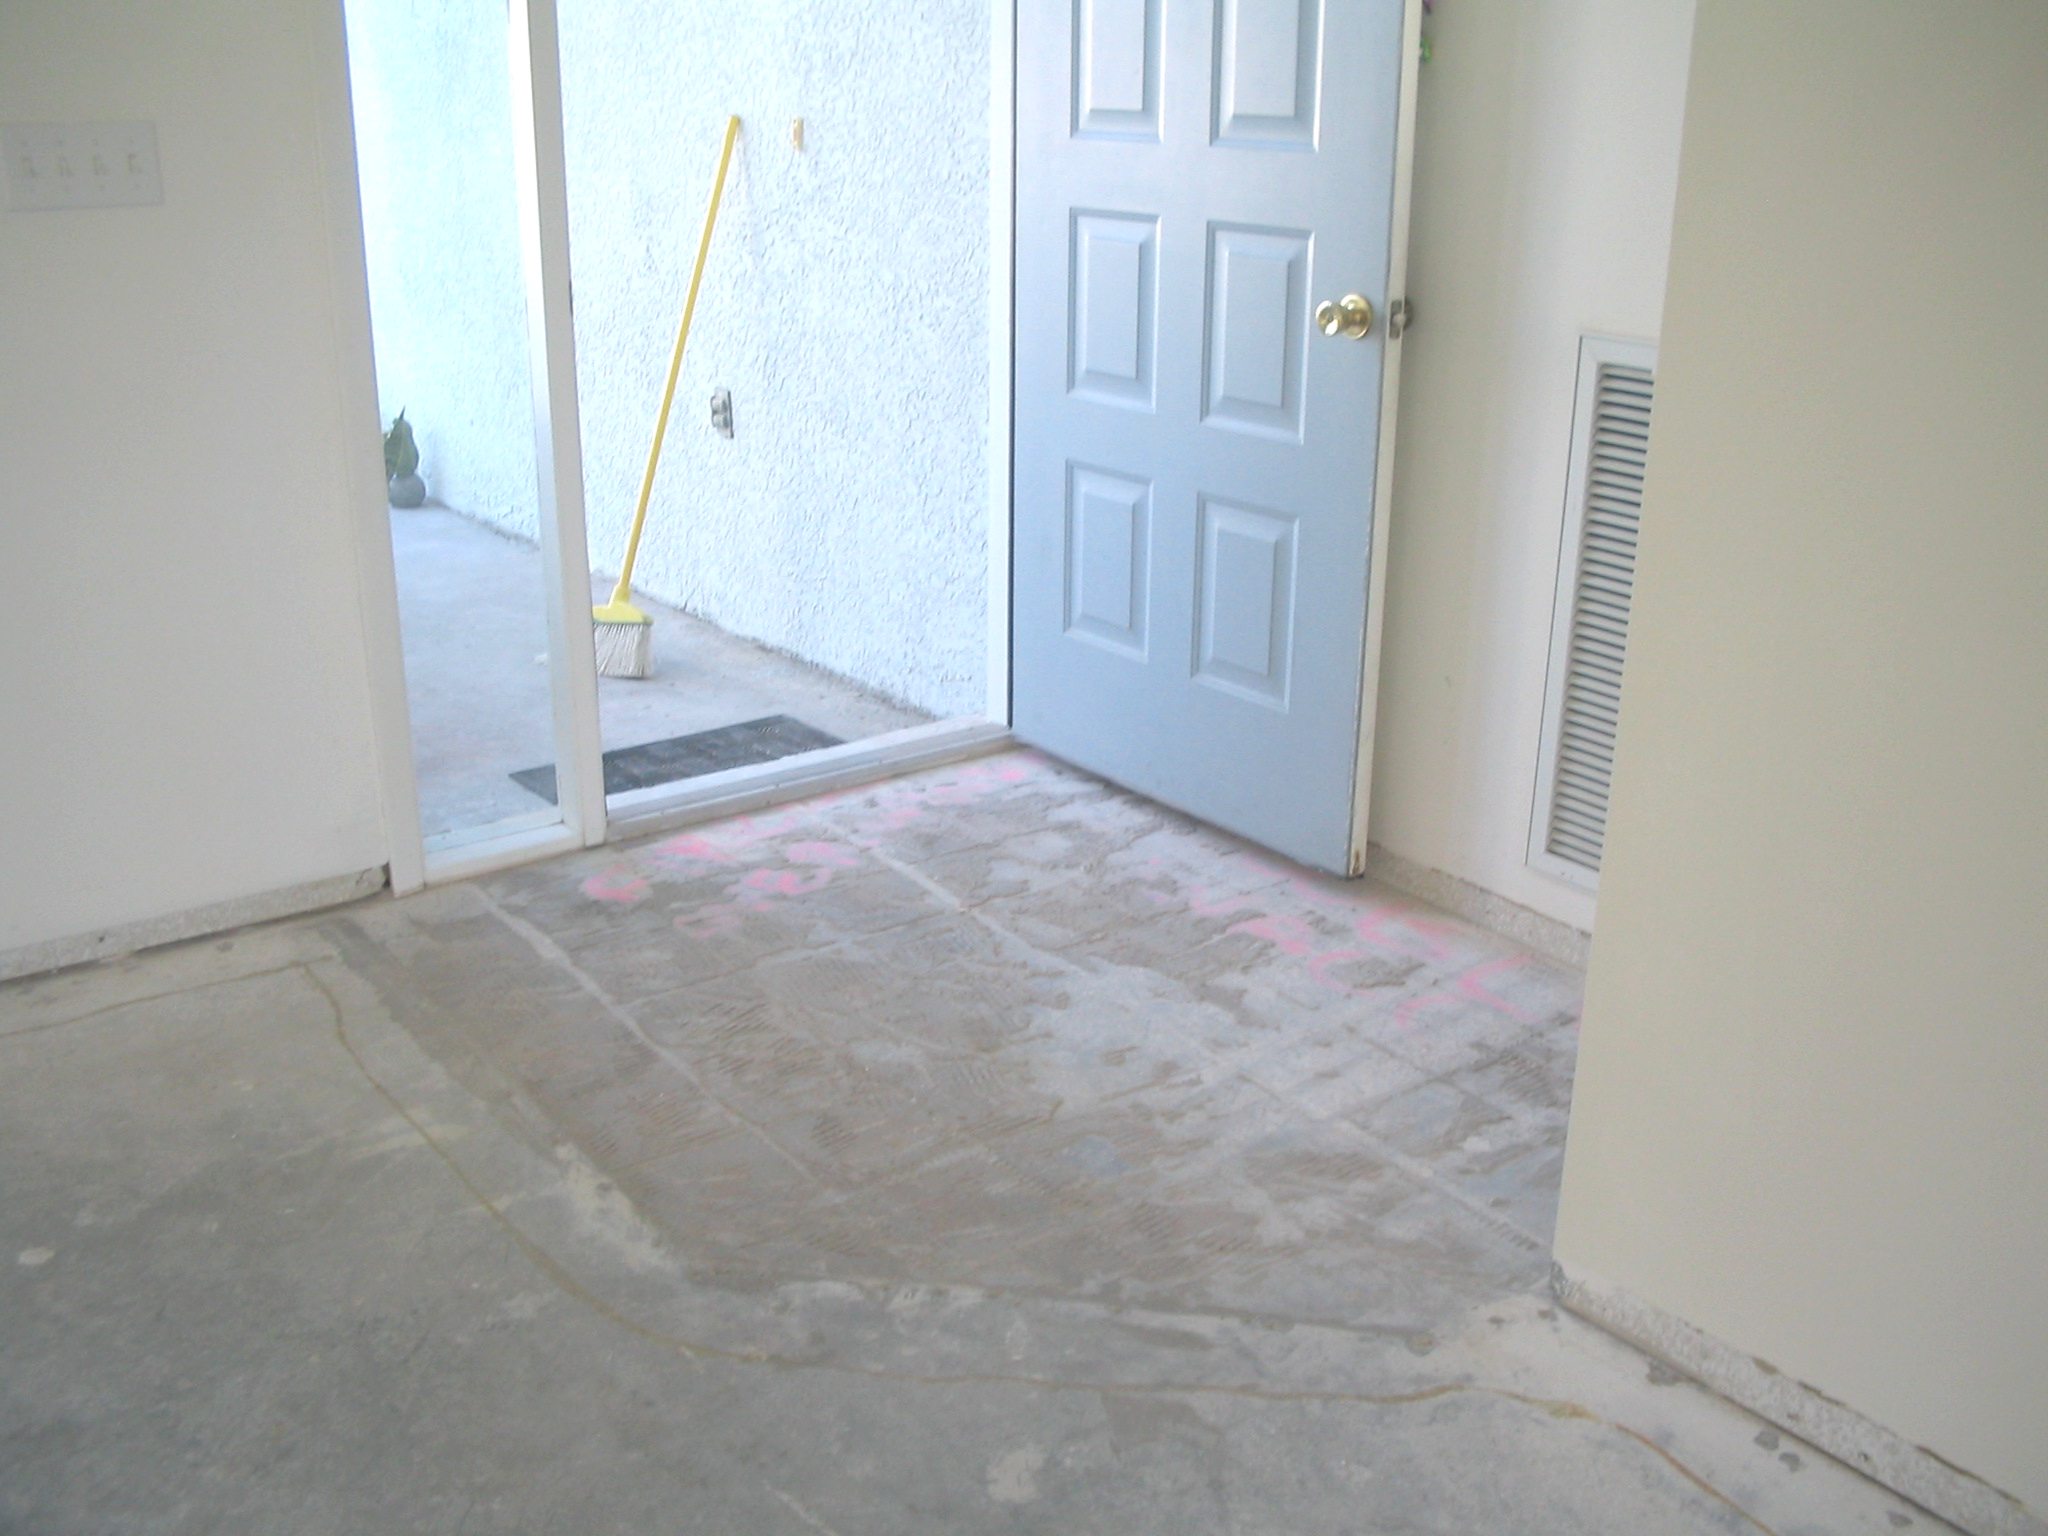
Finally. I managed to clean-up the day after. A lot of tile cement is still left behind after this process so I had to rent a stone grinder ($16/day) to grind the area smooth. |
While everything was moved out and the floors gone, we decided to paint: |
... |
|
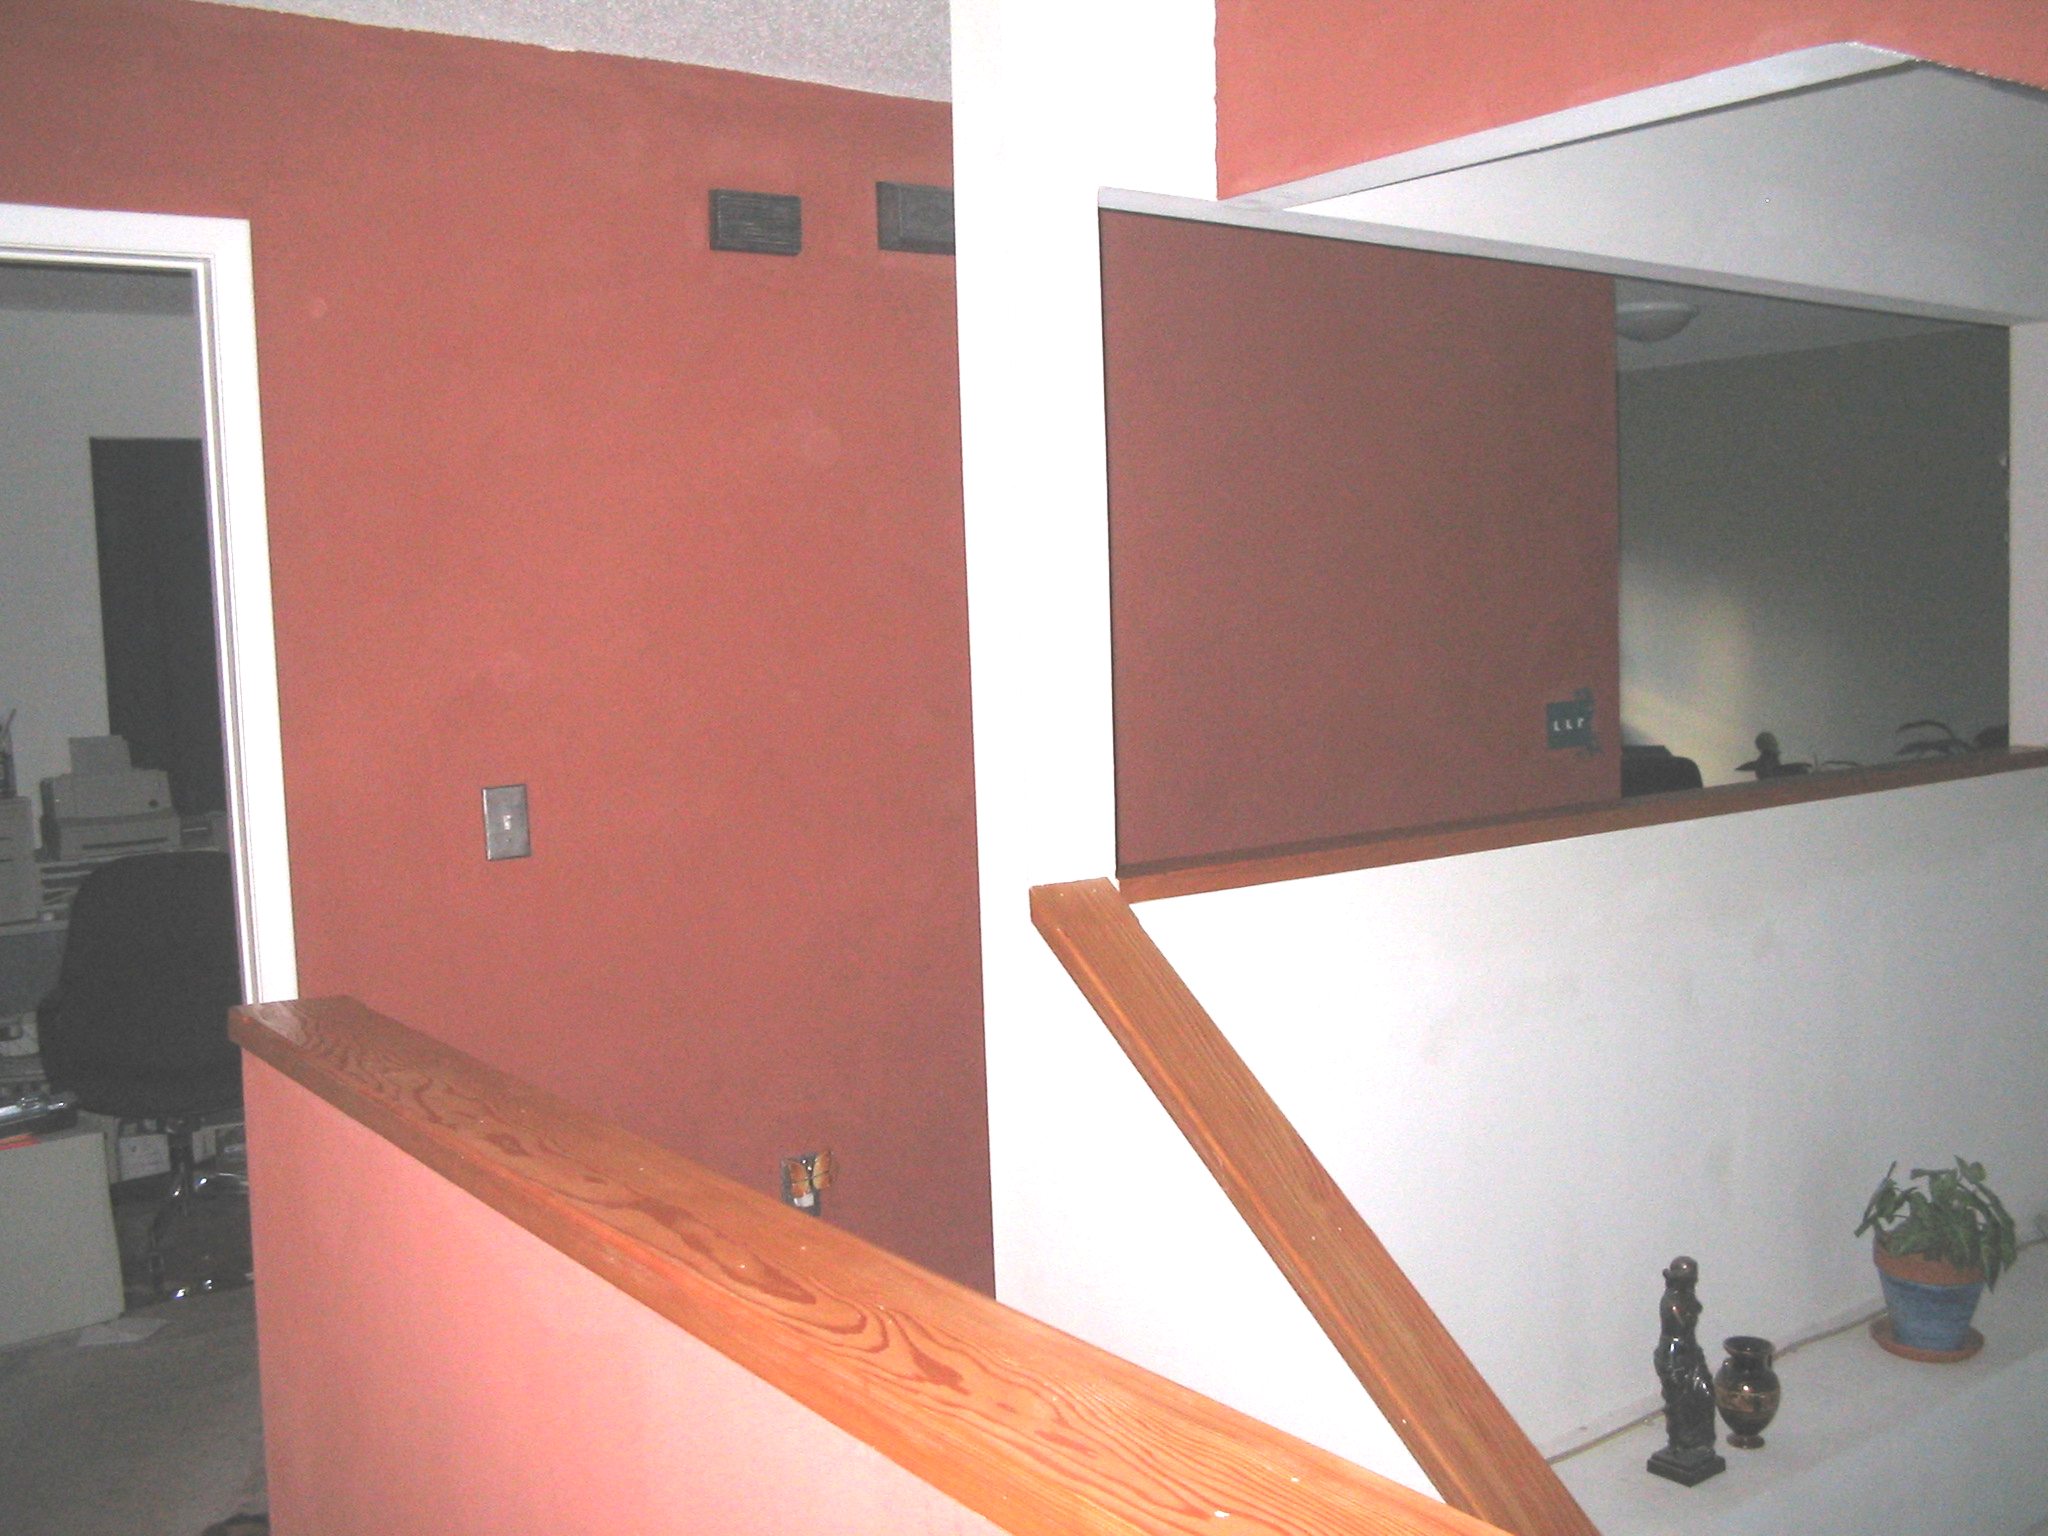
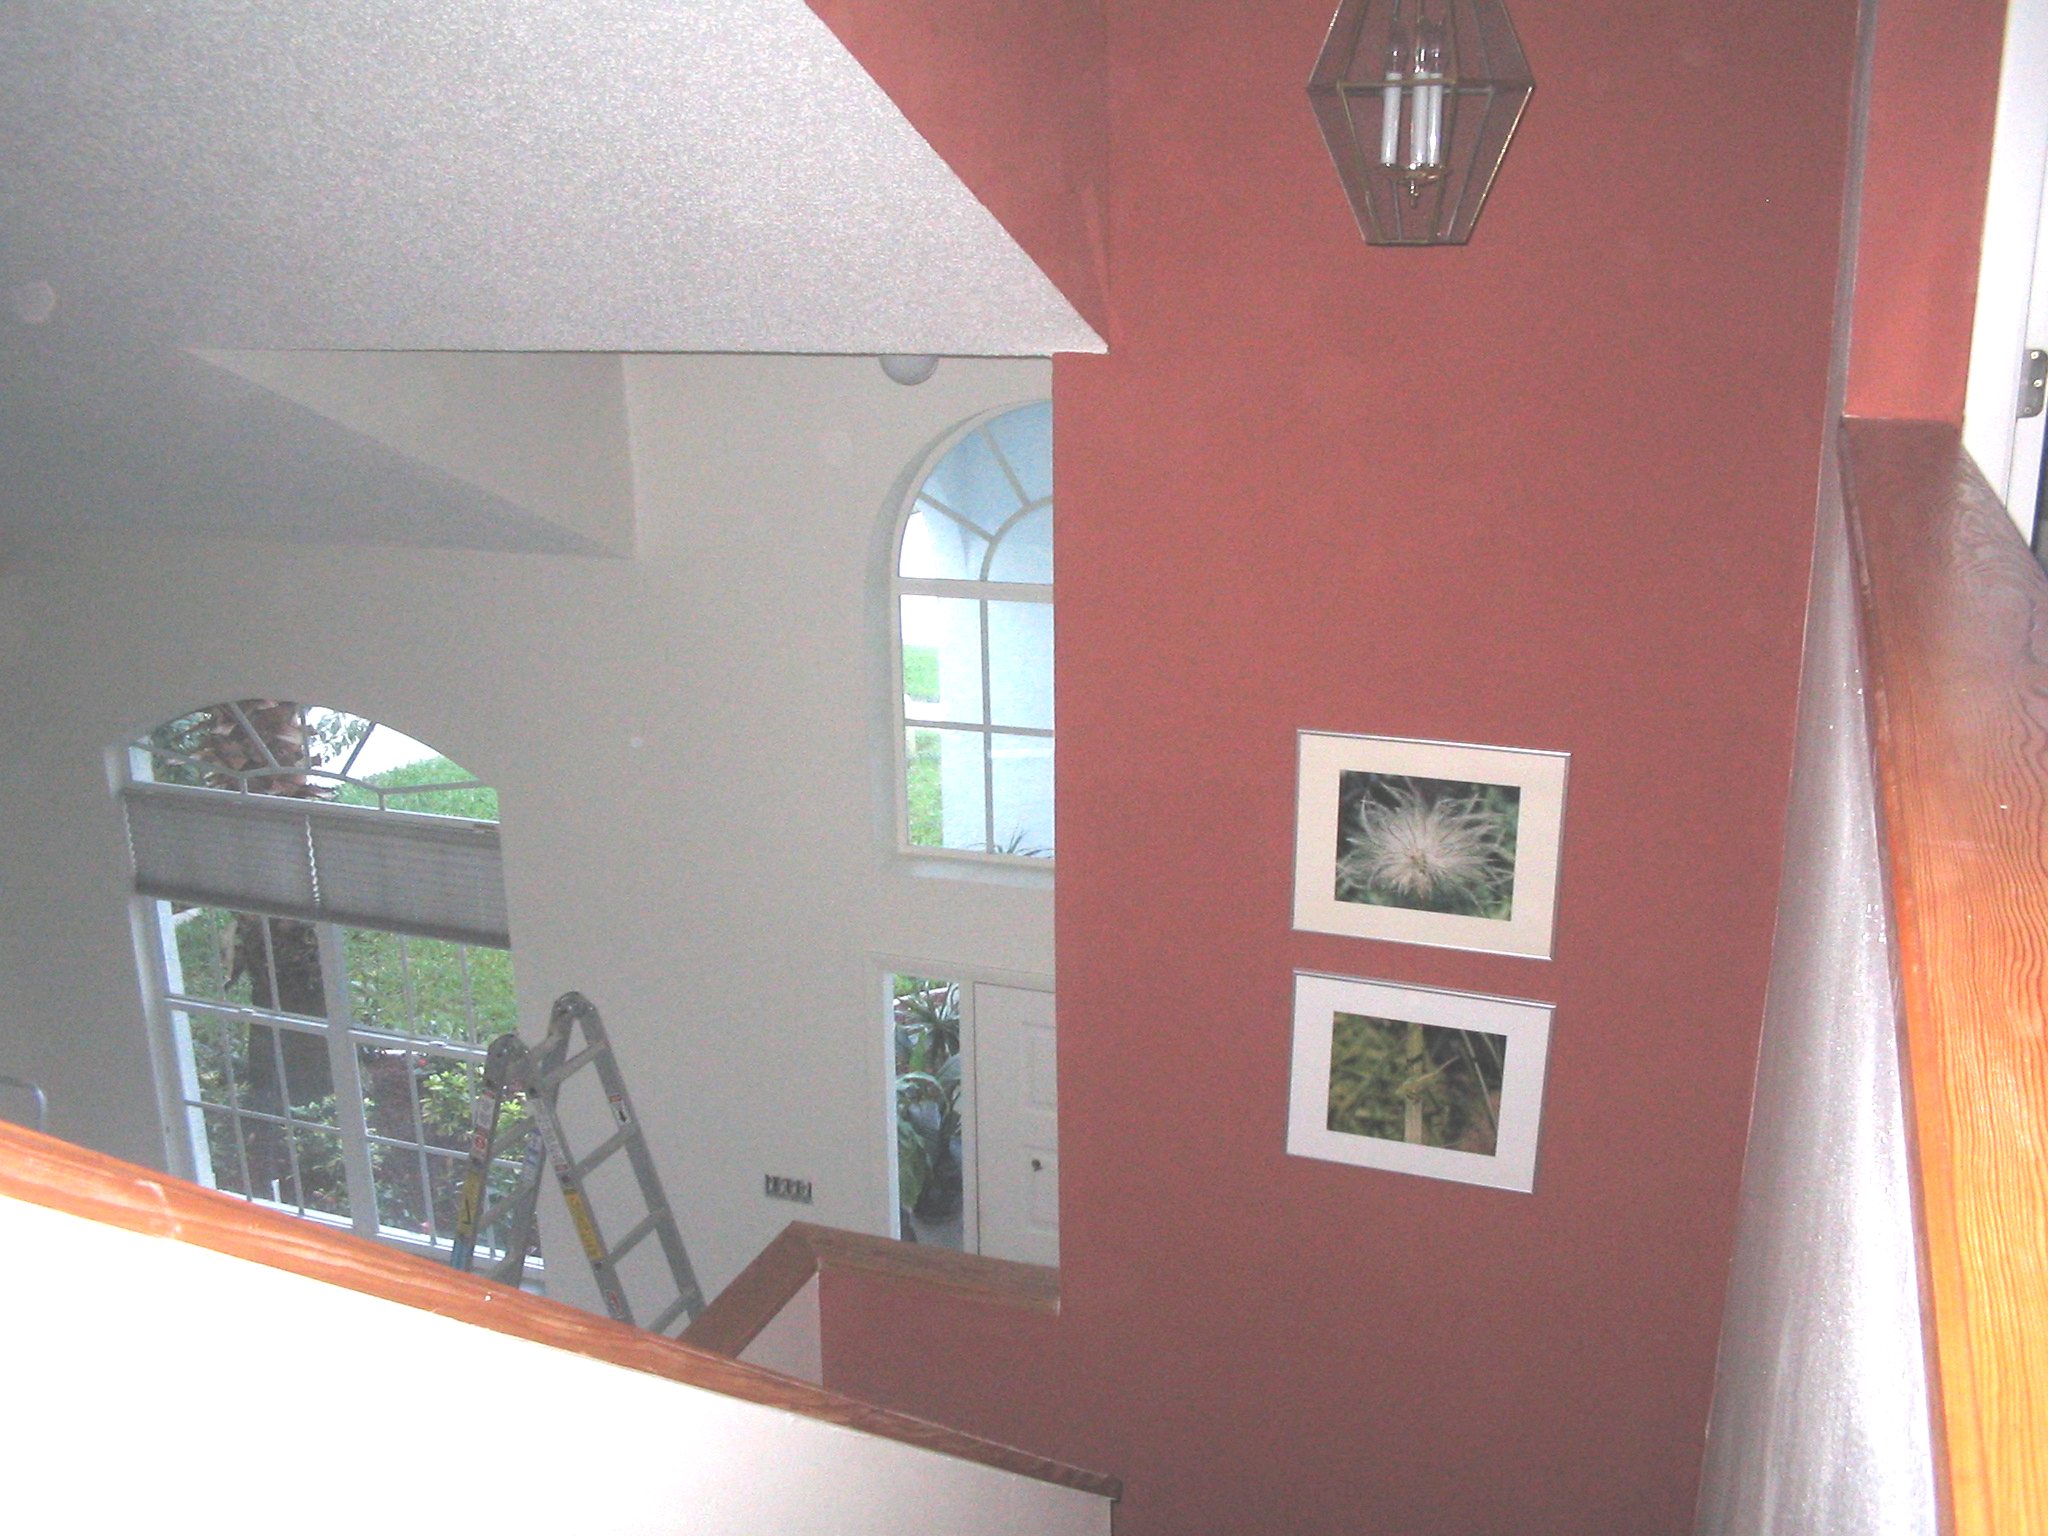
Our whole house was pure white. Ronan looks heavenly against all that white. But I wanted fire-y! So Terracotta Red it is. The upstairs was really painted last year already, but I had to include it in the project before & after pics. |

|
A blank canvas is always fun. A few graffiti strokes - there's no turning back now! |
|
Not much commentary on the afters. I think the difference is dramatic and wonderful looking. I used Ralph Lauren Suede paint with a sand texture in it. In keeping with the terracotta look. |
|
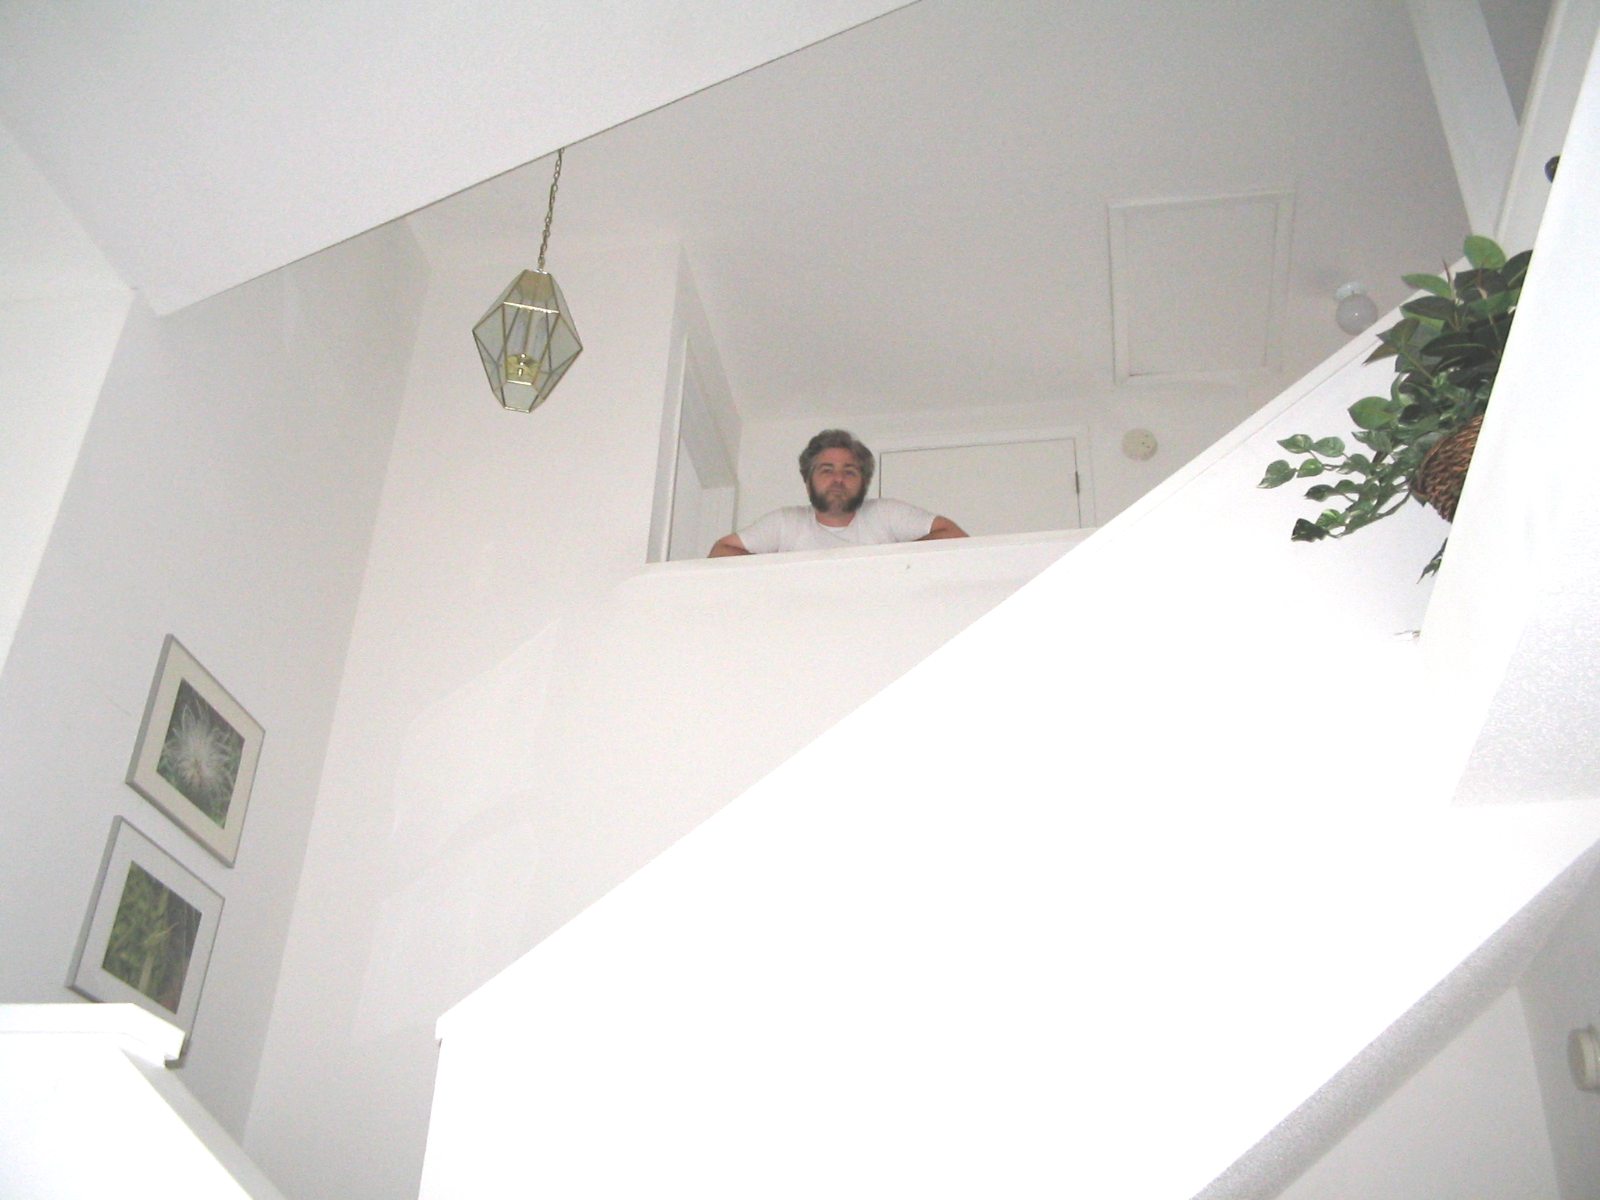
The tall wall at the landing of our stairs adds the transition from the downstairs to the upstairs. Later, I'd like to get the hanging light and the hand rails on the stairs in wrought-iron. |
|
Ronan & Ray sanded all the white paint off the banisters and sanded then finished the wood underneath. It looks much better! |

|
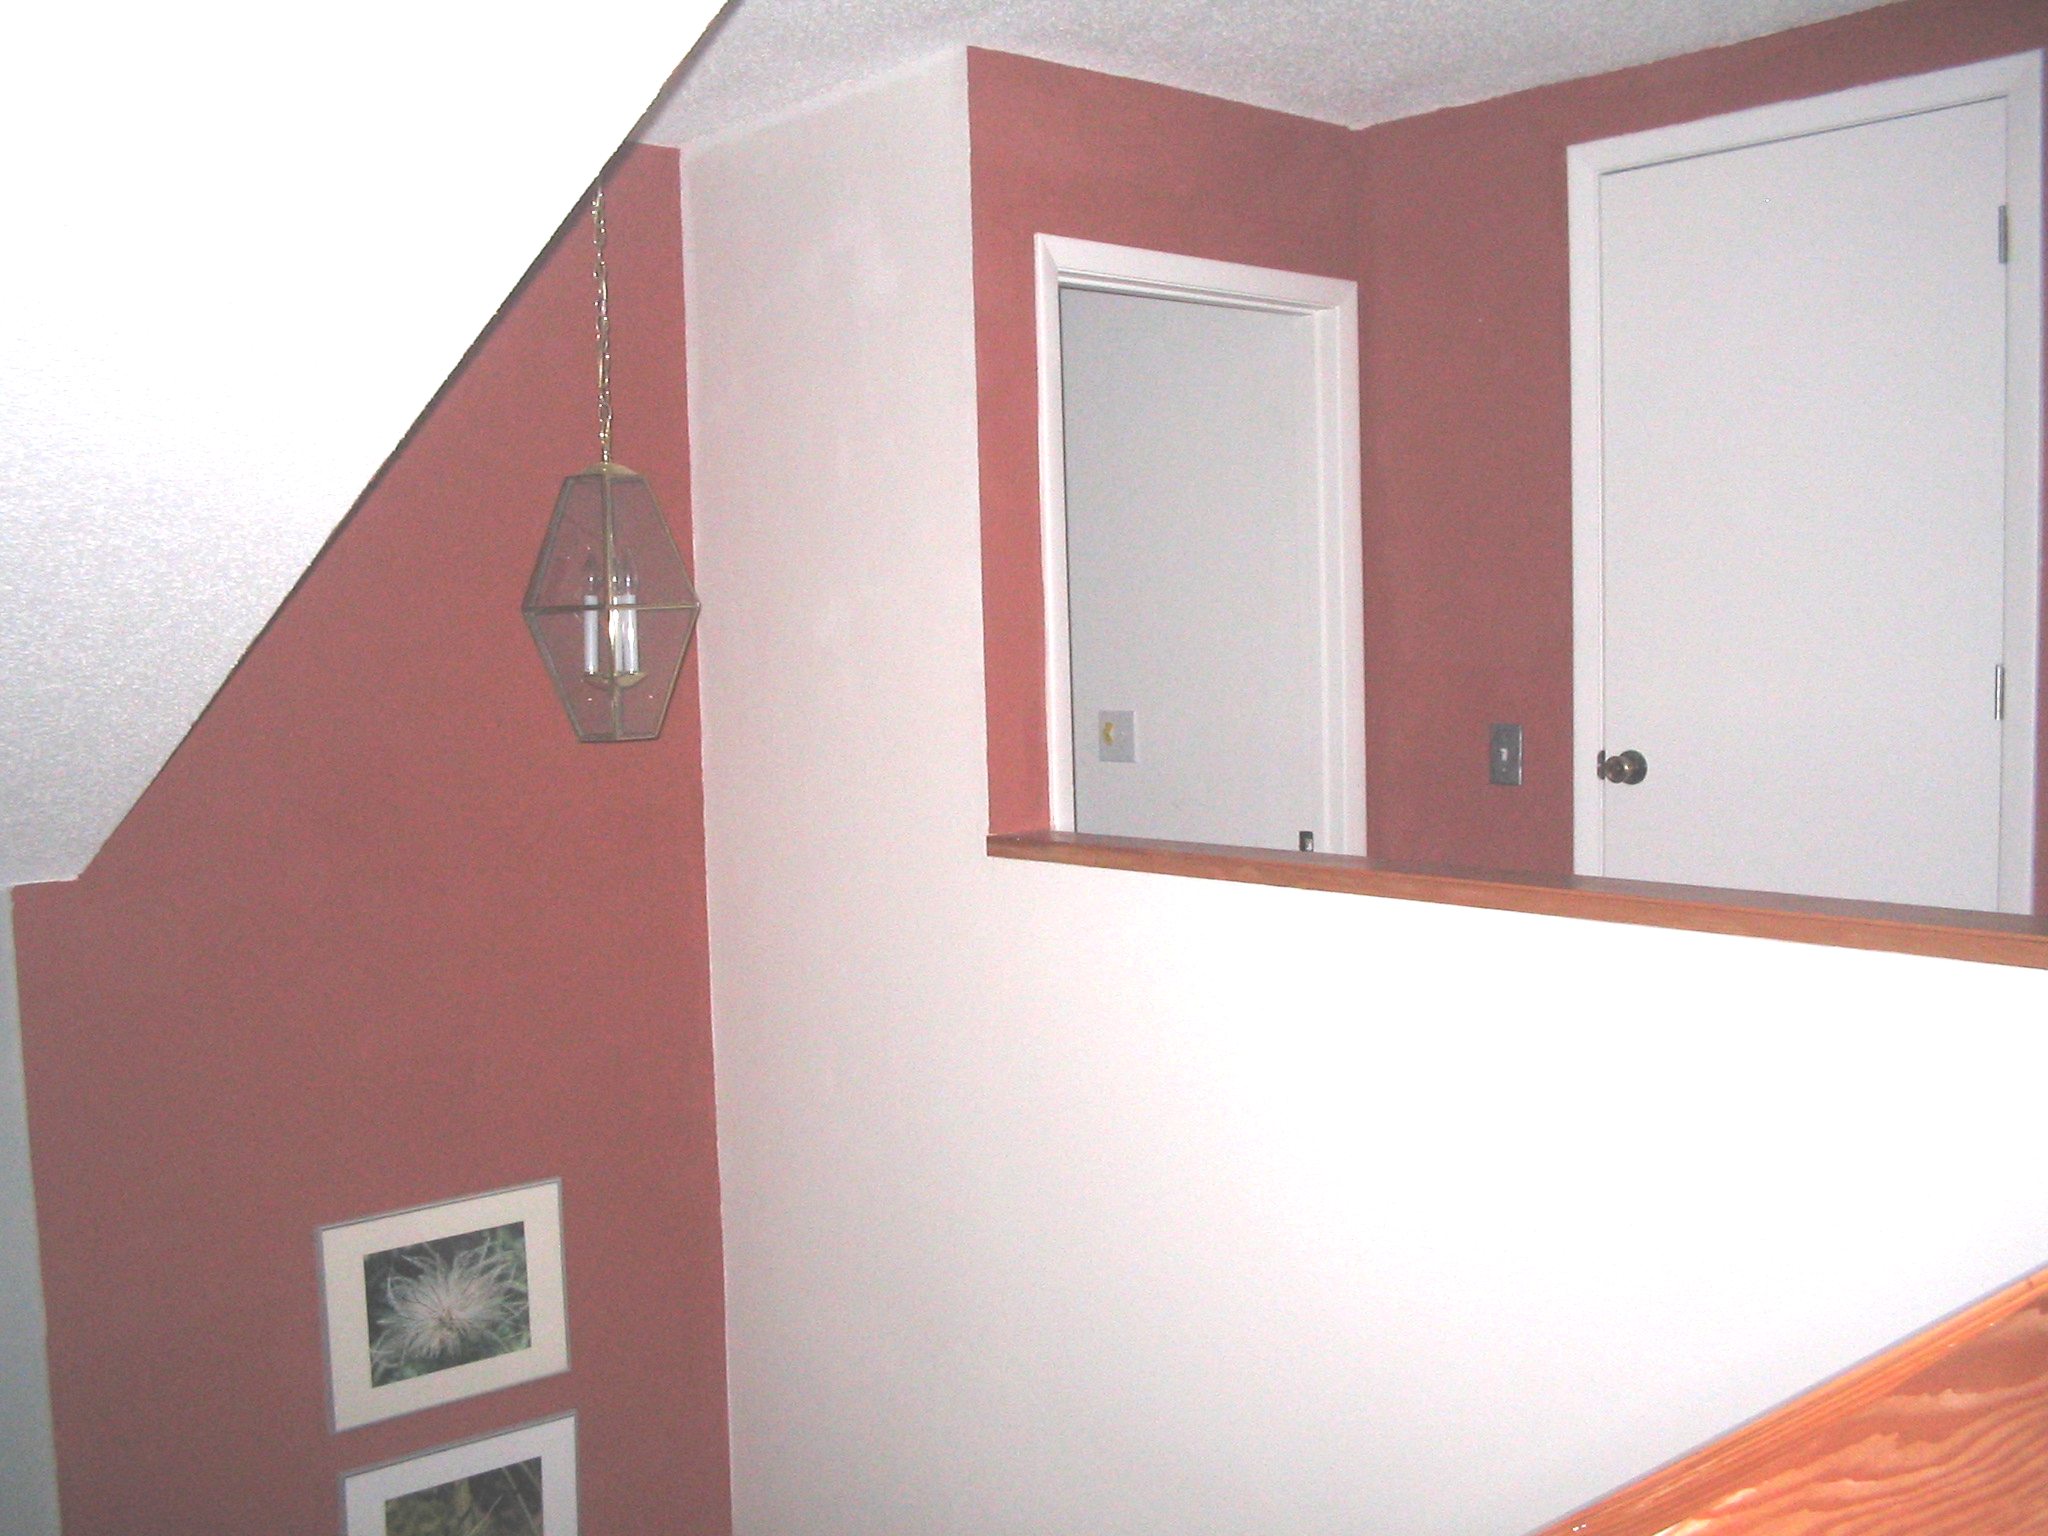
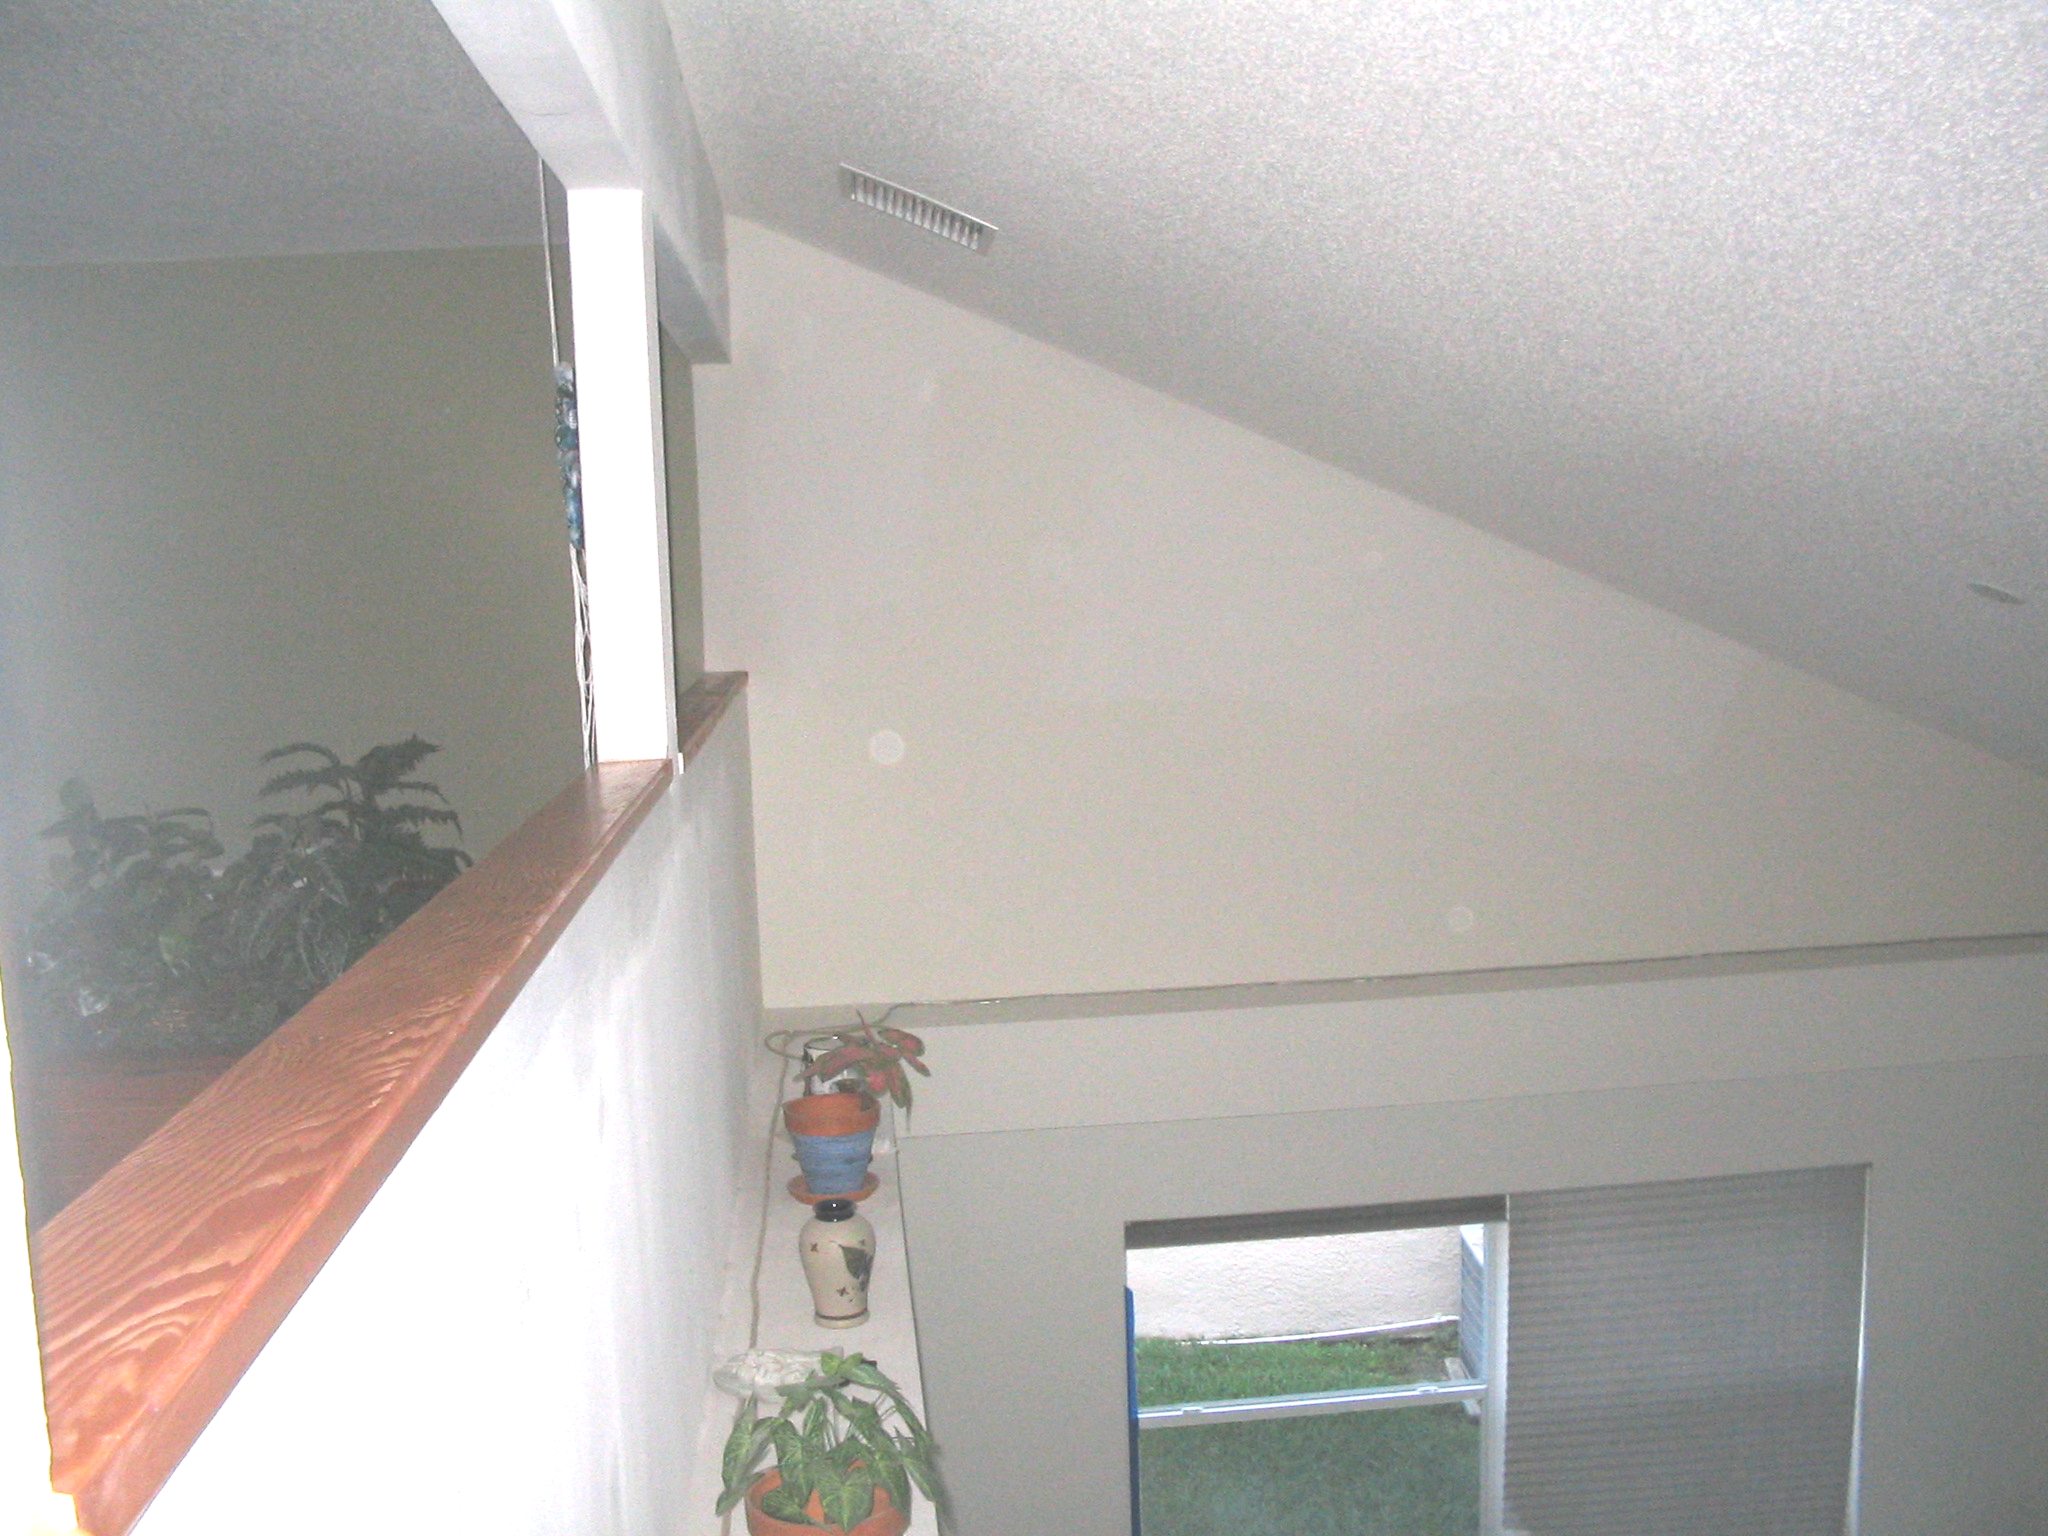
Time to paint the downstairs and plant shelf. Even our largest ladder is proving to be too small for our highest spots. |
|
The plant shelf is the hardest part of this job. The tube lighting is hard to paint around and even harder to take up. The highest spot on the far wall is proving difficult to reach. |
GO BACK TO TOP |
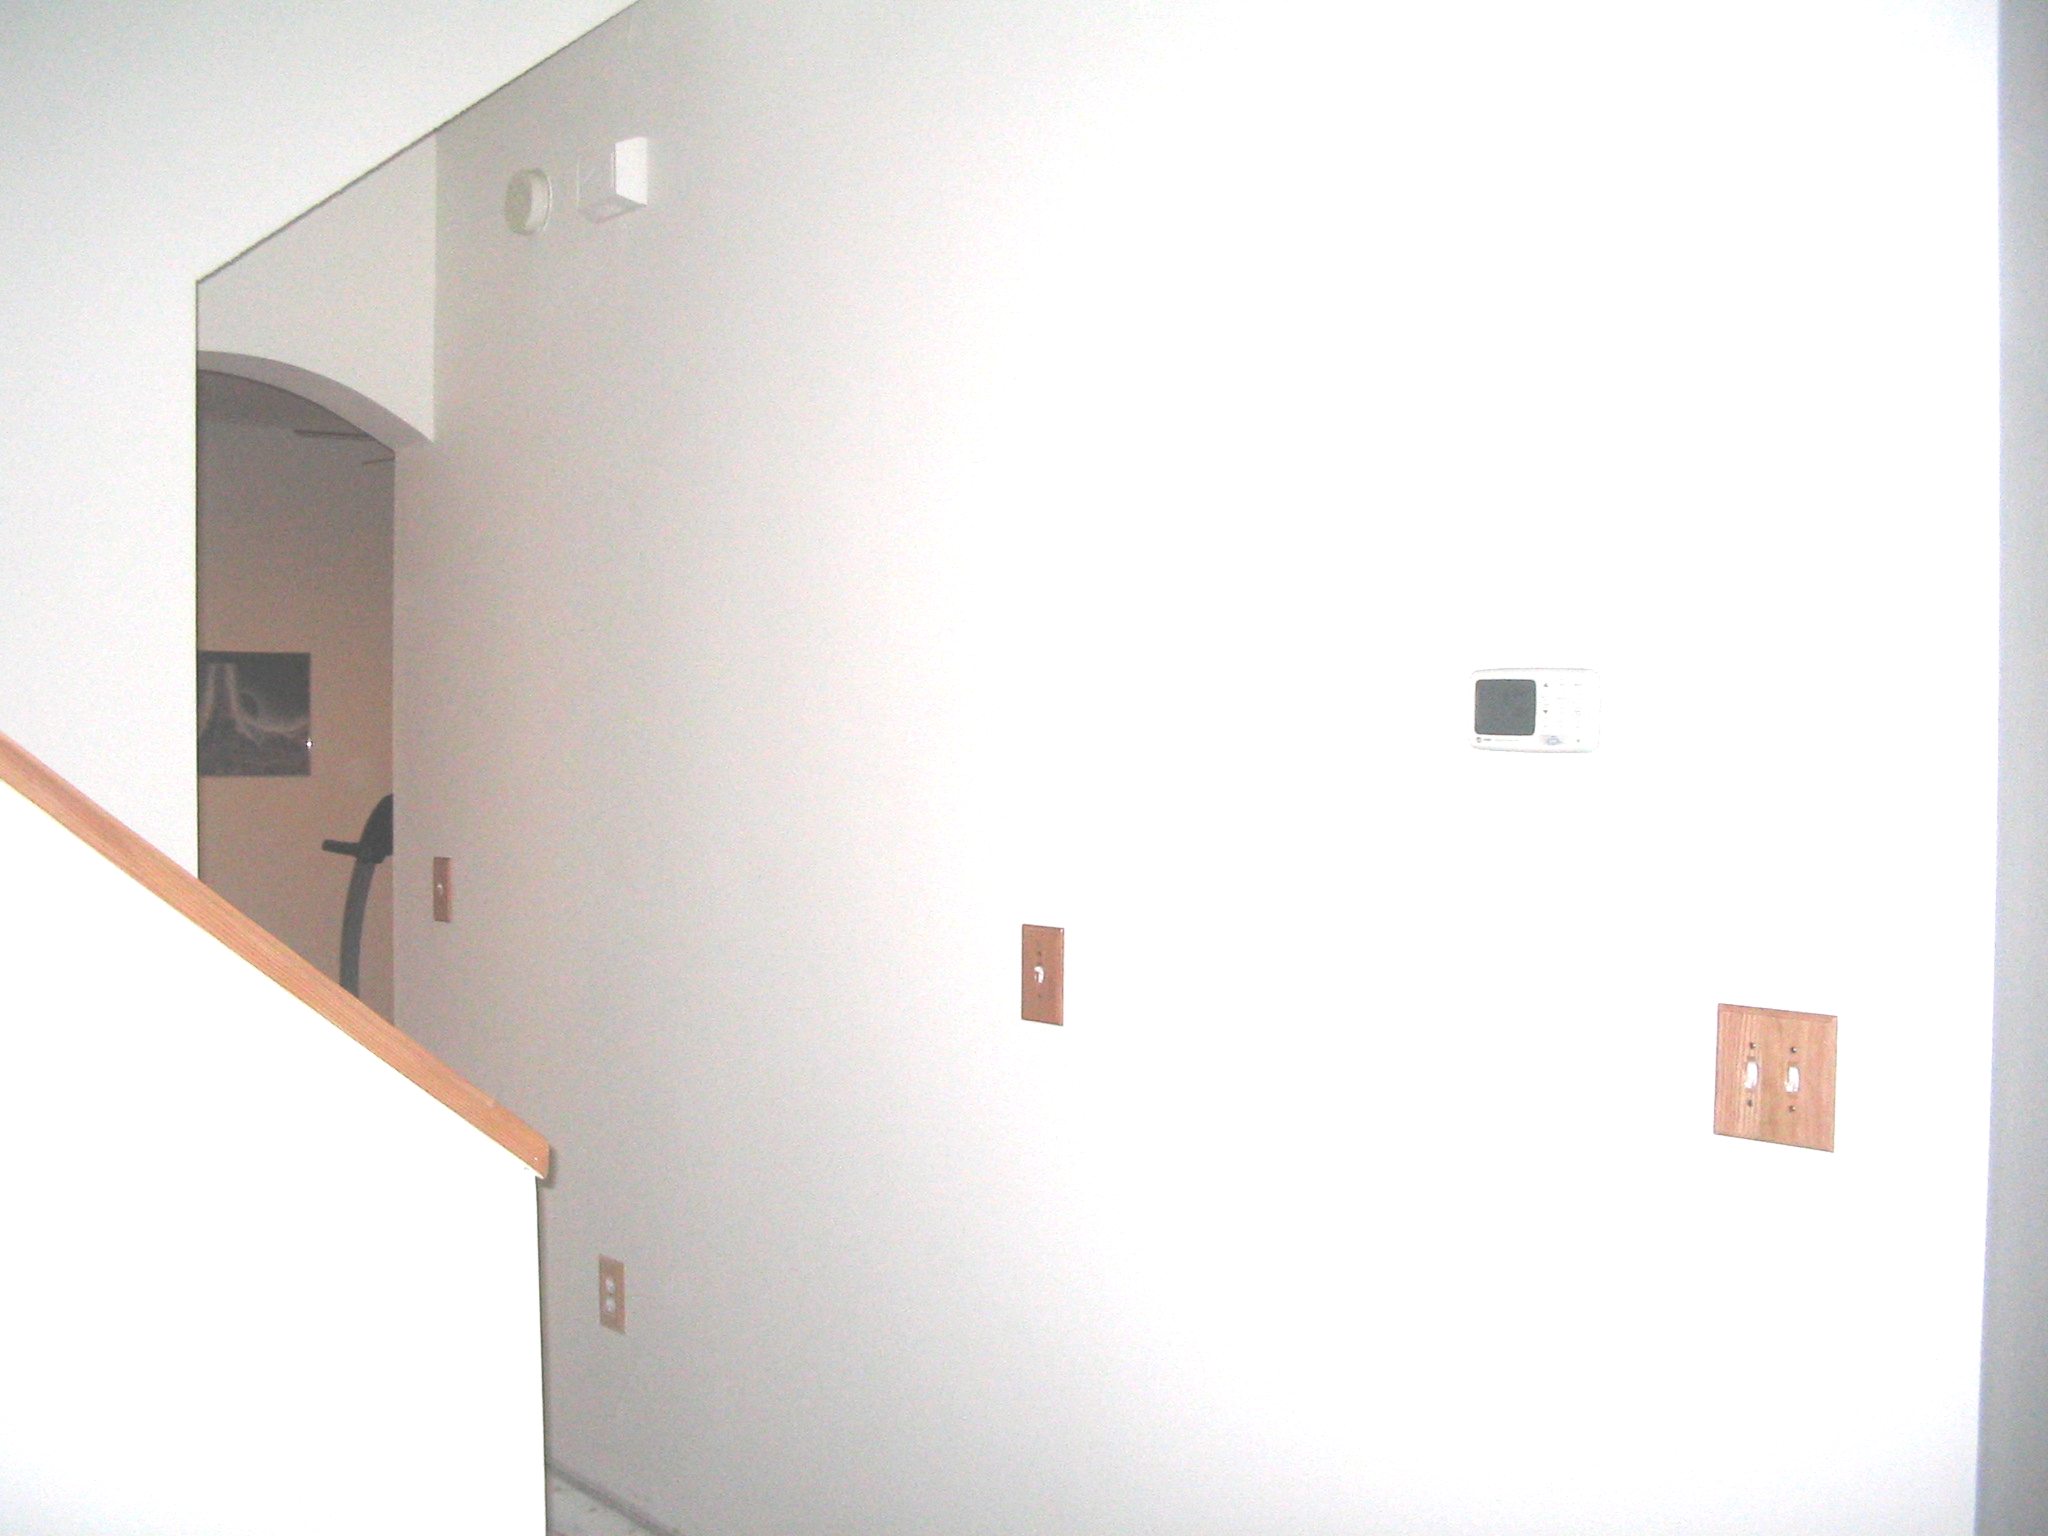
Ronan insisted that the downstairs stay white. There really isn't a paint color called "white" so we settled on a slightly earthier hue called "Birckenshire White." I used oak outlet covers and light switch covers to match the wood floors we'll be putting in. |
Next job - The Fan: |
... |
|
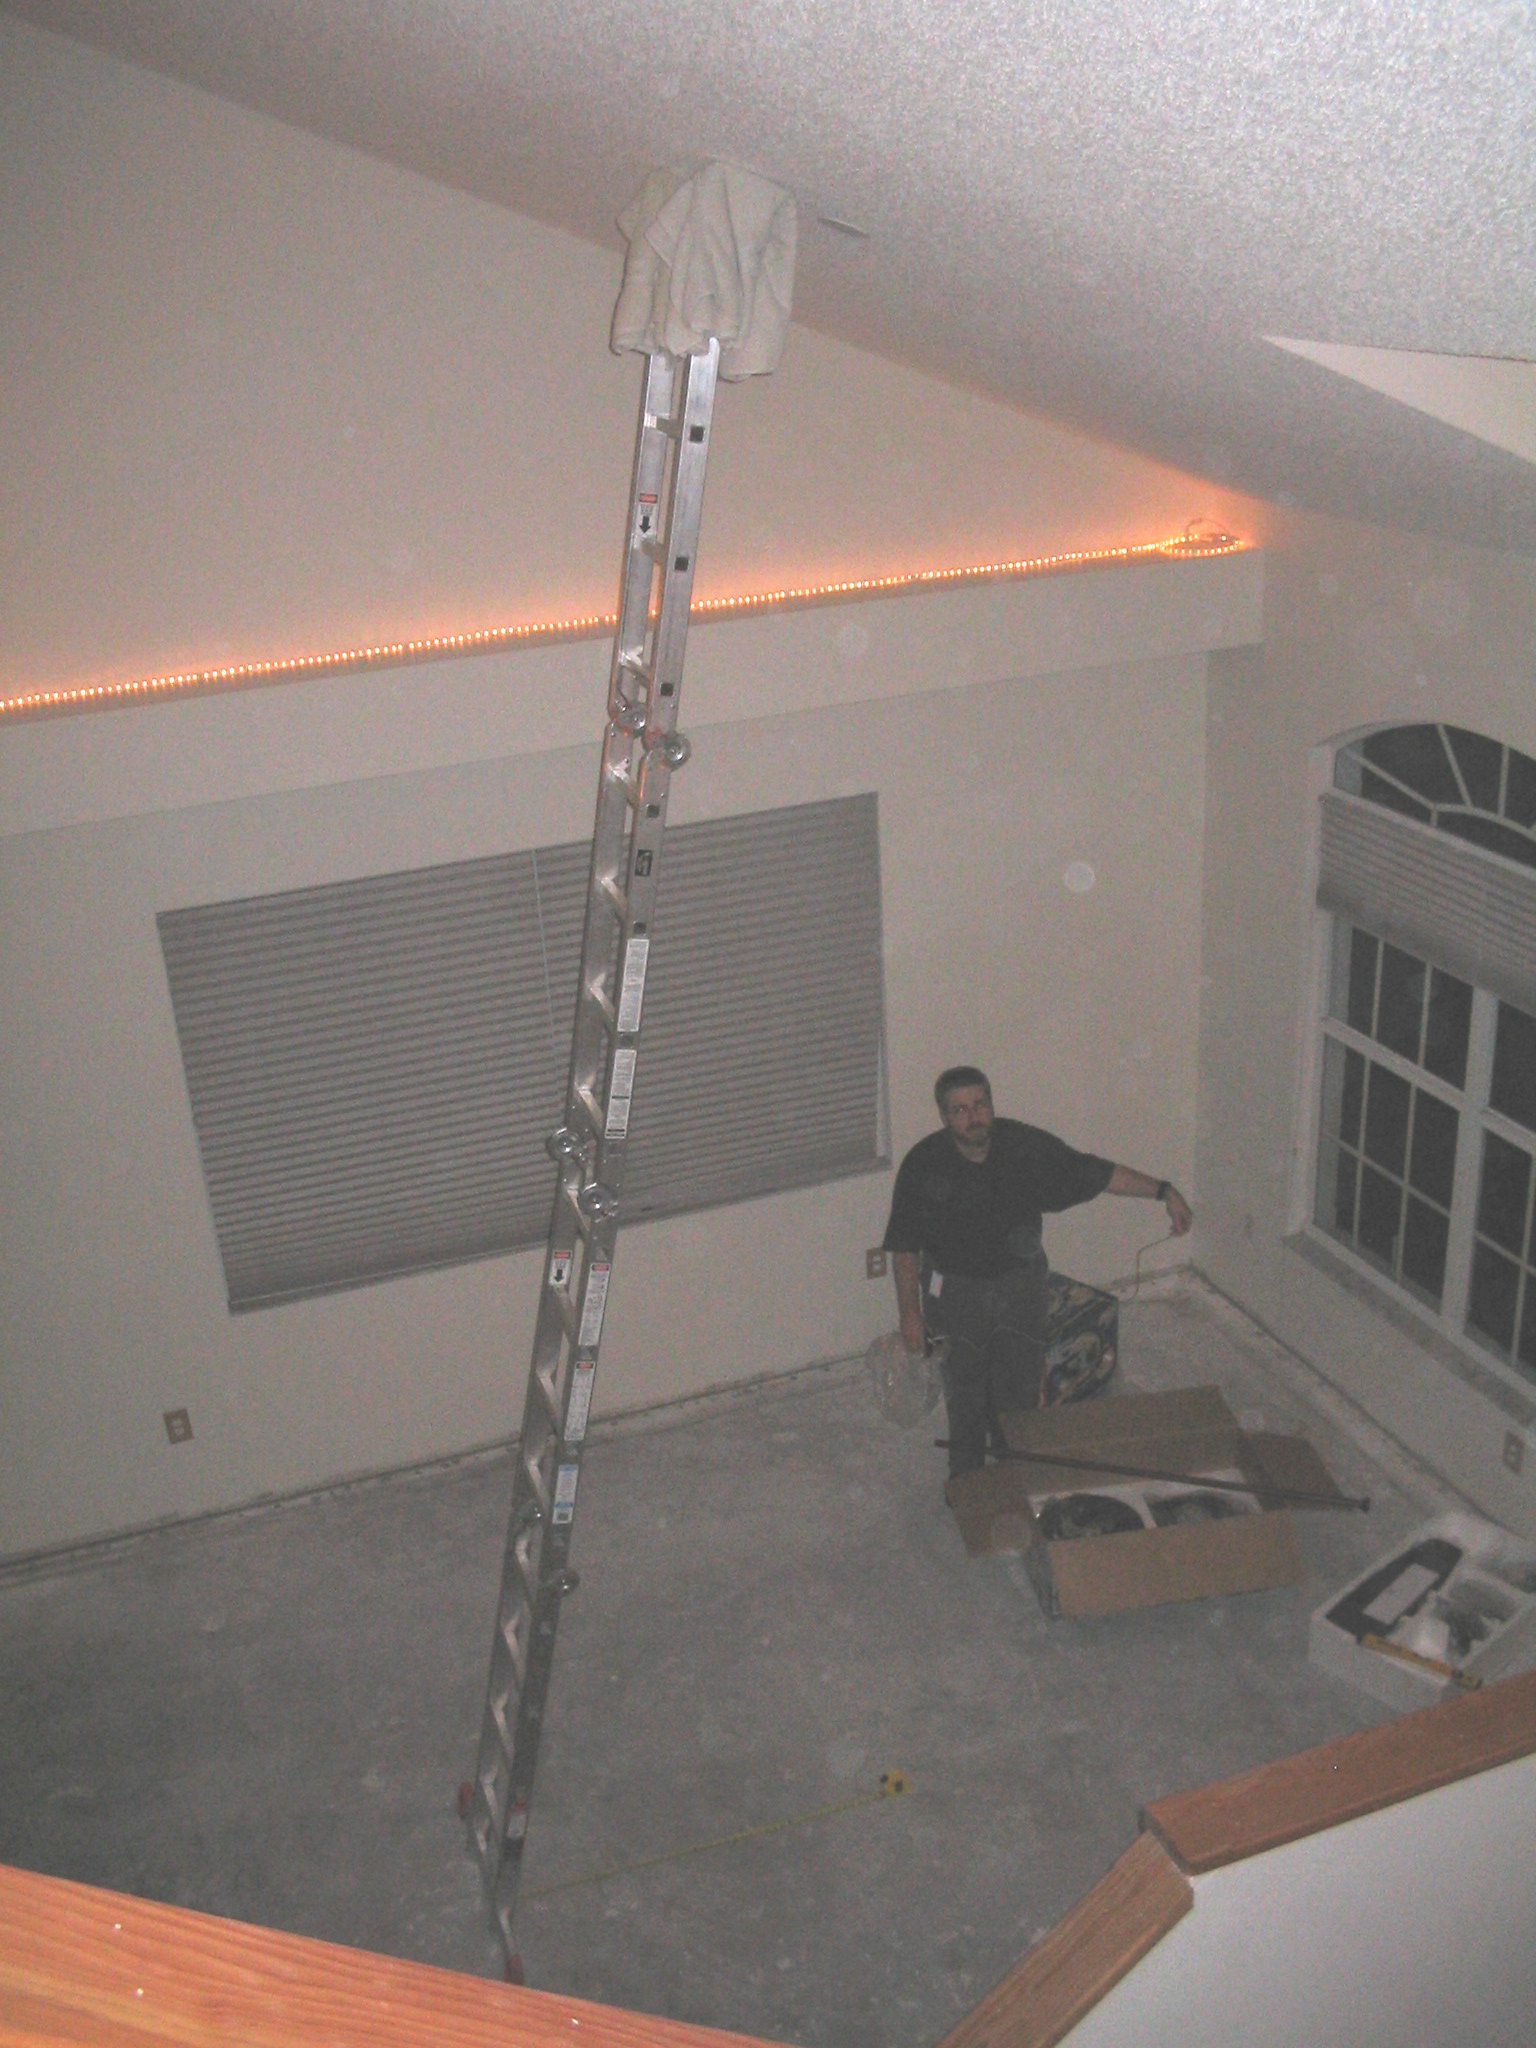
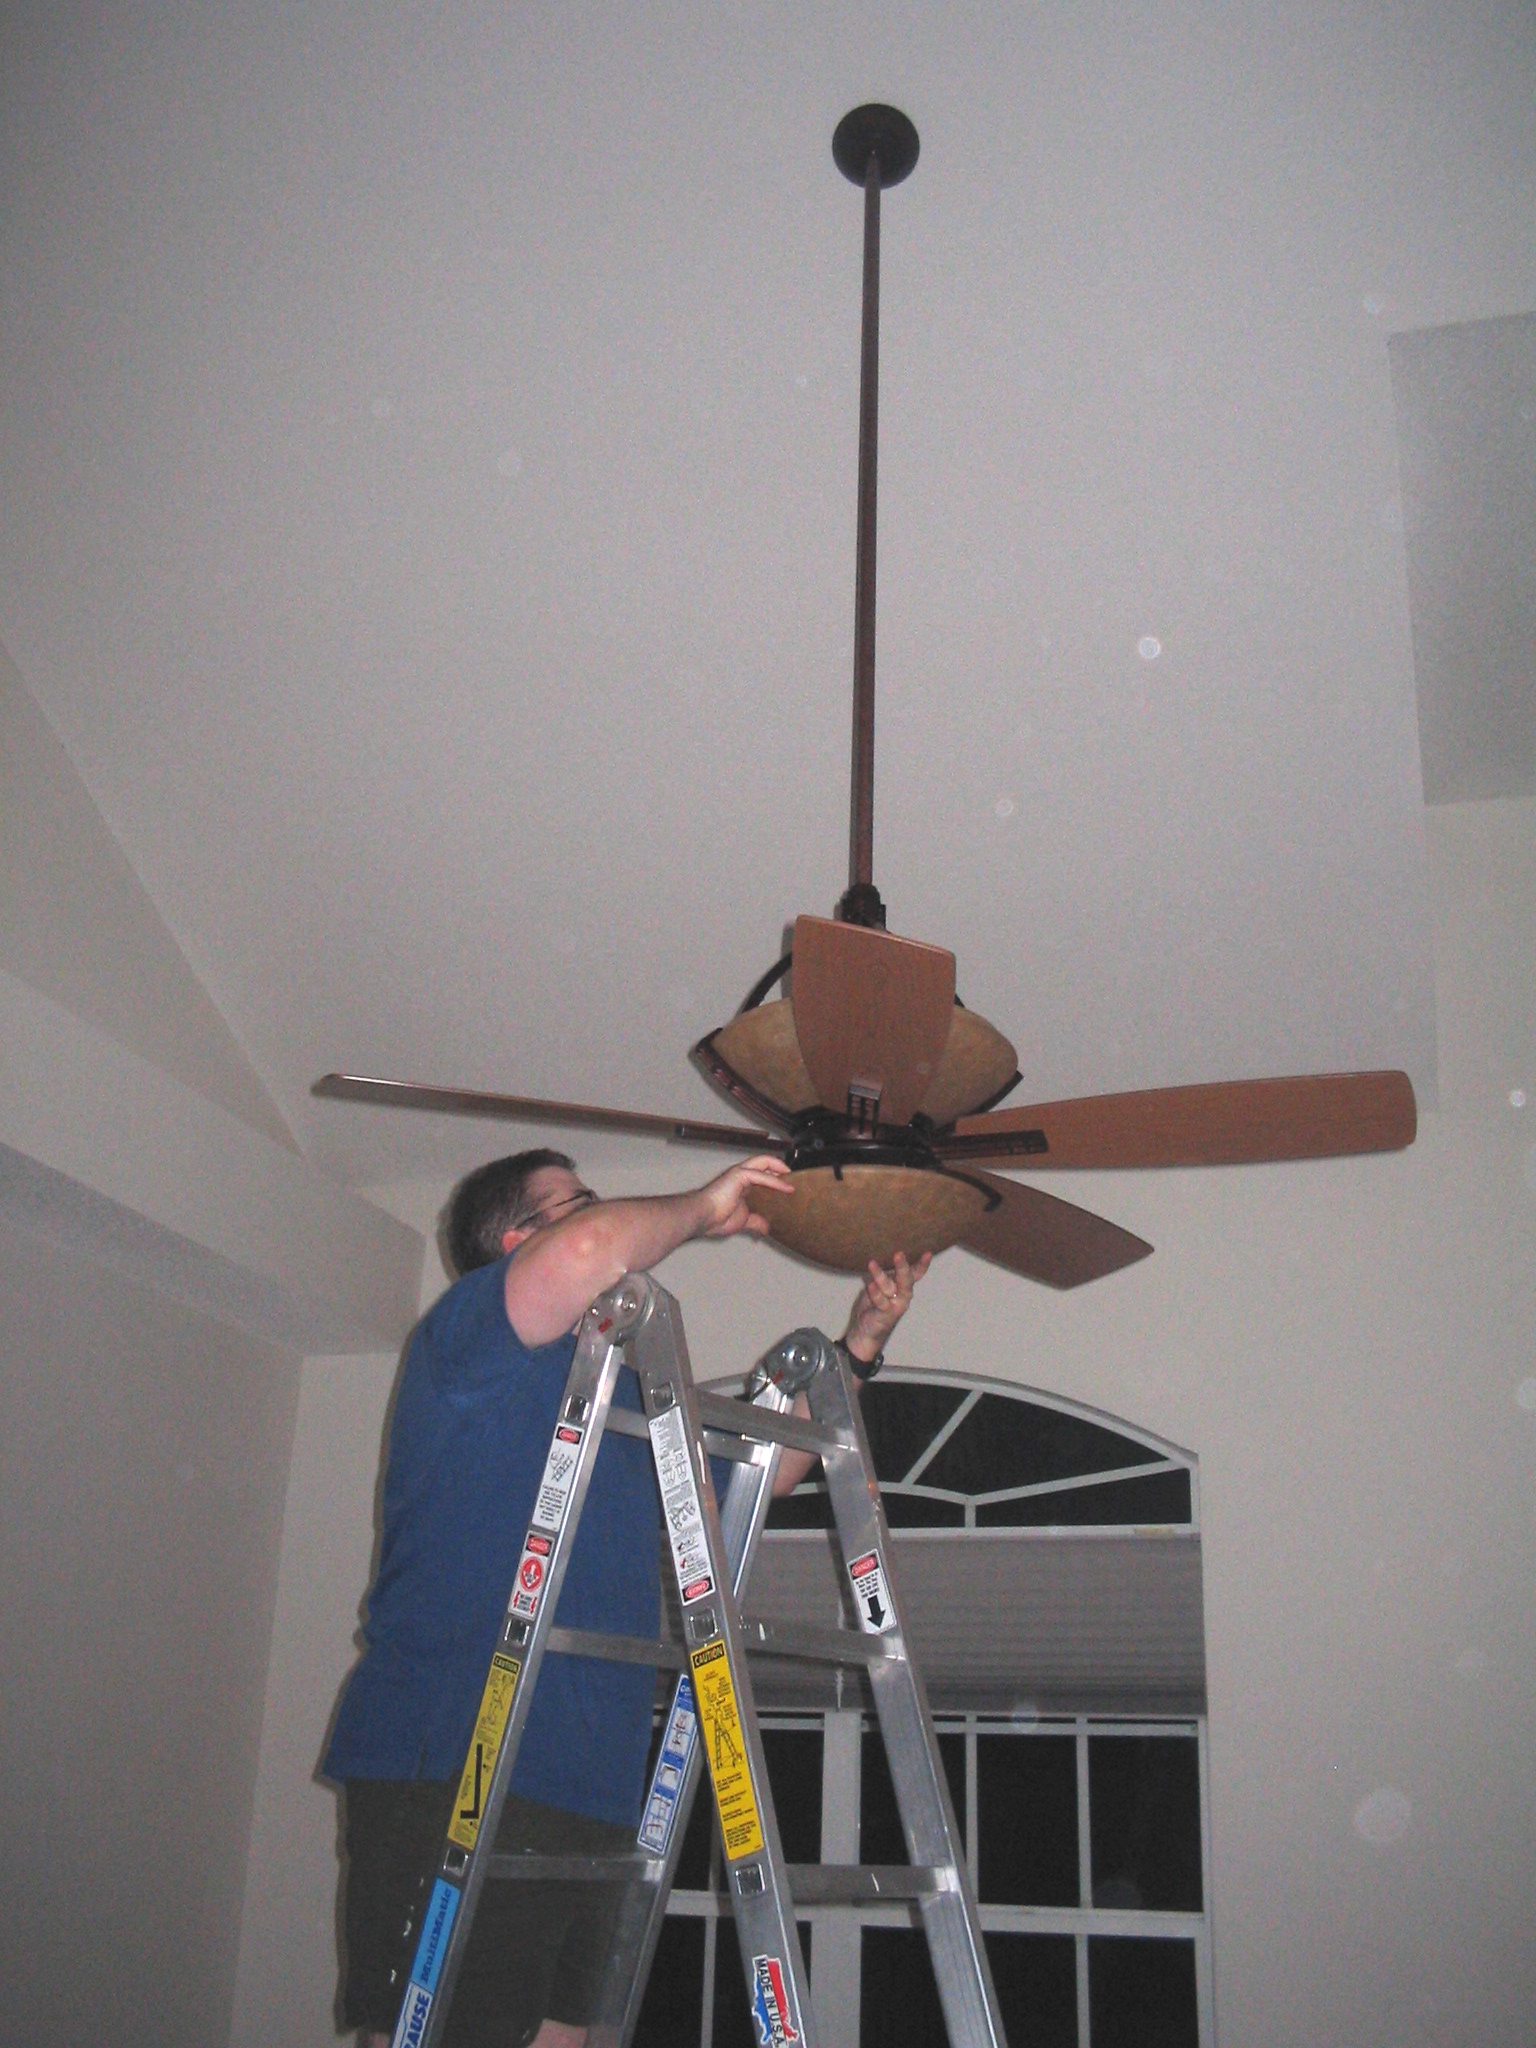
Father Heffernan (no, not the priest, Ronan's dad) probably would not have advised us to get on the ladder in this way. We used towels to pad the ceiling. I am the expendable one in this family - so up I go... |
|
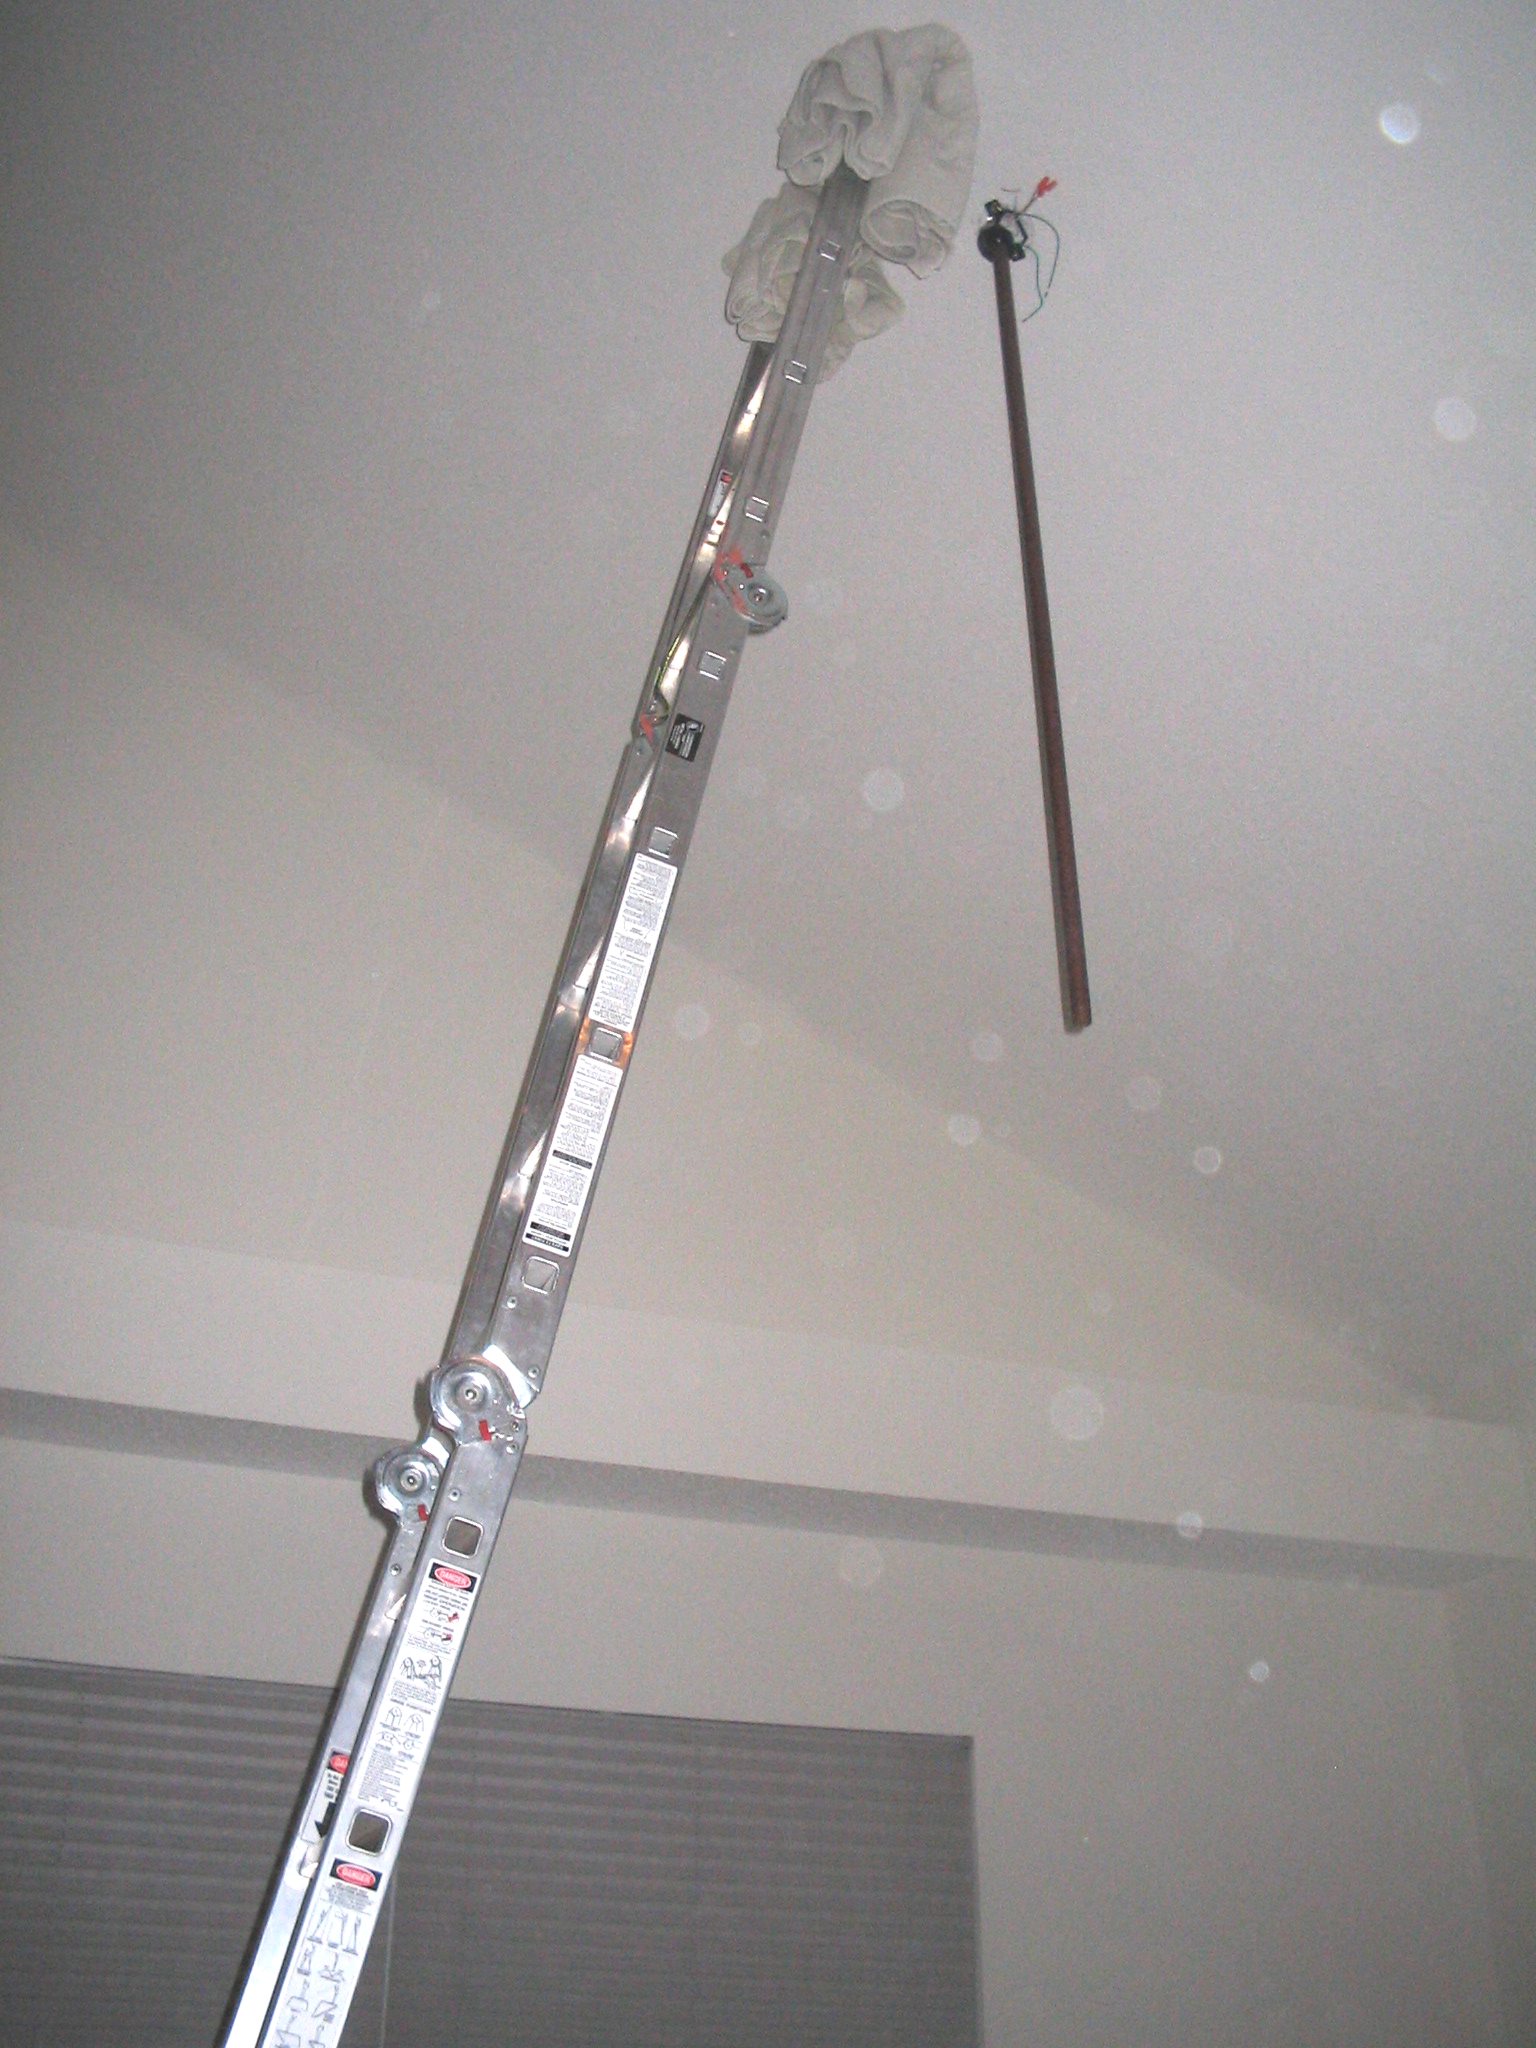
A little bravery (aka stupidity) and I managed to hang the extension rod in no time. After this we are able to do the rest using the ladder in a safe A shape. |
|
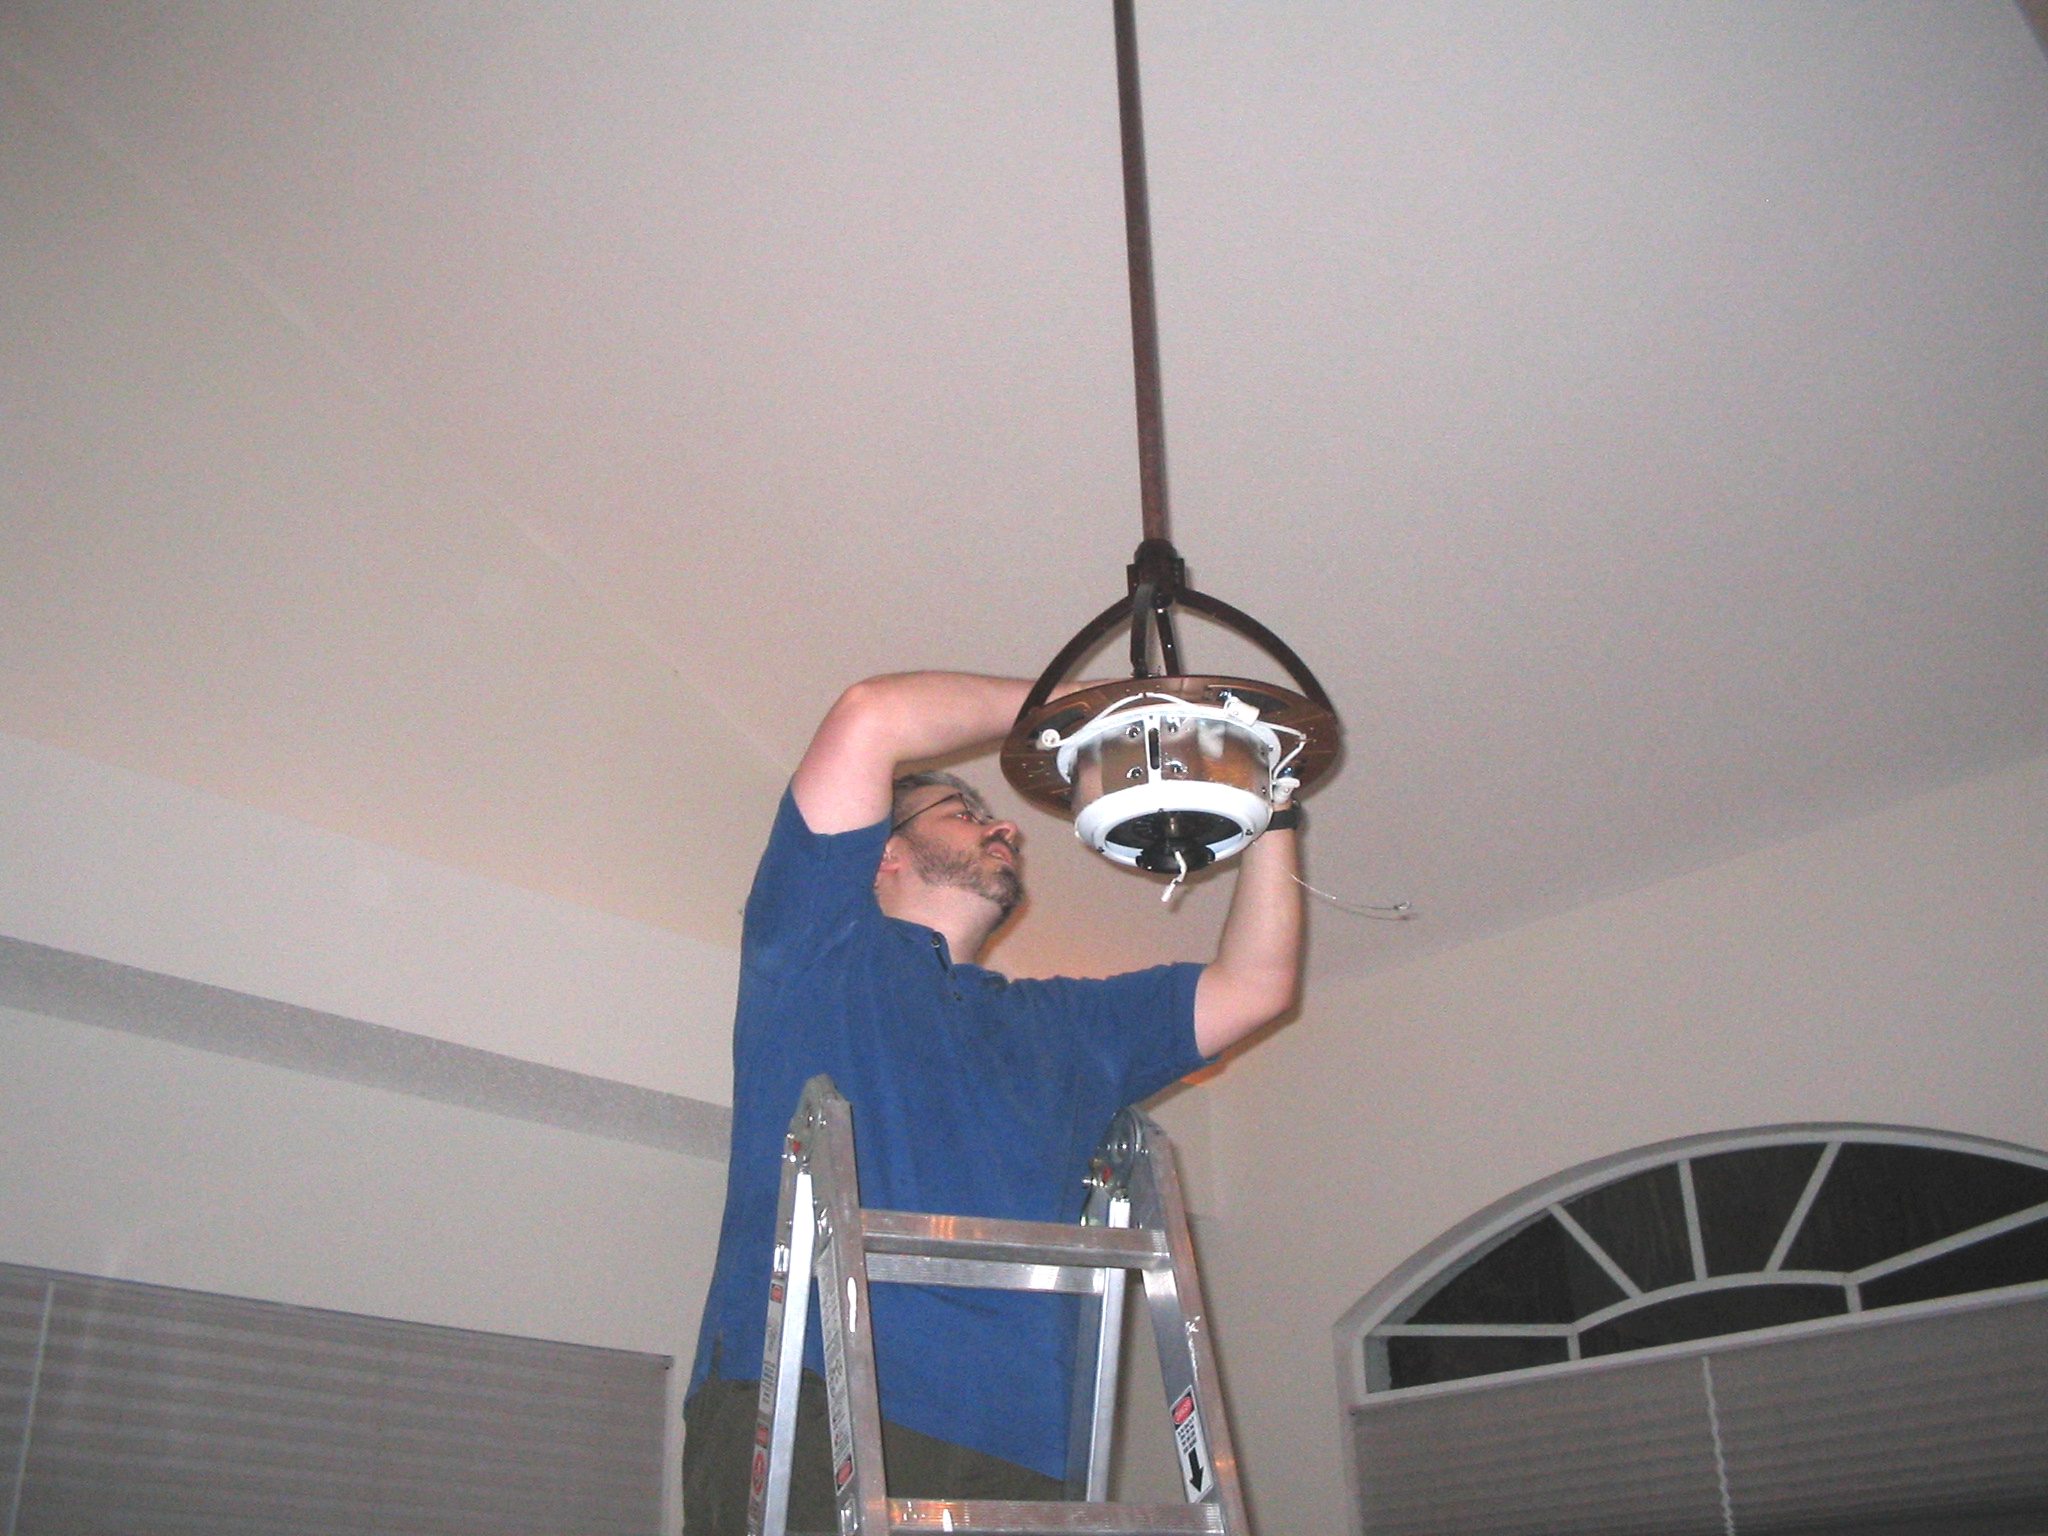
Ronan made all the connections. |
|
. . . Now the blades. He makes it look so easy! I wonder if he knows that I am HIS biggest fan :) |
 GO BACK TO TOP
|
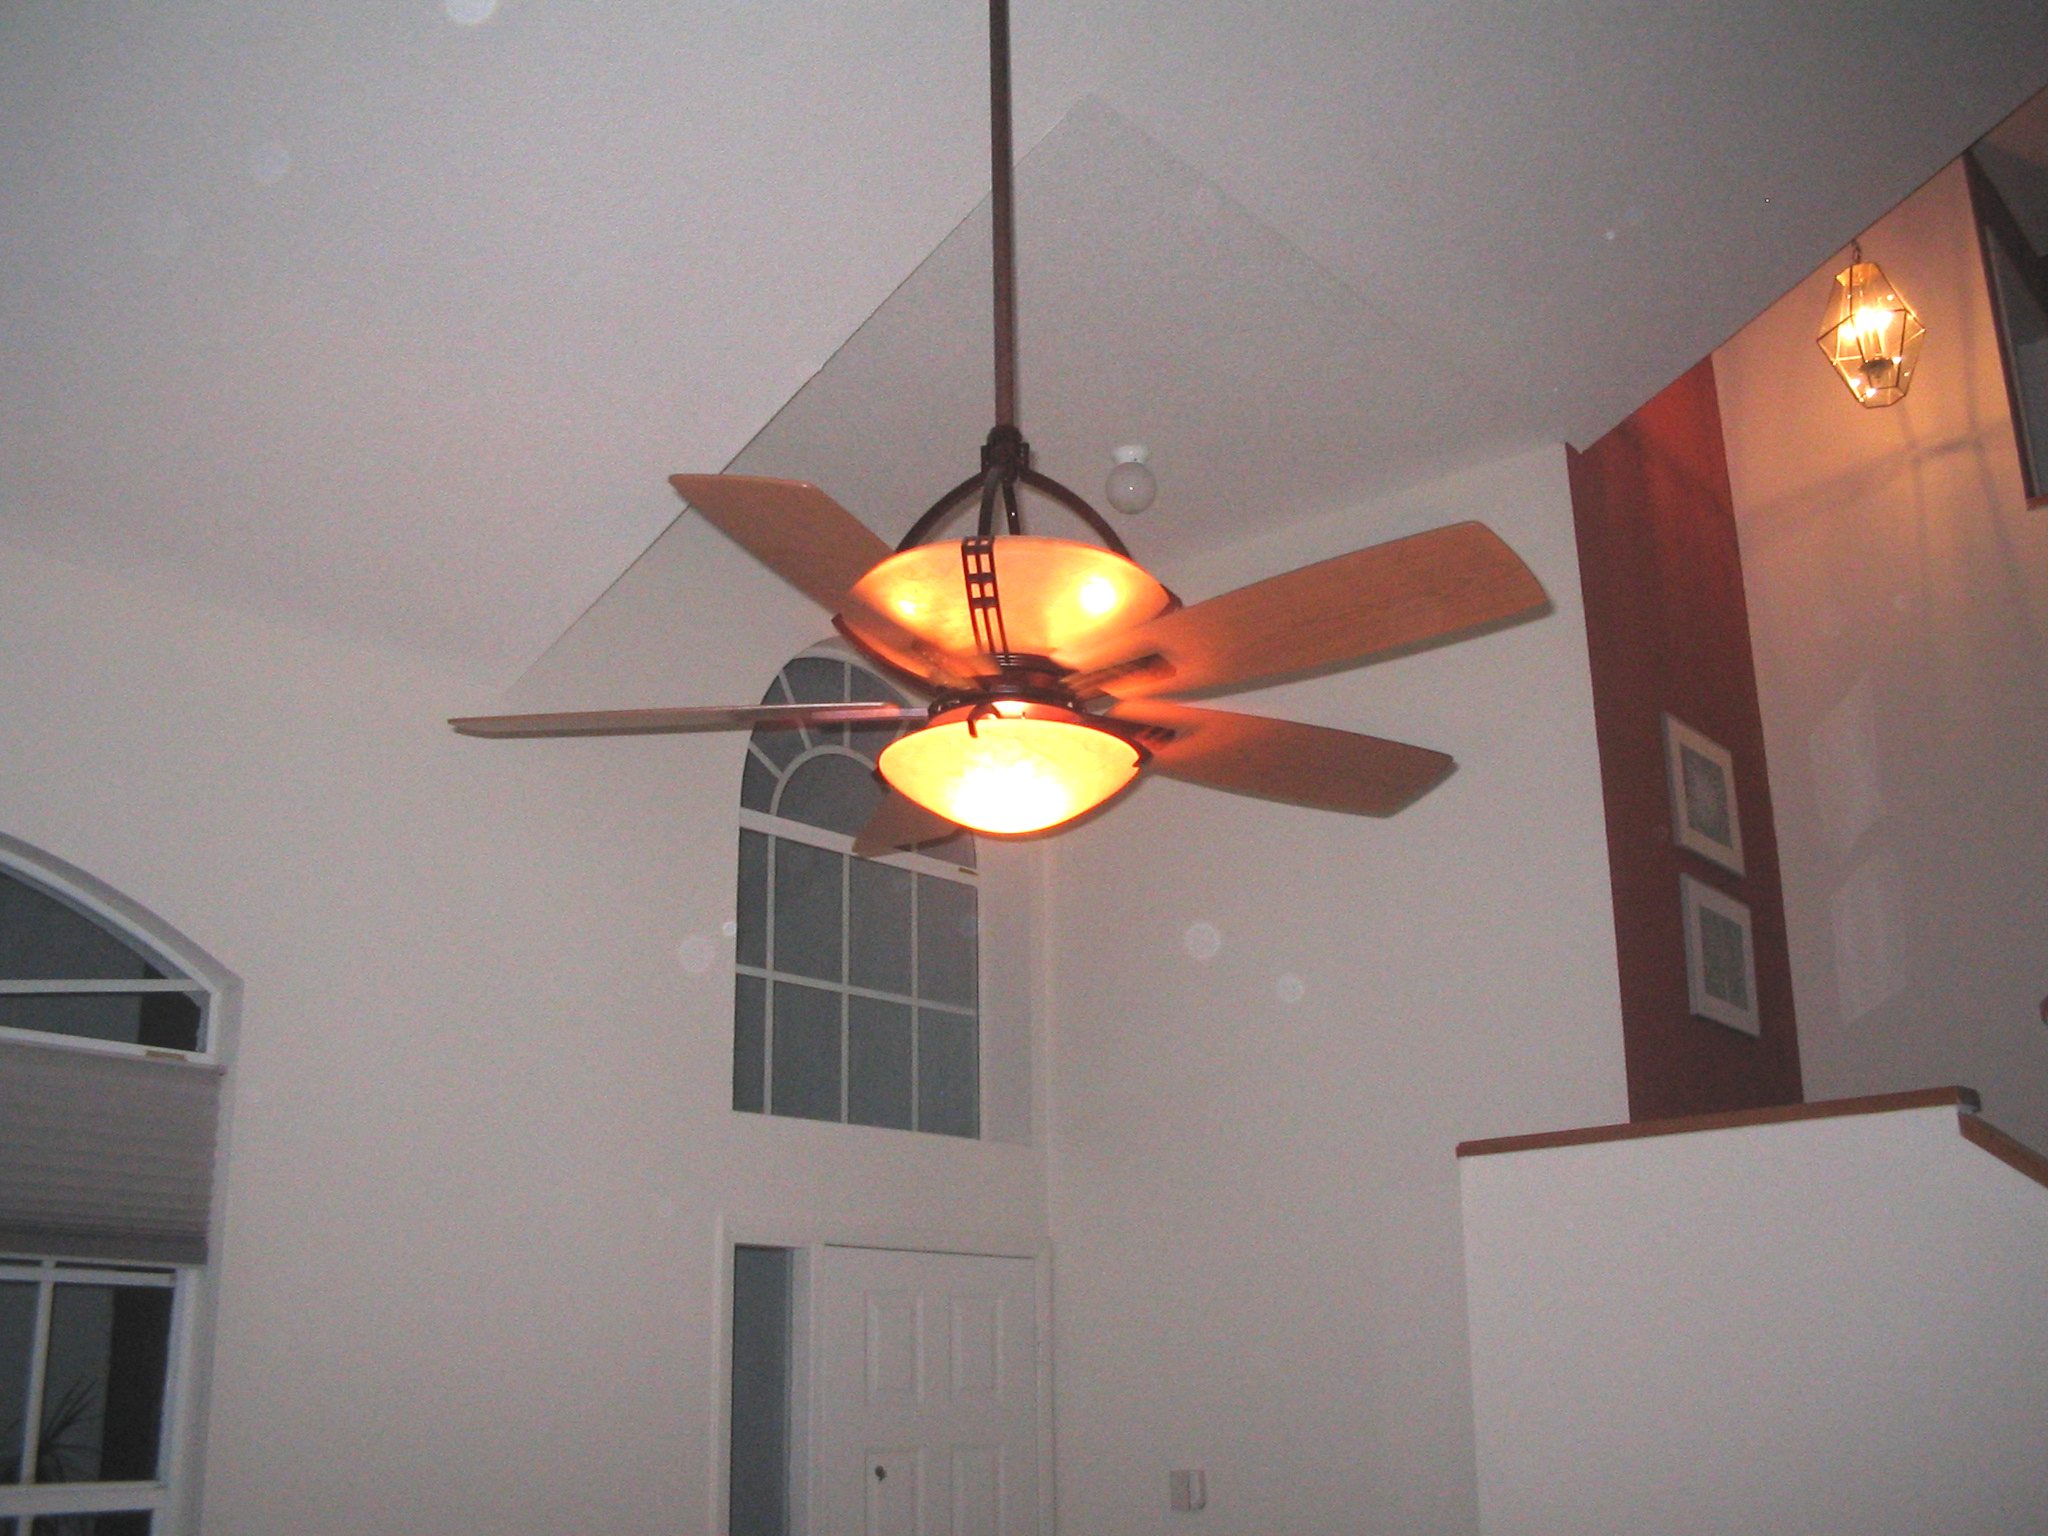
Walla! - or - viola! Fan complete. The top light fixture is controlled separately from the bottom one. They both dim. The fan worked without needing any balancing. We did run into a little snag though. The remote for this fan also made the fan in the family room turn on and off. Ronan had to reprogram the radio frequency something-or-other in the family room fan. |
INSTALLING GLUELESS SNAP TOGETHER LAMINATE WOOD FLOORS: |
. . . |
|
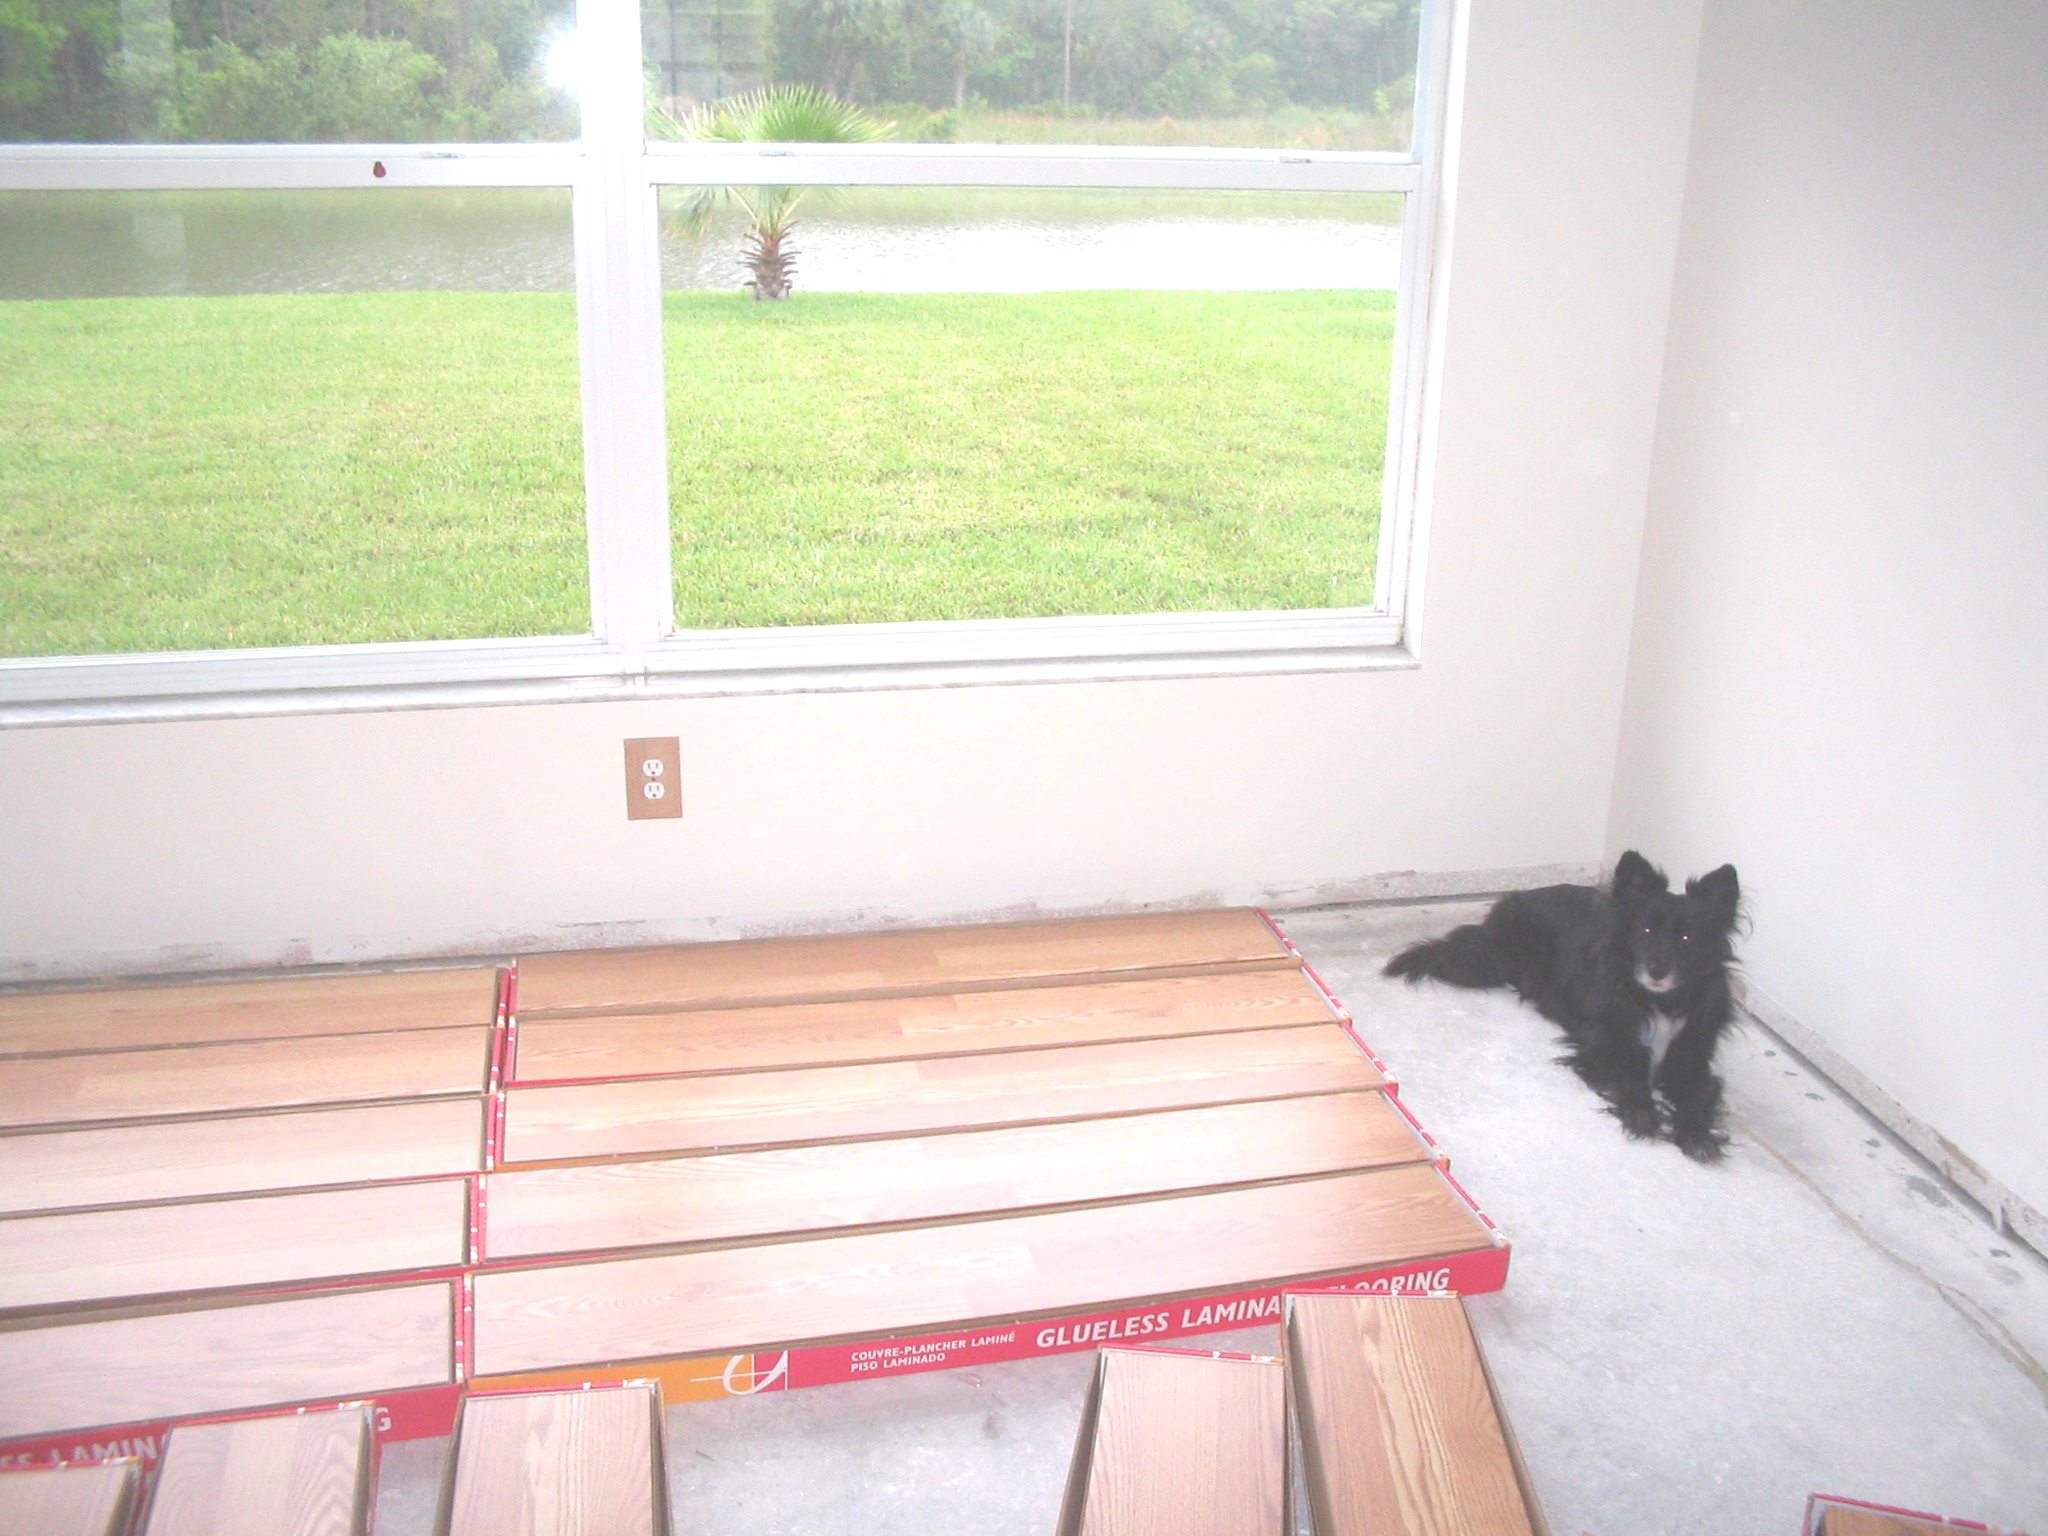
At least 48 hrs before installing you're supposed to remove the plastic from the boxes of planks and let them acclimate to the house environment. |
|
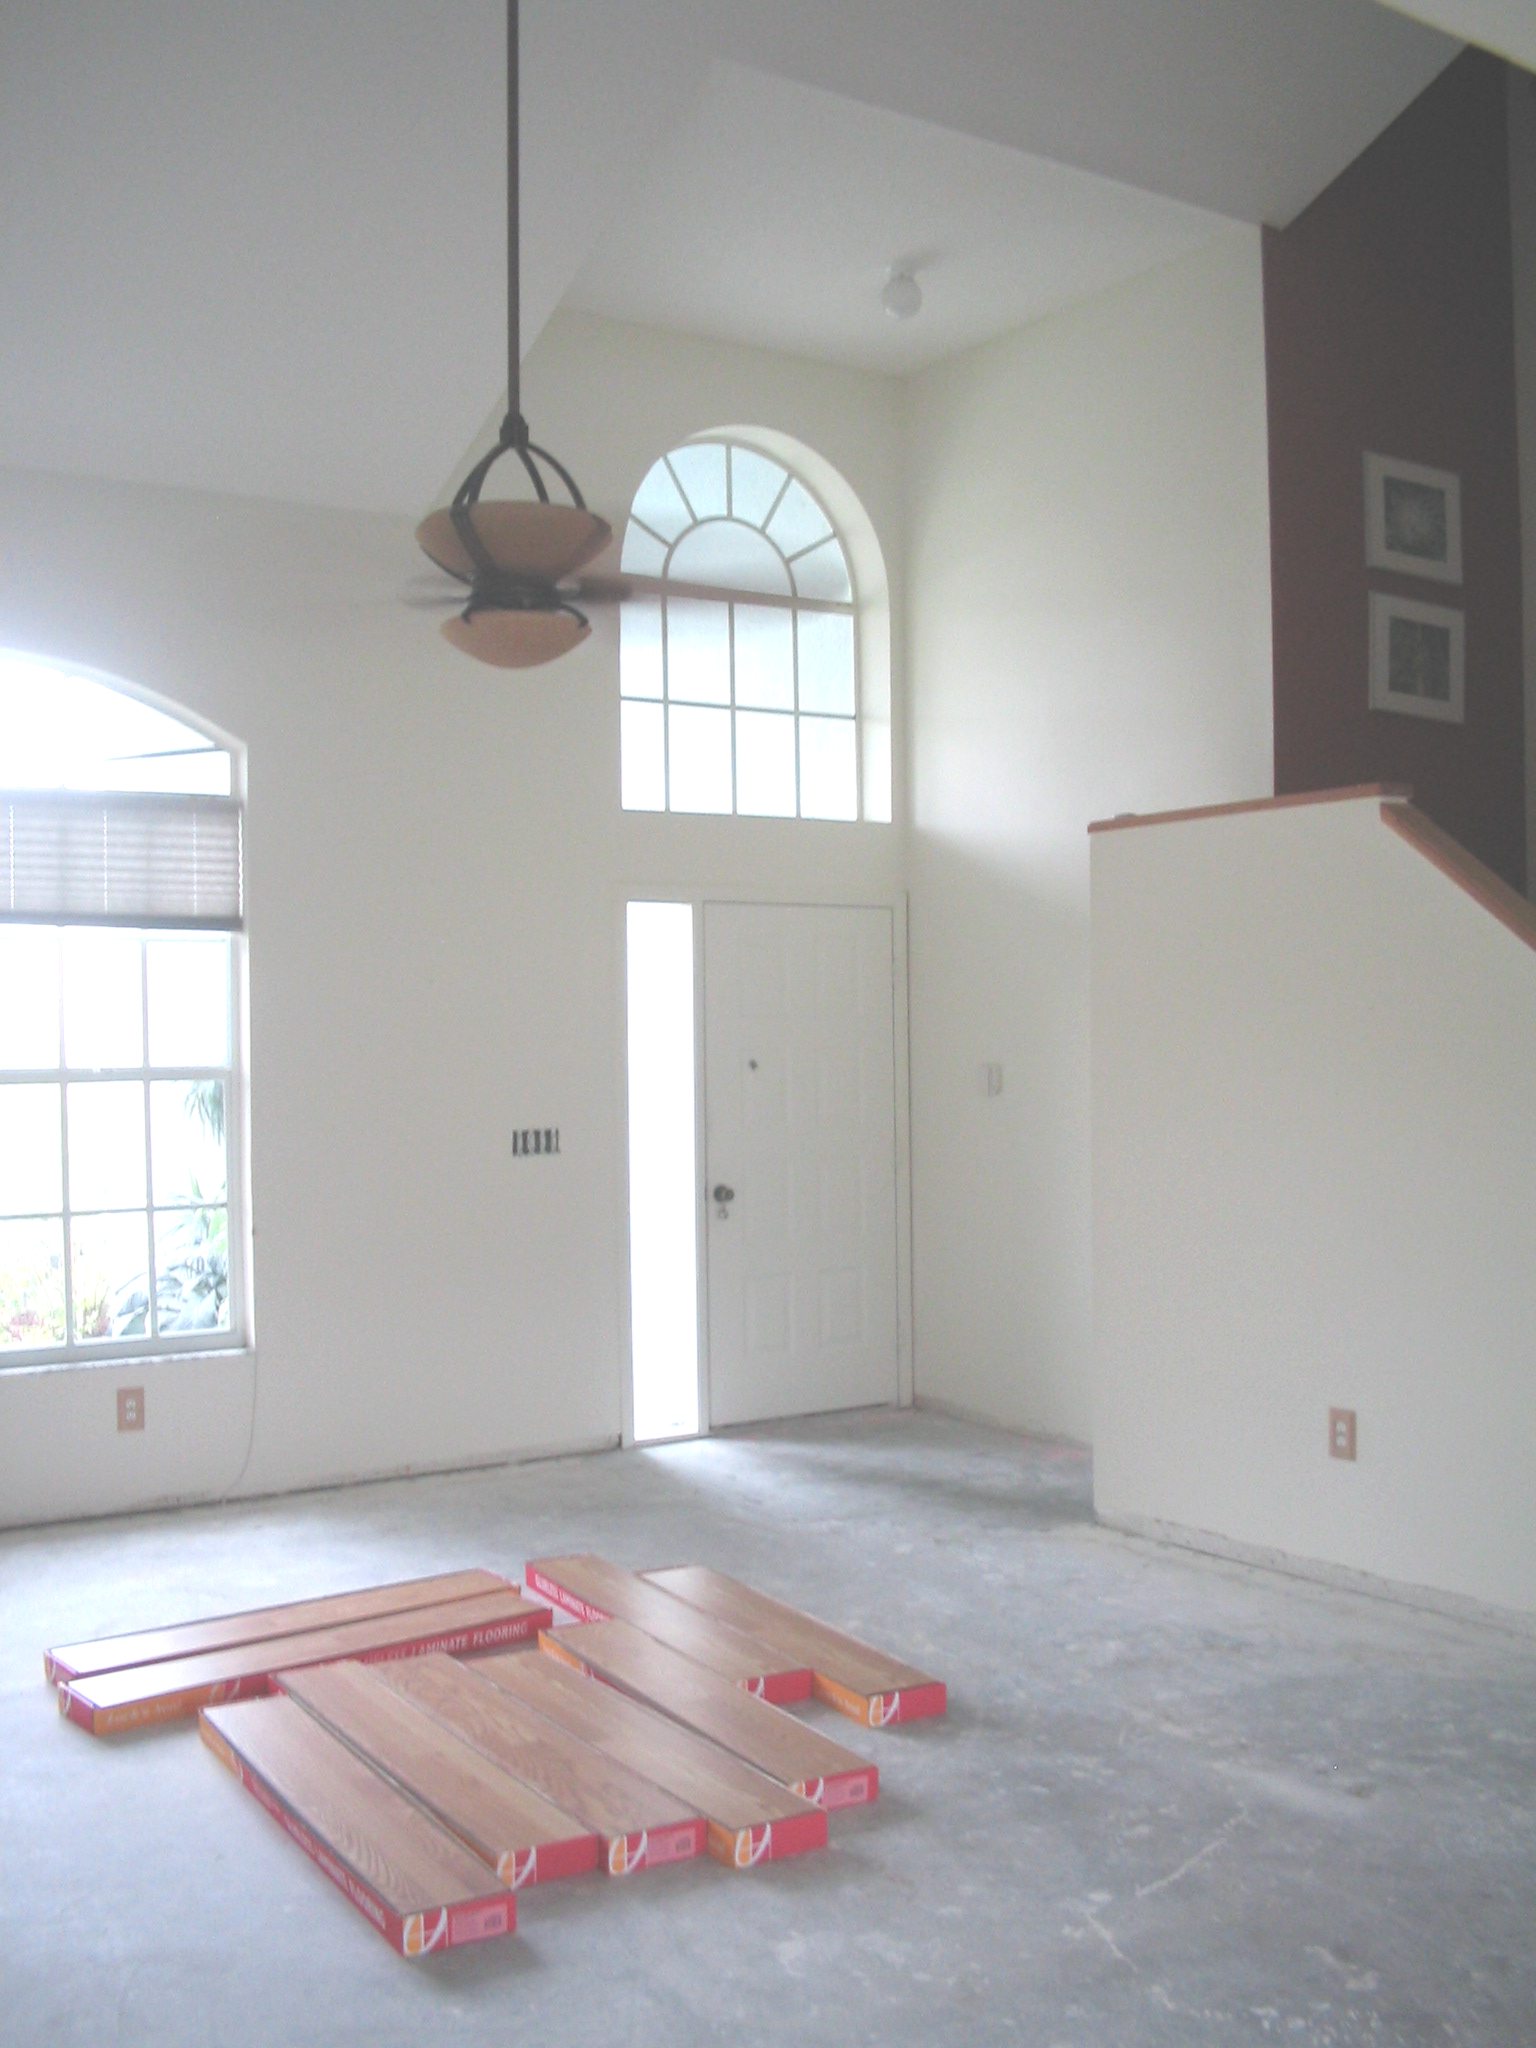
We spread out the boxes in the rooms we were installing them. |
|
Every project is worth at least 1 new toy. We bought a table saw for this project ($199 at Lowes). |
|
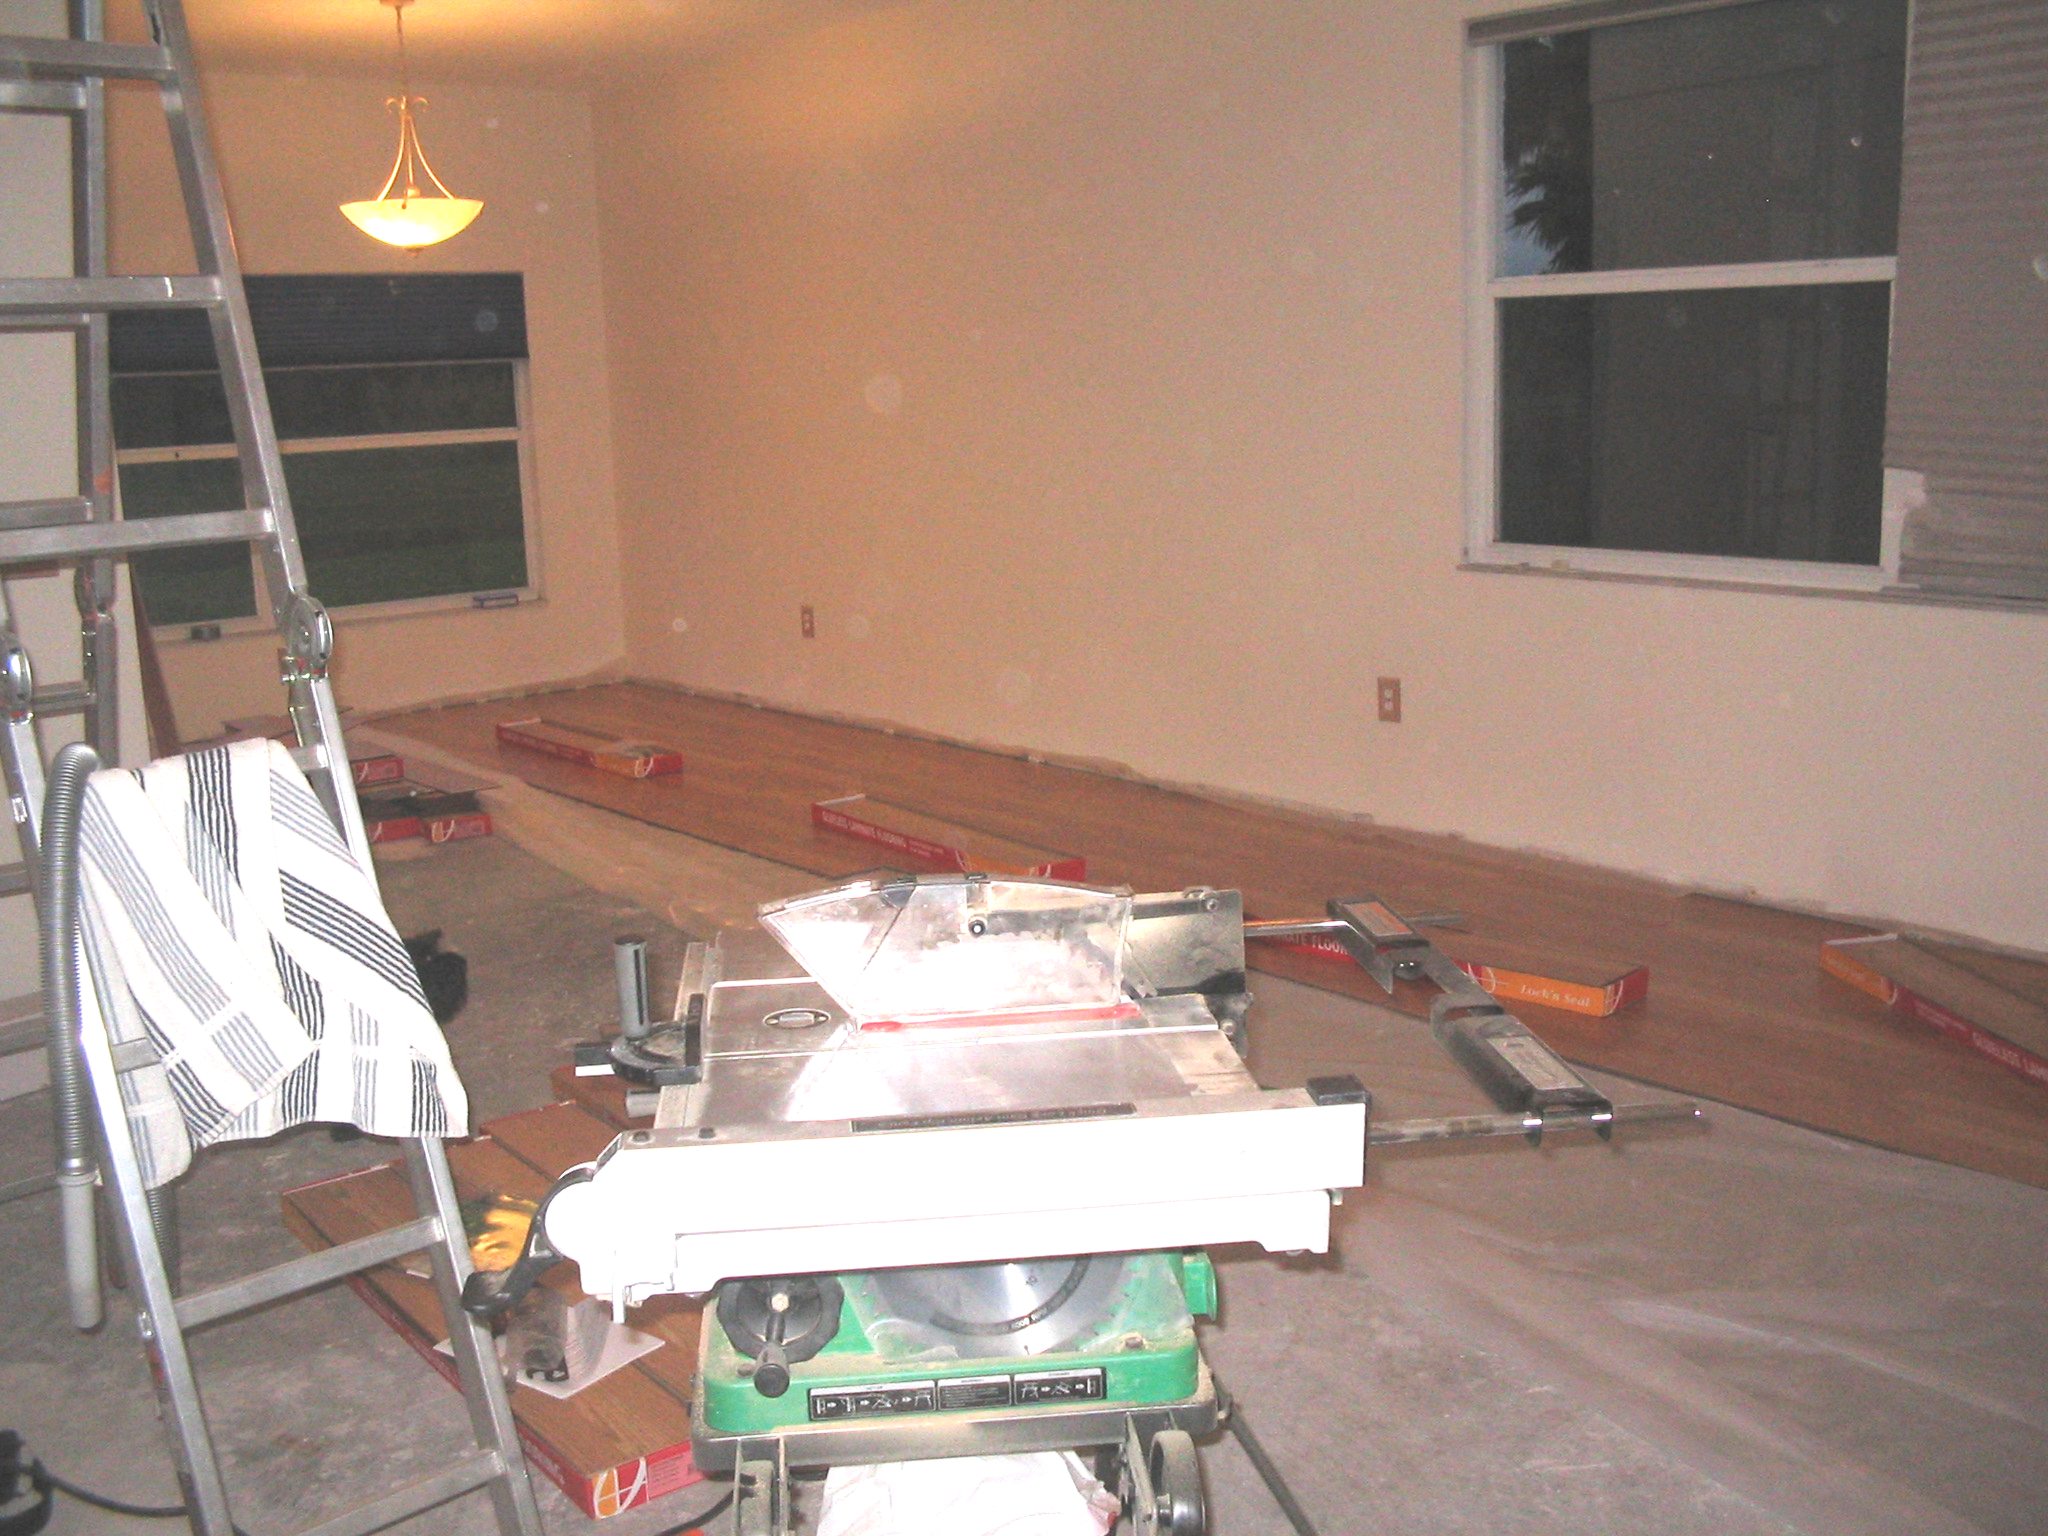
We laid the vapor barrier first (6mm polyethyline) and then started on the planks. We got this far the first night before calling it a day. It wasn't that difficult. Max, the dog next door, was supervising the project. |
|
We started bright and early the next day and kept moving right along. |
 GO BACK TO TOP
|
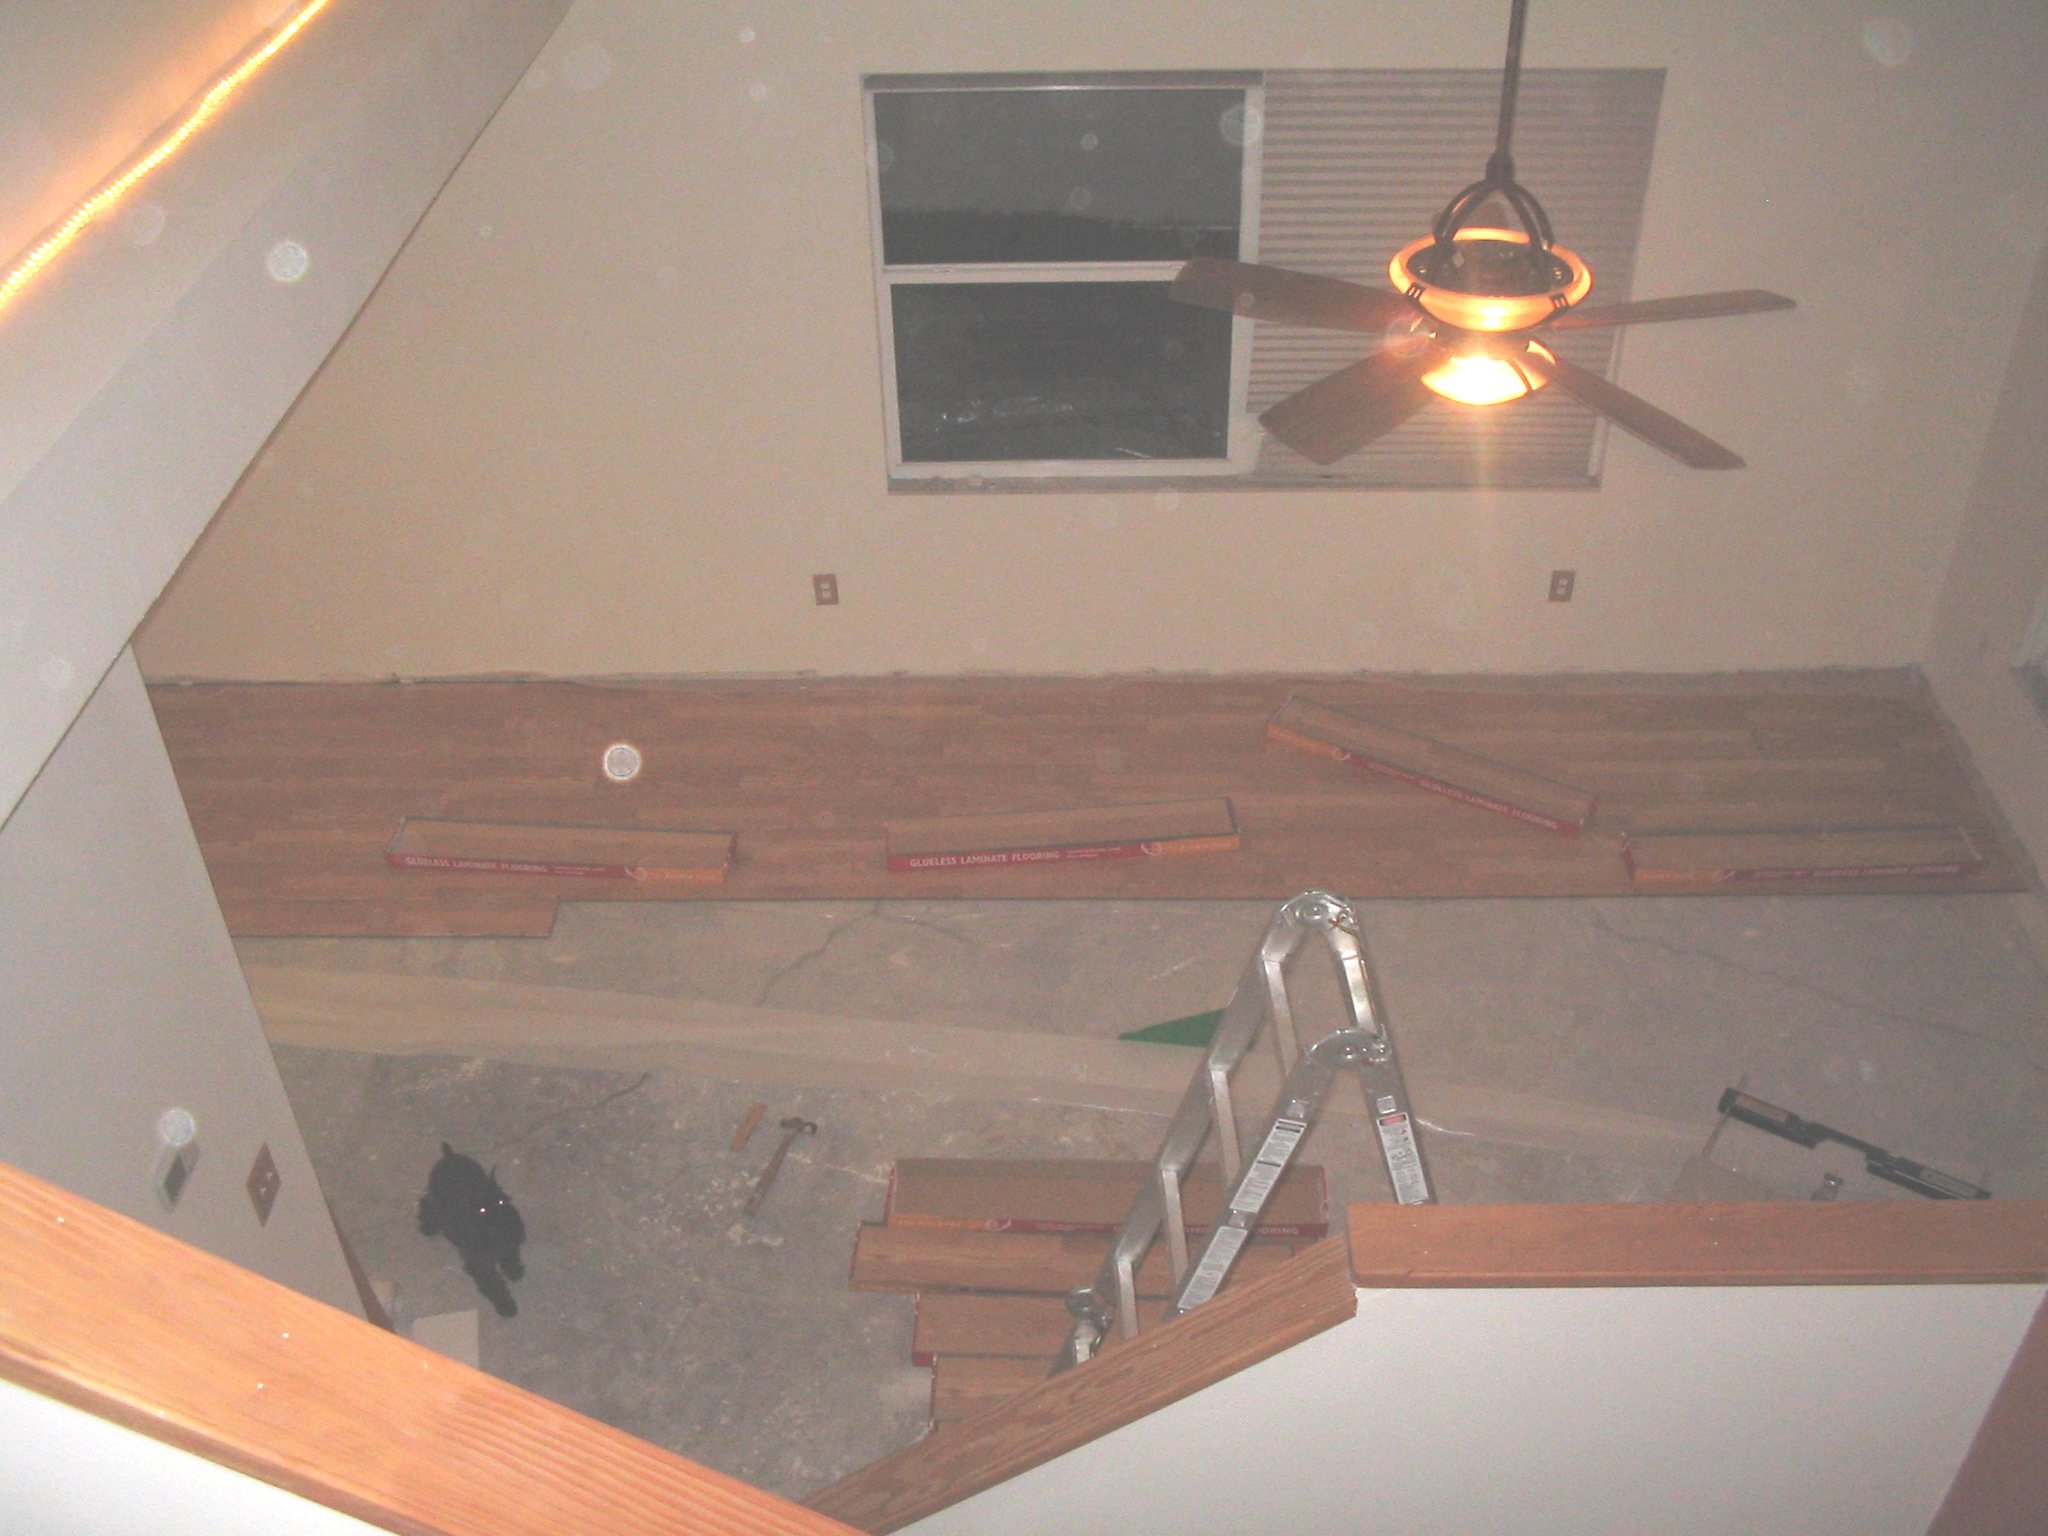
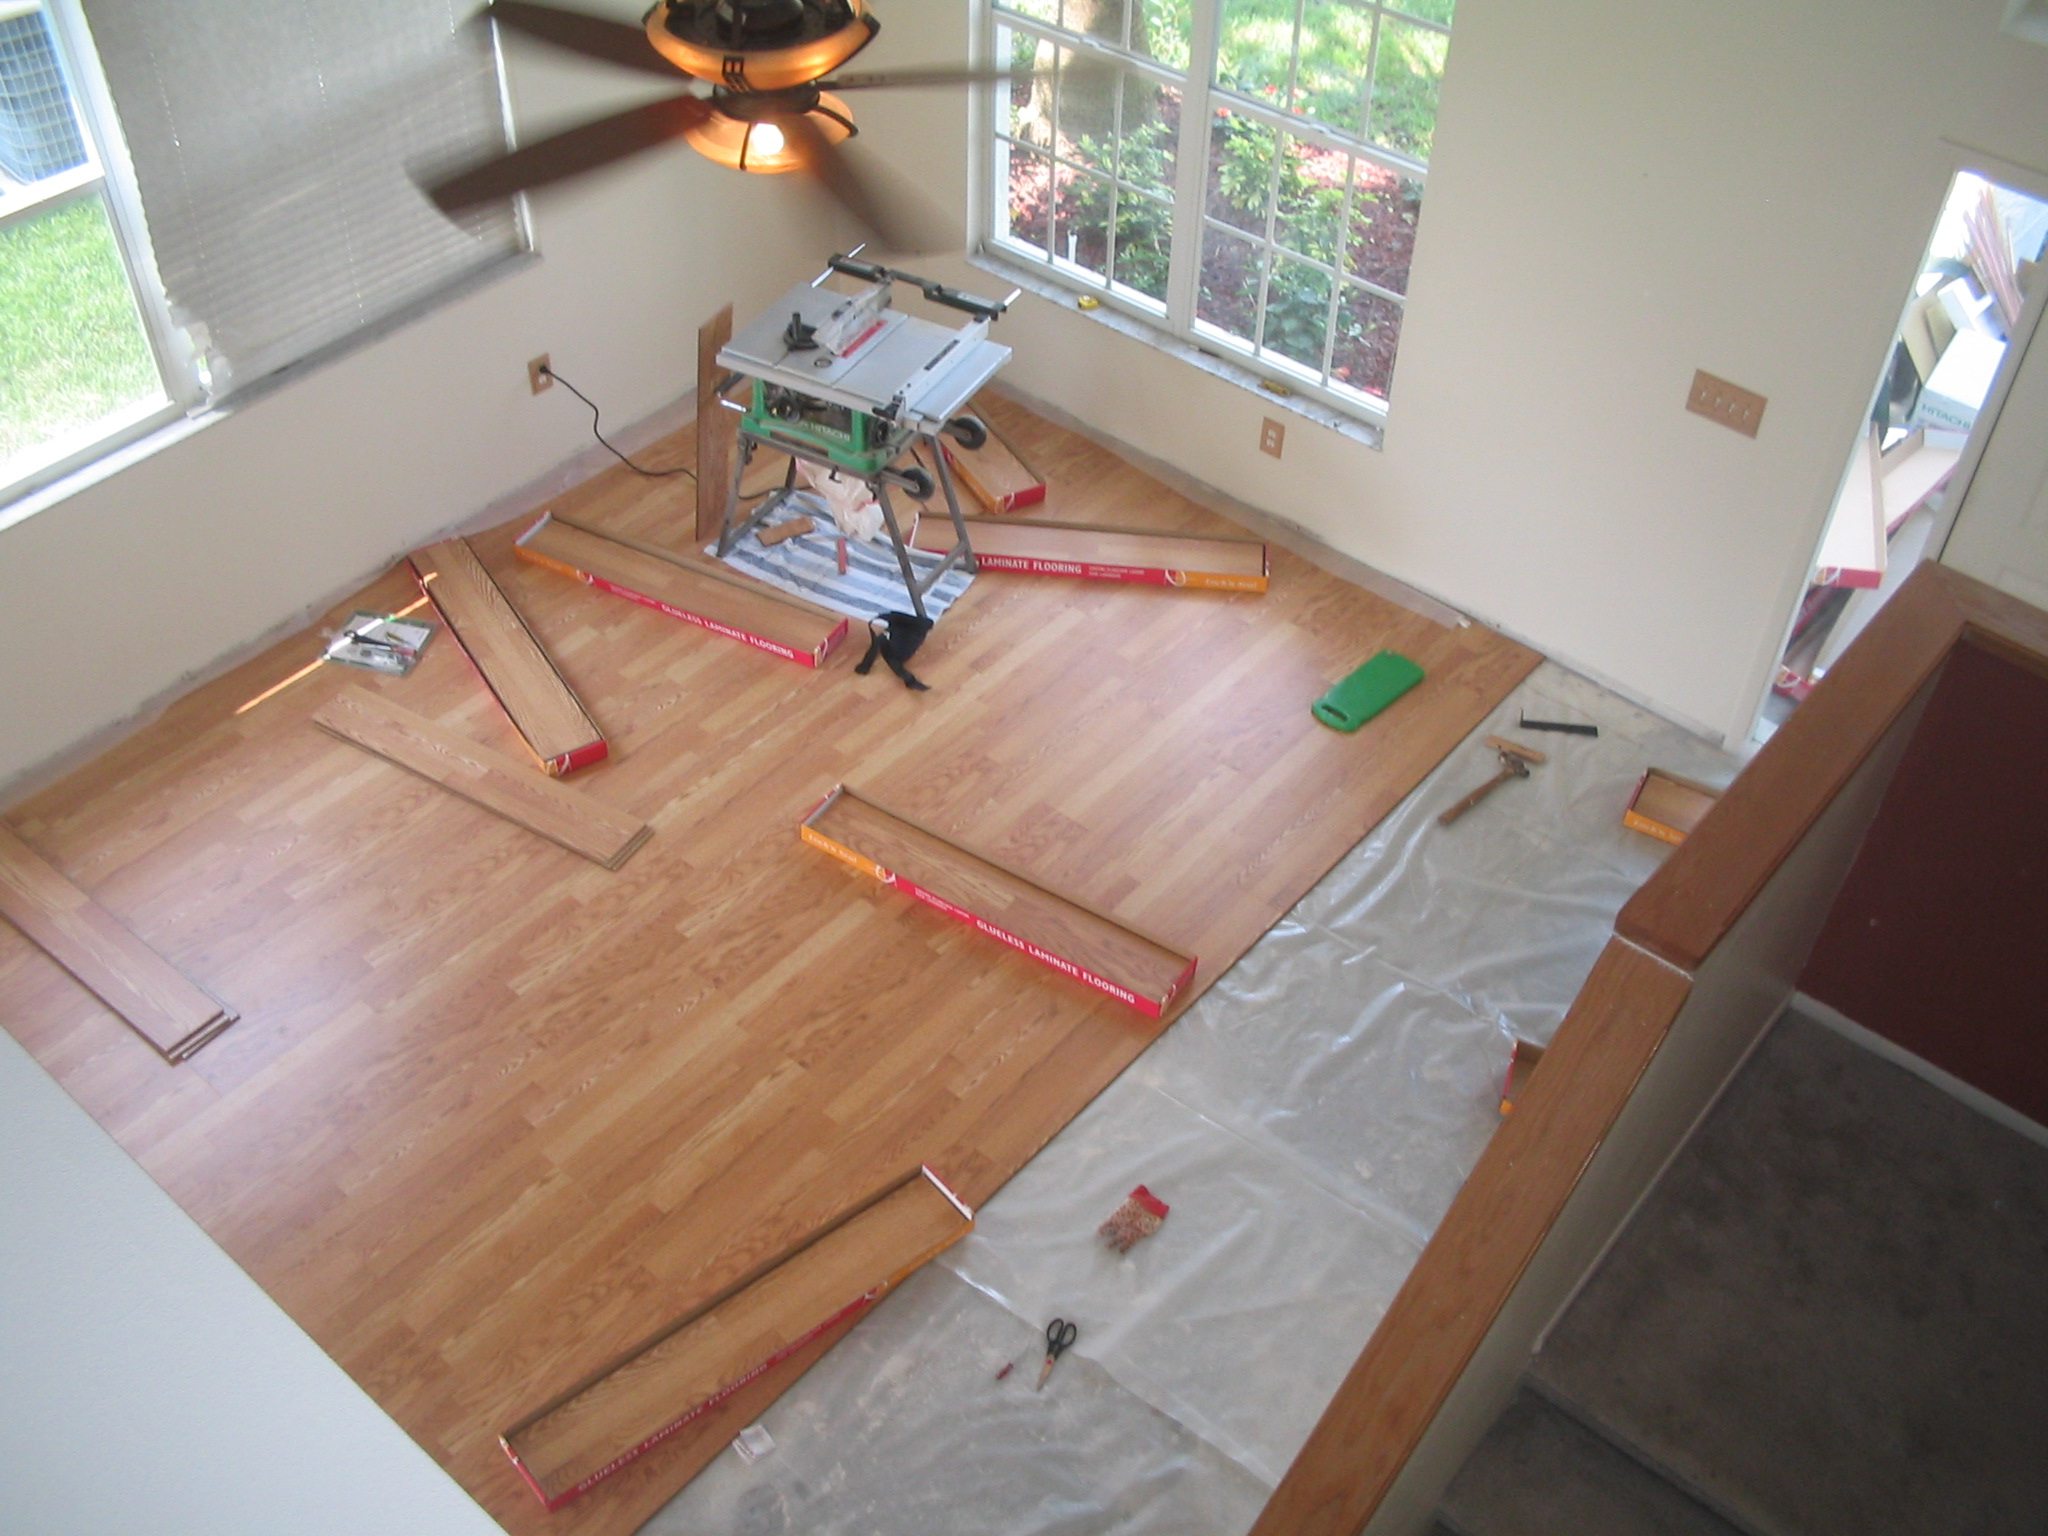
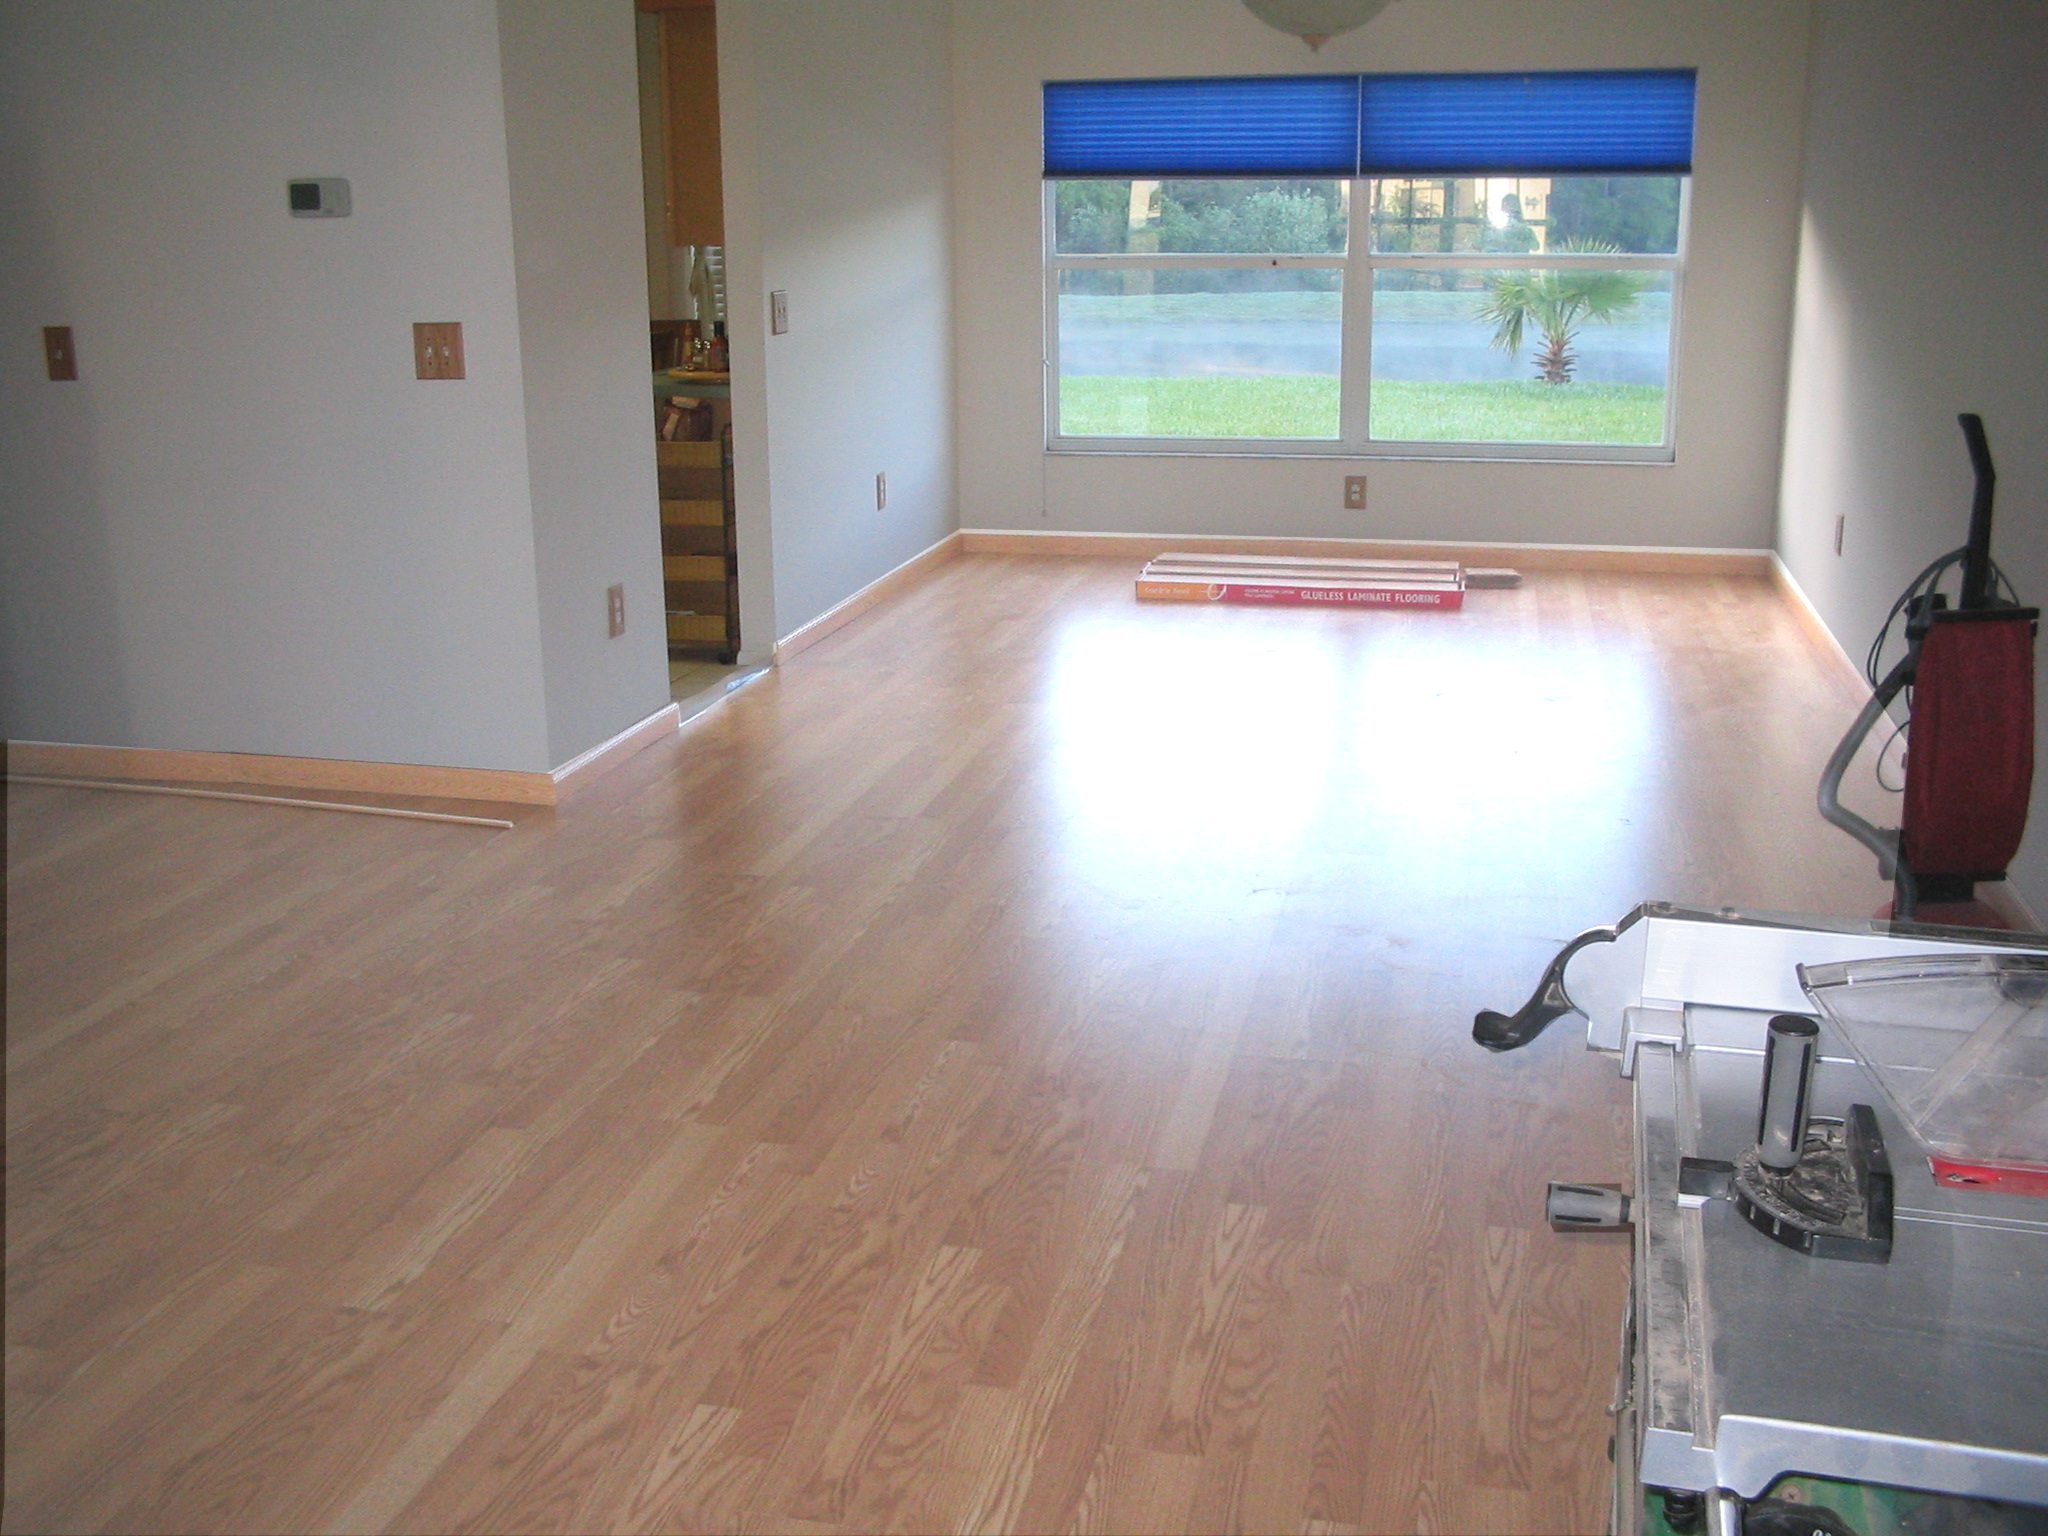
Almost done now. This is really going fast for only the two of us working on it. And we have never attempted something like this before. No wonder Empire can have your floors installed in one day. |
 GO BACK TO TOP
|
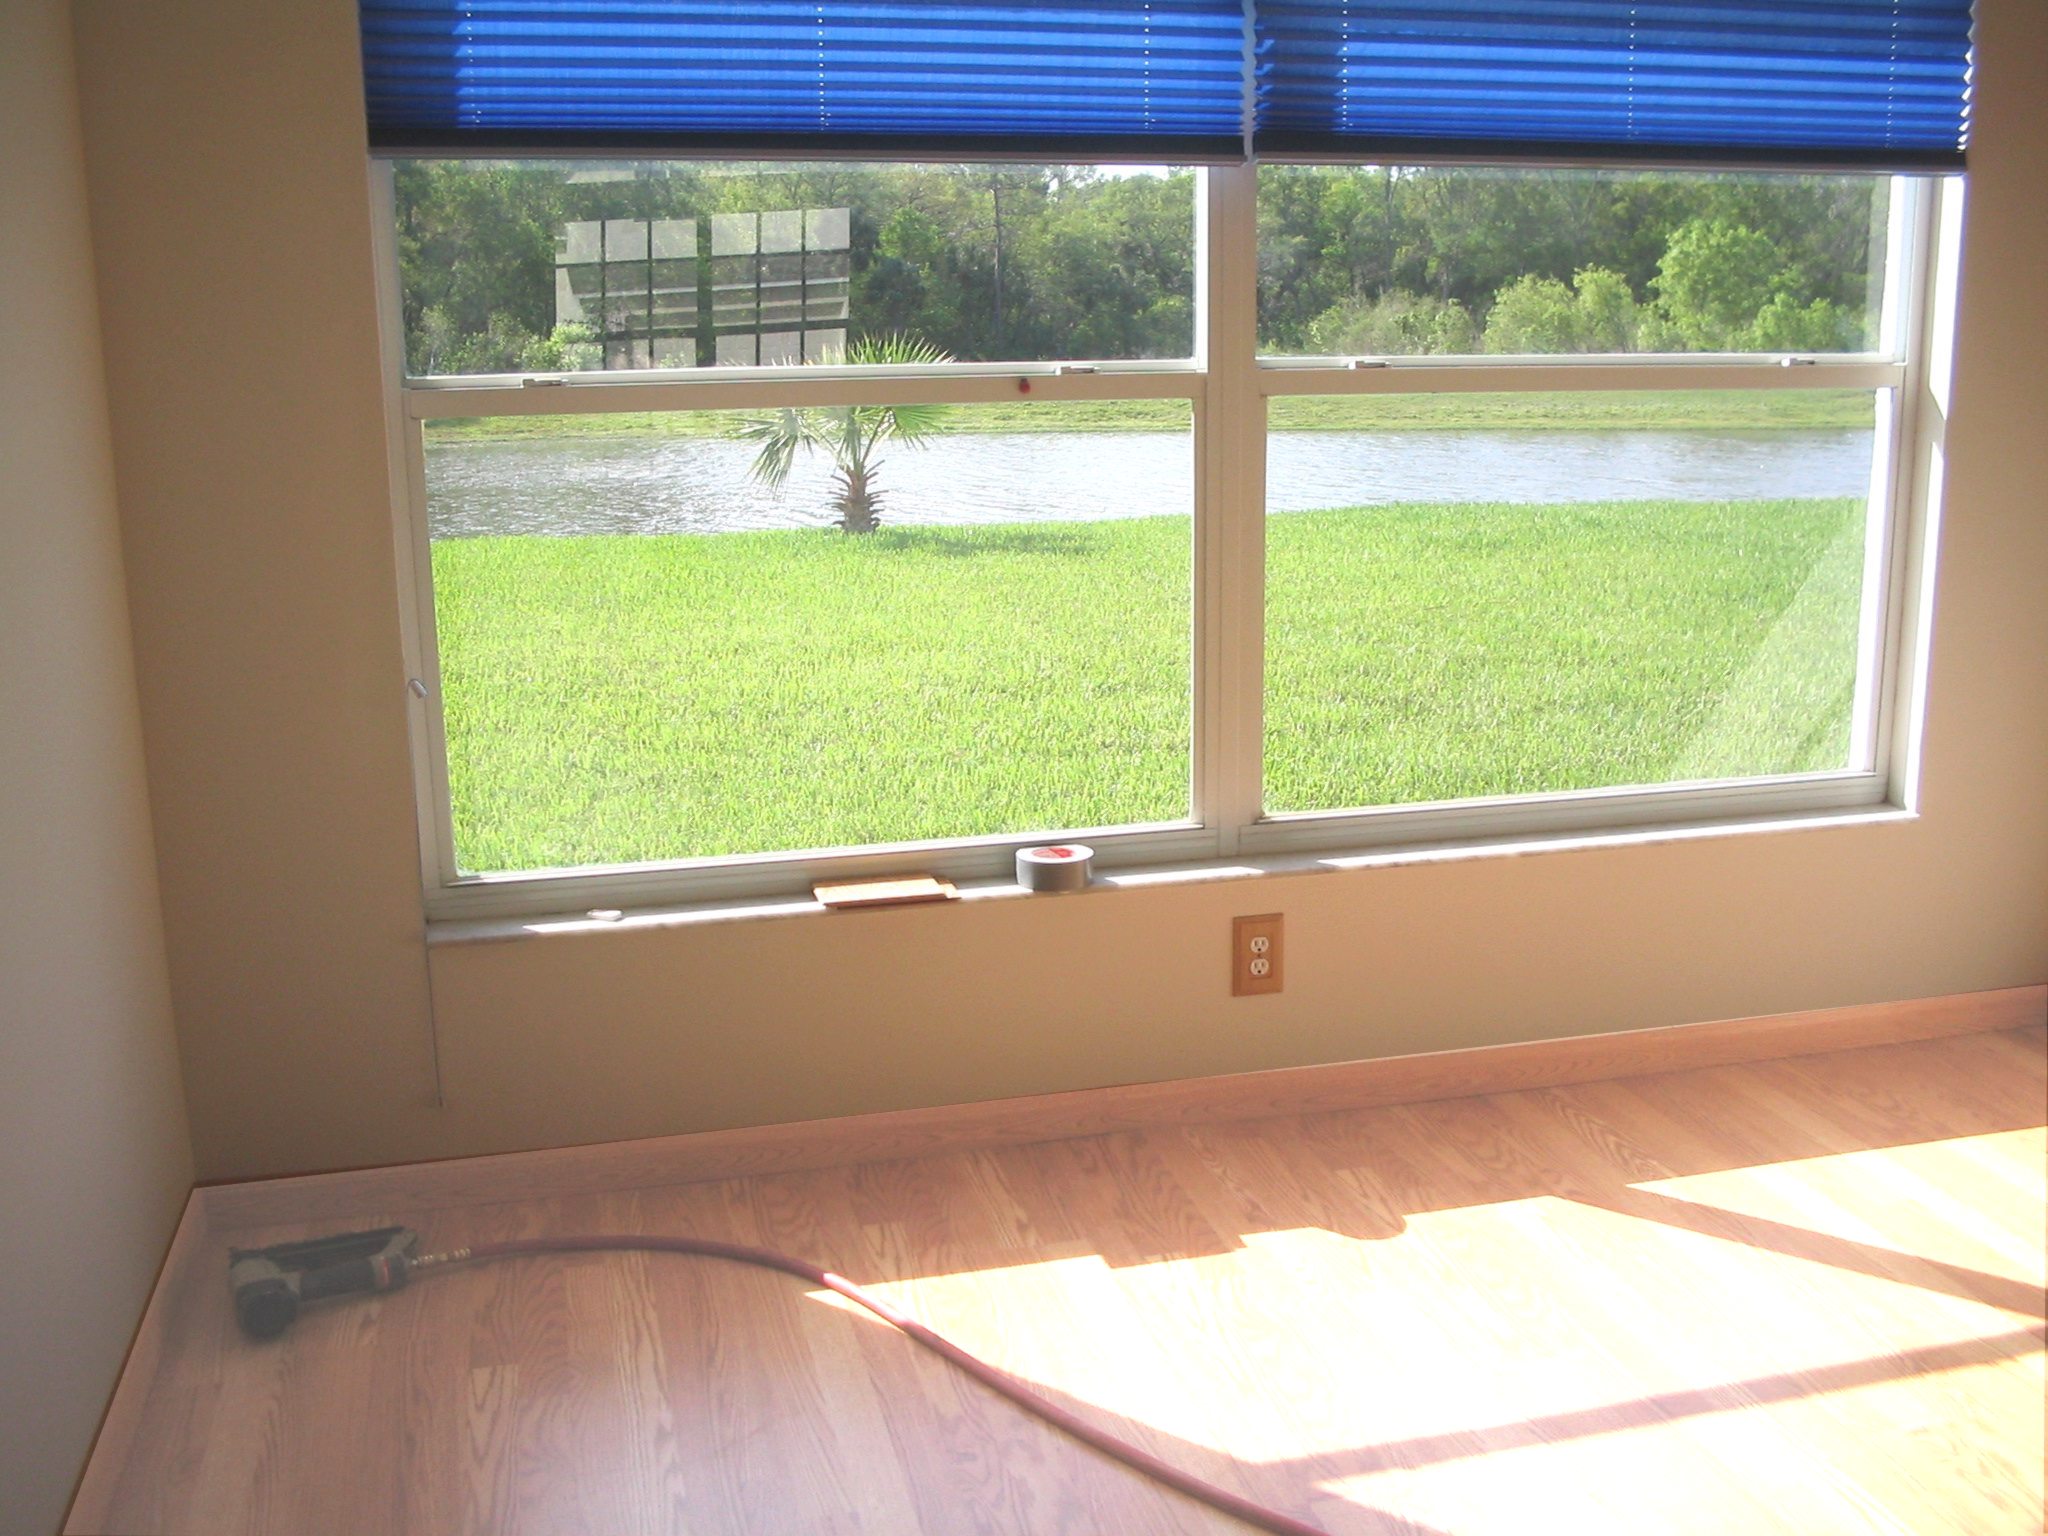
With the floors all laid, it's time for the trim. I rented a finishing nail gun and a compressor to do this job. The table saw also cuts at 45 degree angles for the corners. |
 GO BACK TO TOP
|
The nail gun was very easy to use. It had a long hose, so I just kept the compressor in the middle of the floor and the gun was able to reach all the walls. |
 GO BACK TO TOP
|
The floors are really starting to look complete now. A little putty in any cracks/gaps at the seems will finish this trim off beautifully. There are still some bigger gaps along some spots at the perimeter that need addressing before this project is complete. A quarter-round trim should look nice and cover any gaps. |